
Last updated October 8, 2026
Free on-site gate assessment - hinges, posts, and your LiftMaster or Nice gate operator checked before anything is quoted
The assessment is free and the quote is the invoice.

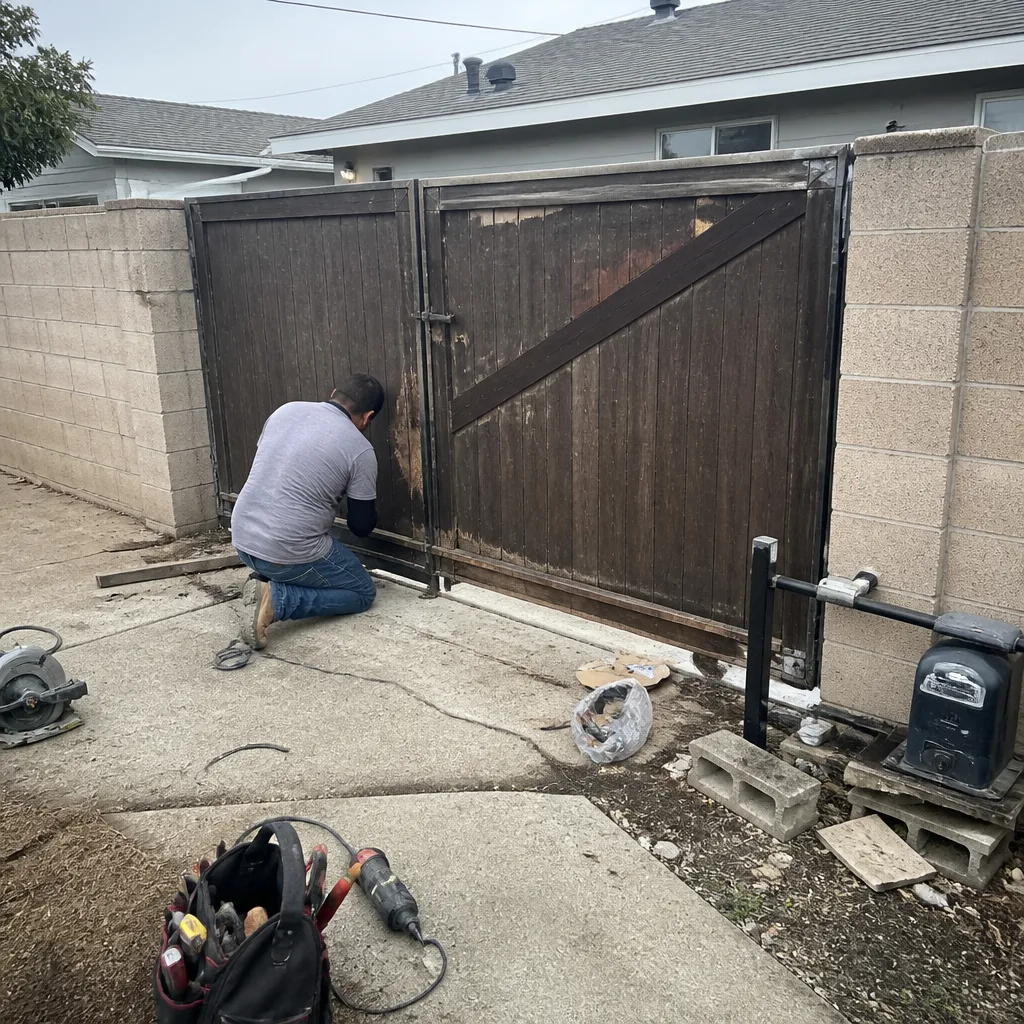 Before
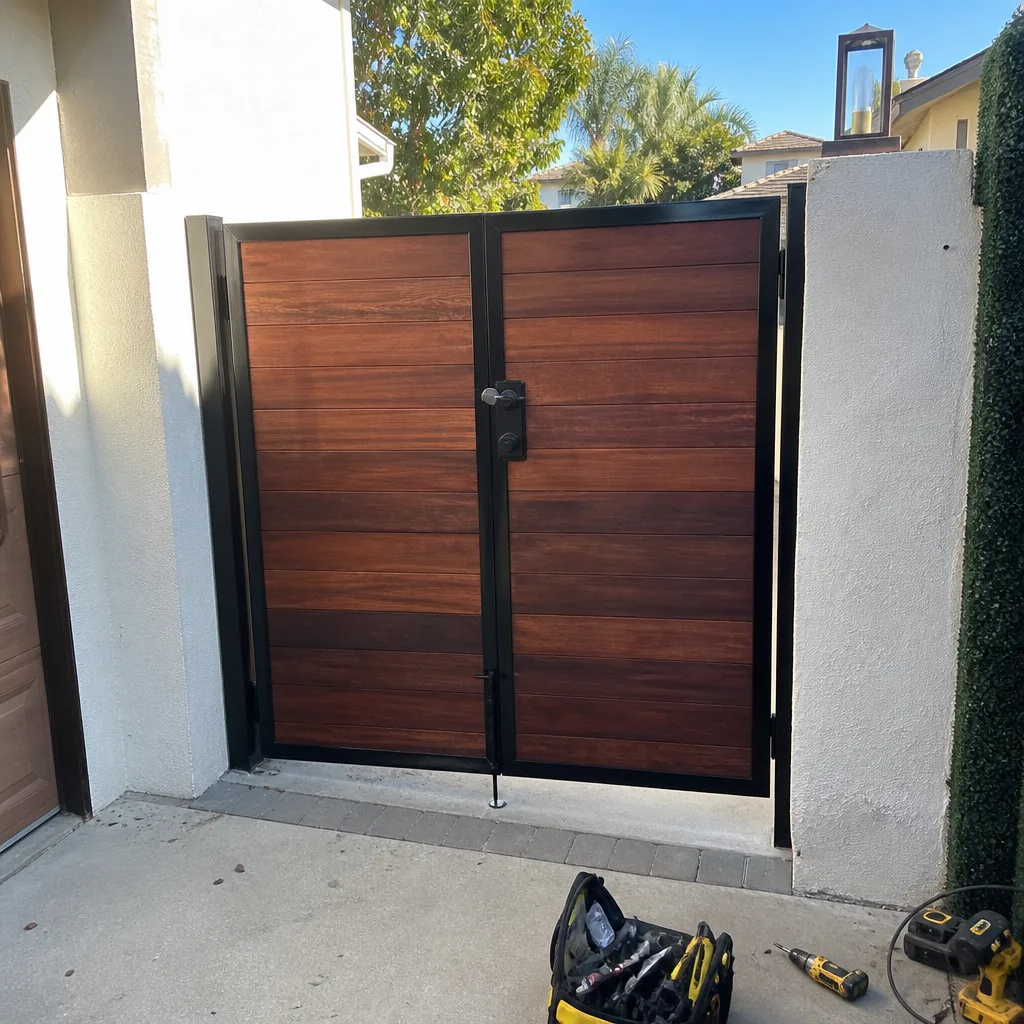 After
After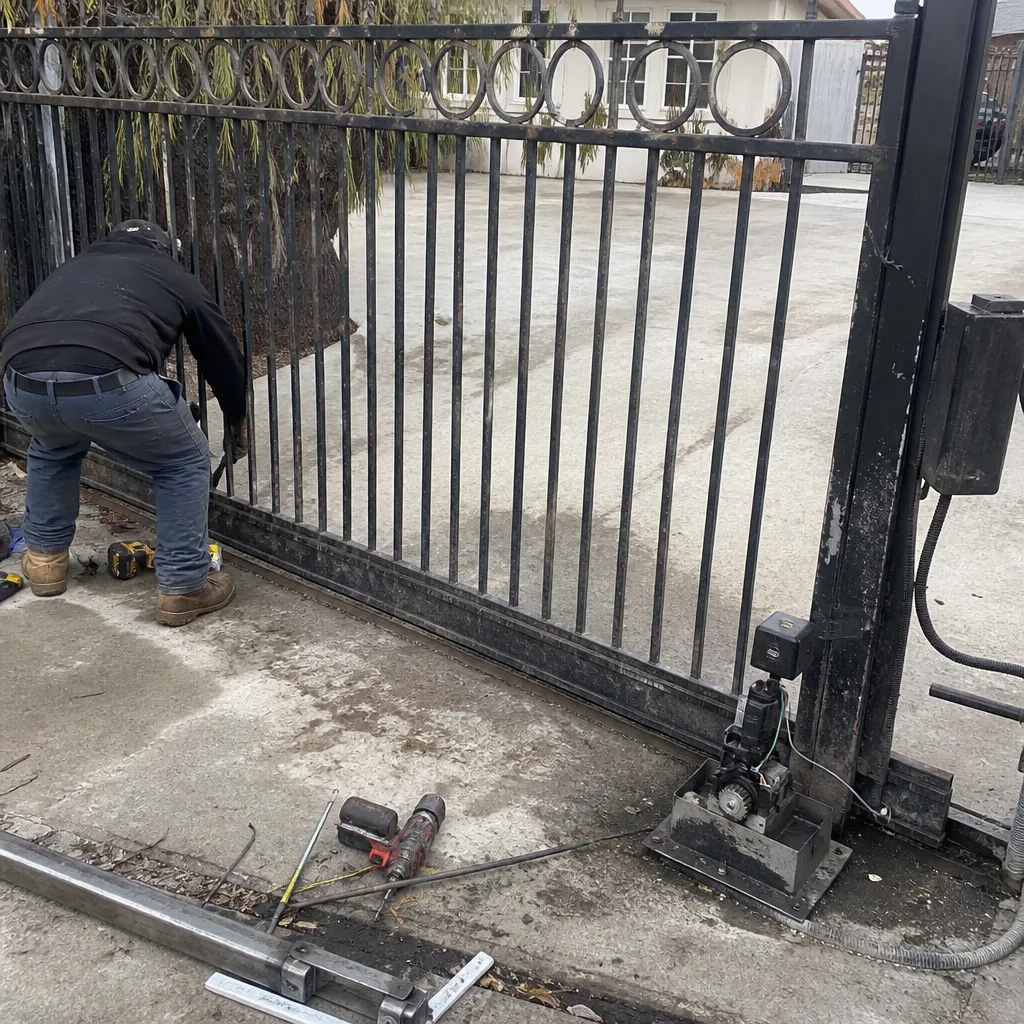 Before
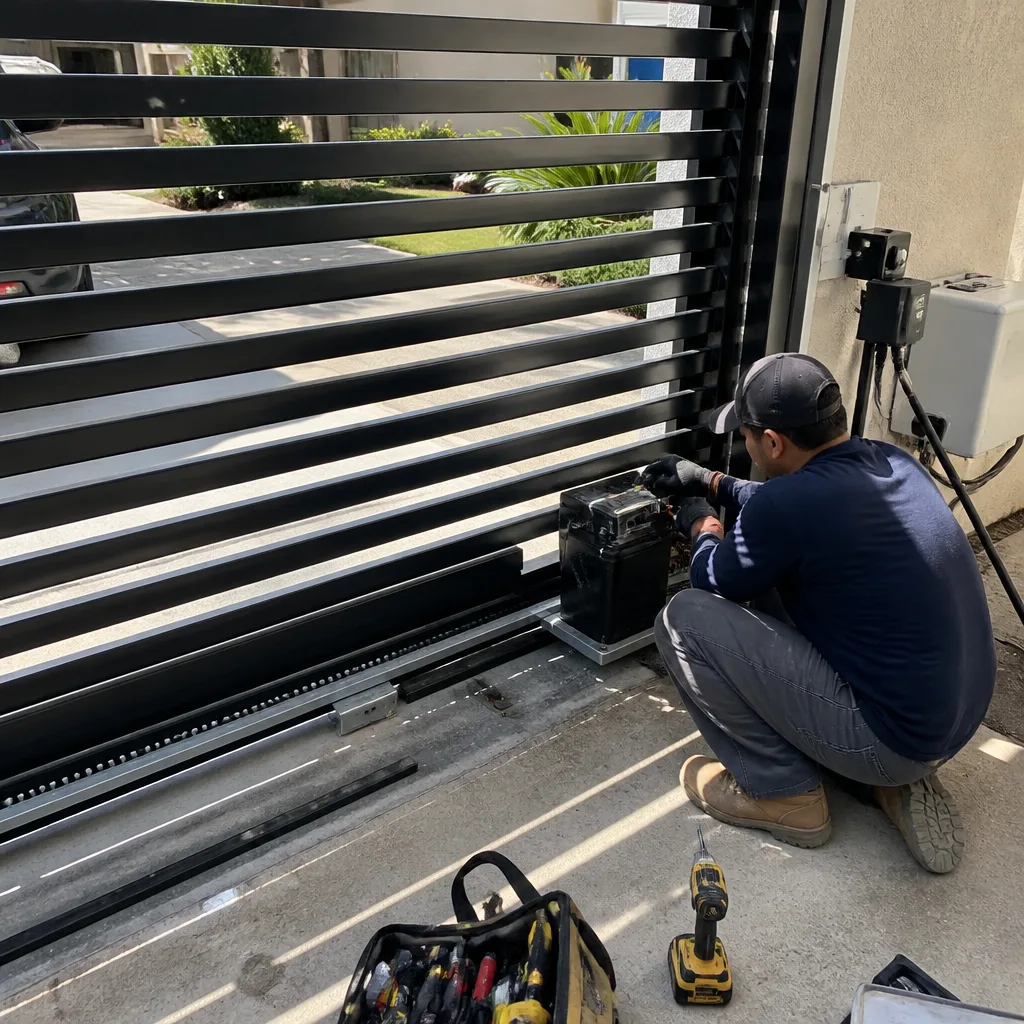 After
After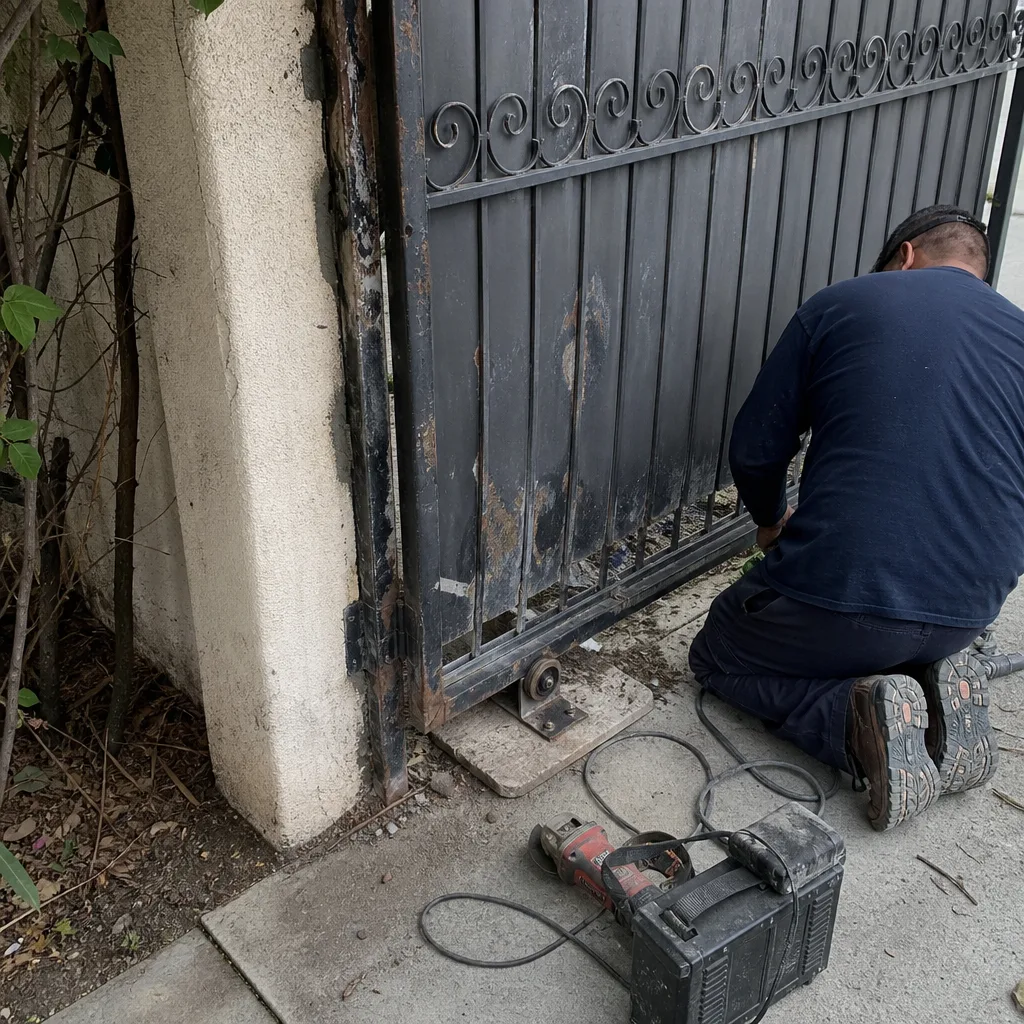 Before
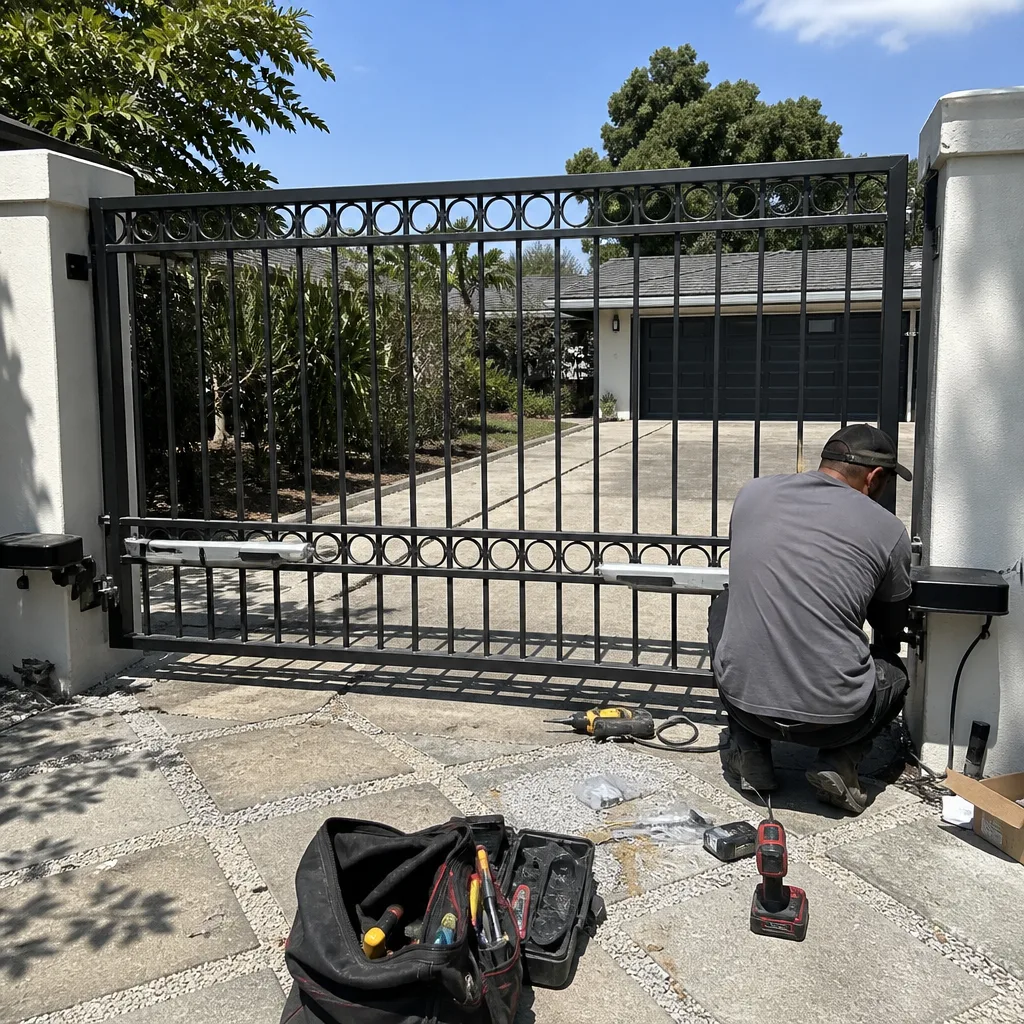 After
AfterGate Repair Troubleshooting: Common Problems and How to Fix Them
A gate that drifts open on its own is almost always blamed on the latch, but in roughly six out of ten cases the real cause is a hinge that has shifted the gate’s hang angle. Replace the latch, and the new one fails within weeks for the same reason: the misalignment is still there, waiting to strip the next set of hardware. This guide walks through a decision-tree sequence that starts at the cheapest, most accessible fix and only escalates when that check passes, built around the Cedarwell-family gate hardware we see across Los Angeles every day. For professional help with any of these issues, see our Gate Repair services.
Quick Answer
Gate repair troubleshooting should follow a specific order: check gate hang angle with a level first, then hinge pin wear, then latch alignment, and finally strike plate position before touching any electrical component. Most mechanical gate failures trace back to one of these four points, and the fix is usually under $200 when caught early. A grinding noise is either a hinge problem ($150-$200 fix) or a post-base crack ($400-$700 fix), and a level plus a flashlight will tell you which one you’re dealing with.
Table of Contents
- The Decision Tree: What to Check First (and Why Order Matters)
- Step 1: Check the Gate Hang Angle
- Step 2: Inspect Hinge Pin Wear
- Step 3: Diagnose Latch Alignment
- Step 4: Check the Strike Plate Position
- How to Tell a Hinge Grind from a Post-Base Crack
- Cedarwell-Family Quirks: Drop-Rod Sockets and Hinge Bolt Torque
- What’s Safe to Do Yourself (and What Isn’t)
- Common Mistakes to Avoid
- When to Call a Professional
- Frequently Asked Questions
- The Bottom Line
The Decision Tree: What to Check First (and Why Order Matters)
Most gate troubleshooting guides list symptoms without telling you which one to test first. For deeper reading, explore Gate Repair Warning Signs Every Homeowner Should Know. That’s why homeowners in Los Angeles spend weekends replacing latches that were never the problem. Here’s the sequence we follow on every service call, and it’s the same one you can use at home:
- Gate hang angle (level check) - if the gate leans even slightly toward the latch side or away from it, every downstream alignment suffers.
- Hinge pin wear - a worn pin lets the gate sag by millimeters, which is enough to move the latch out of alignment.
- Latch alignment - once the gate hangs true, check whether the latch tongue actually enters the strike plate hole.
- Strike plate position - even a properly aligned latch fails if the plate itself has shifted or warped.
- Electrical components - only after all four mechanical checks pass do you look at the operator, control board, or sensors.
Why this order? Because the first two checks cost nothing but ten minutes with a $12 level, and they catch the majority of problems. Jump straight to the electrical work and you risk replacing a $300 control board when the real issue was a hinge pin wearing down over the past three years. This sequence works across LiftMaster, FAAC, and BFT systems alike, because the mechanical foundation always comes before the electronics riding on it.
Step 1: Check the Gate Hang Angle
Set a level against the top rail of the gate and check it in two directions: along the gate’s length and perpendicular to it. A gate that’s level along its length but tilted perpendicular means the post has started to lean, either toward the house or away from it. That tilt is the first domino.
Here’s what happens in neighborhoods like Sherman Oaks and Pasadena specifically: clay soil expands in winter rains and contracts through the dry summer, shifting posts by as little as a quarter-inch a year. That shift is invisible to the eye but more than enough to push a latch out of alignment. We see it constantly in the older Los Angeles neighborhoods where gates were set in the 1980s and 1990s, before current post-footing depth standards became common practice. For a local perspective, read Gate Repair Warning Signs: A Los Angeles Homeowner’s Reference Guide.
If your level shows the gate is off by more than a quarter-bubble, write that down. The hinge bolts may be fine, but the post base is moving. Doing nothing means the problem worsens slowly, and the fix doubles in cost once the post needs to be reset rather than shimmed.
Step 2: Inspect Hinge Pin Wear
Open the gate halfway, then lift it from the latch side. If you feel vertical play, or if you see the hinge barrel shifting on the pin, that’s wear. Hinge pins on heavy gates grind down over years of daily use, especially on driveway gates that cycle thirty or forty times a day with cars coming and going.
The tell is subtle: a gate that closes fine in the morning but binds by late afternoon. Heat is the variable. In Los Angeles, where summer temperatures hit the 90s and 100s in the Valley, metal expands enough to tighten a marginal hinge to the point of binding. Cool the same hardware down at night and it moves freely again.
A worn hinge pin is a $150-$200 repair on most residential gates. If you’re handy, you can press out the old pin and replace it with a matching-diameter pin from the hardware store, but be aware that some manufacturer hinges use tapered pins that seat in one direction only. Forcing one out the wrong way spreads the hinge barrel and ruins the hinge. If the pin doesn’t tap out with gentle pressure, stop and call someone who does this daily.
Step 3: Diagnose Latch Alignment
Close the gate slowly and watch the latch tongue as it approaches the strike plate. The tongue should enter the strike plate opening dead center, with equal clearance on all sides. If it hits the top edge of the opening, the gate is sagging. If it hits the bottom, the gate is riding high, which usually means hinge wear on the top hinge specifically.
Here’s where homeowners lose hours: adjusting the latch to compensate for a sagging gate. You can file the strike plate opening wider and get the latch to engage, and it will work for a few weeks. Then the sag worsens by another hair, and the latch binds again. The correct fix is to address the hang angle first, then assess whether the latch itself is worn.
Latch mechanisms do fail on their own. Internal springs break, especially on spring-loaded latches on pedestrian gates that get slammed throughout the day. A broken spring means the latch tongue won’t retract when you pull the handle, or won’t extend automatically when the gate closes. A standard latch replacement in Los Angeles runs between $125 and $250 installed, depending on the hardware style and whether the gate is wood or steel.
Step 4: Check the Strike Plate Position
The strike plate is the piece of metal screwed into the post that receives the latch tongue. Over time, screws loosen in the post, the plate shifts a fraction of an inch, and the latch that aligned perfectly a year ago now scrapes or misses entirely.
Here’s the diagnostic: remove the strike plate screws and inspect the screw holes in the post. If the holes are egged out or the wood around them is soft, the plate has been moving under load every time the gate closes. Simply tightening the screws works temporarily. The durable fix is to move the plate slightly up or down to a fresh section of post, fill the old holes, and mount the plate with longer screws that bite into solid wood or the post’s internal steel core.
This is also the point where you check the drop-rod socket on double gates, which we cover in more detail below. For now, know that a strike plate that’s shifted by even an eighth of an inch is a common culprit on single gates, and it’s a $75-$150 fix that doesn’t require touching the gate itself.
How to Tell a Hinge Grind from a Post-Base Crack
A grinding noise when the gate opens or closes is either a hinge problem or a structural problem. Here’s the two-tool method to distinguish them:
- Point a flashlight at the gap between the moving gate and the stationary post while someone opens the gate slowly. If you see the gap widening and narrowing, the post is flexing. That’s a post-base crack or a compromised footing, and it’s the serious one.
- If the gap stays consistent but the grinding persists, set a level on the gate while closed, then again while open. A gate that reads level closed but off-level open indicates the post is torquing under load. If the post isn’t visibly moving but the noise continues, the hinge itself is wearing, and the fix is localized.
The cost difference matters: a hinge replacement runs $150-$200, while a post-base crack typically costs $400-$700 in Los Angeles, because the post usually needs to be excavated, the footing inspected or replaced, and the post reset and plumbed. Some older Los Angeles properties have gates set into brick columns rather than footings, and cracks there are structural to the column itself, not the gate hardware.
If you see the gap widening while the gate moves, stop using the gate. A post that’s flexing can pull entirely, dropping the gate on a car, a kid, or a pet. This is not a wait-and-see situation, and it’s not a DIY repair.
Cedarwell-Family Quirks: Drop-Rod Sockets and Hinge Bolt Torque
Two problems show up on Cedarwell-family gate hardware often enough that we look for them before anything else. Neither appears in generic troubleshooting guides.
The drop-rod socket on double gates. A double gate consists of an active leaf and a passive leaf, and the passive leaf locks into the ground via a drop rod that seats into a socket set in the concrete or paver. In Los Angeles, that socket fills with fine dust, organic debris, and grit within a season or two. The result mimics a broken latch: the passive leaf won’t stay put, the gate feels loose, and the active latch seems like it’s failing. Clean the socket out with a narrow tool and a spray of water, let it dry, and test the drop rod again. More often than not, the latch is fine.
The hinge bolt torque that loosens after the first full summer. Gates installed in the spring often develop a slight wobble by September. The culprit is thermal cycling, the repeated expansion and contraction of the metal from day to night heat swings in Los Angeles. Hinge bolts that were torqued correctly at installation loosen microscopically over hundreds of cycles until the gate starts to feel different. The fix is a five-minute re-torque to the manufacturer’s specification, which varies by hinge size and type. If you know your hinge’s torque spec, tighten to it. If you don’t, this is a quick service call, not a guess-and-crank situation, because over-tightening a hinge bolt strips the threads and turns a simple adjustment into a hinge replacement.
What’s Safe to Do Yourself (and What Isn’t)
There are three troubleshooting steps a careful homeowner can do safely. There are two steps where a wrong move can pull a post entirely, and we want to be straight about the difference.
Safe to do yourself:
- Level checks. Setting a level on the gate in multiple positions costs nothing and doesn’t require touching anything structural. You’re gathering information.
- Visual inspection of hinges, latch, and strike plate. You can see worn hinge pins, a shifted strike plate, and a latch tongue that’s not entering the opening cleanly. No disassembly required.
- Cleaning the drop-rod socket. This is a debris issue on most double gates. A narrow tool and water fix it in minutes.
Not safe to do yourself:
- Post-base inspection that requires digging. Excavating around a gate post in Los Angeles clay soil without knowing the footing’s condition can destabilize a post that was already compromised. If the post shifts while you’re digging, you’ve created a replacement job that didn’t need to happen this week.
- Gate weight redistribution. Any attempt to lift a sagging gate and shim the hinges yourself puts the full weight of the gate on hardware that may already be near failure. A hinge that lets go under that load drops the gate, and a hundred-plus pounds of steel or wood falling toward a driveway is a serious hazard to anyone nearby.
We’re comfortable telling homeowners to check things. We’re not comfortable telling them to fix things that involve lifting or digging. The line is where the gate’s full weight comes into play, and that’s where a trained professional should step in.
Common Mistakes to Avoid
- Replacing the latch before checking the hang angle. A new latch on a sagging gate fails for the same reason the old one did, and you’re out the money and the weekend. We see this on about four out of ten service calls in Los Angeles.
- Lubricating a worn hinge instead of replacing the pin. Lube quiets a noisy hinge for a few days, but a worn pin is a mechanical clearance problem, not a friction problem. The noise returns, and the pin degrades faster.
- Adjusting the operator’s force settings to compensate for a binding gate. Crank up the force and the operator pushes through the bind for a while, overloading the motor and the hinge. This is how a $150 hinge problem becomes a $600 operator replacement.
- Ignoring a gate that’s slightly off-level because it still closes. The off-level condition is a symptom, not the disease. Whatever’s causing it, whether loose post or worn hinge, is still progressing.
- Using the wrong hardware for the gate’s weight. A hinge rated for a 150-pound gate doesn’t survive long on a 400-pound driveway gate, and the failure is always abrupt, not gradual.
- Digging around a post without knowing the footing condition. Los Angeles clay soil and older footings are a bad combination. The moment you expose the base of a post that was already failing, you’ve lost whatever stability remained.
- Assuming an electrical problem is a board problem. Sensors, wiring, and limit switches fail more often than control boards. Start with the cheap components, and don’t replace a LiftMaster or BFT board until everything mechanical and sensor-related checks out.
When to Call a Professional
Call a professional if your level check shows the gate off by more than a quarter-bubble, if the post gap widens while the gate moves, if the hinge pins show visible wear, or if you’ve worked through the decision tree and the gate still binds or drifts. Post problems and weight-bearing hardware are not the place to guess.
Gate Repair in Los Angeles is what we do every day at Latch & Post Gate Repair home. We provide a written price before any work starts, and every job is covered by the 365-Day Done Right Promise: if the repair isn’t right, we make it right, no argument. Call (626) 649-4572 for a free estimate.
Frequently Asked Questions
A gate that drifts open usually has a hang angle problem, not a latch problem. When the hinges wear or the post shifts, the gate’s center of gravity moves just enough to pull it open, and the latch, even if it still engages, is fighting that pull. Check the level first, then the hinge pins, before touching the latch. If you’re in Los Angeles, call (626) 649-4572 and we’ll diagnose it for free.
Most mechanical gate repairs in Los Angeles fall between $150 and $250 for hinge work or latch replacement, while post-base cracks run $400 to $700 depending on footing access and post size. You’ll see the exact number in writing before any work begins, not after. Call (626) 649-4572 for a free estimate, and we’ll tell you the price before we touch anything.
You can diagnose a sagging gate yourself with a level and a flashlight, but the fix often involves lifting gate weight or adjusting hardware that’s under tension, which is where DIY attempts go wrong. If the hinge pins are replaceable and you have the tools, that’s the one repair a careful homeowner can usually handle. For anything involving post movement or shimming, call a professional.
Gate repair fixes problems on an existing gate, like worn hinges, failing latches, or post issues, while Gate Installation in Los Angeles involves setting a new gate and post system from scratch, including footing work and hardware selection for the gate’s weight class. Installation includes all the same care-routine practices: written price, drop cloths, shoe covers, and a cleanup photo before we leave.
Disconnect the operator and move the gate by hand. If it swings freely and the latch works, the problem is electrical, and that’s where Electric Gate Repair in Los Angeles comes in. If the gate binds, grinds, or won’t latch even when moved by hand, the problem is mechanical, and fixing the electrical first is wasted effort. The decision tree in this guide covers the mechanical path first for exactly this reason.
Yes. Our technicians are factory-trained on LiftMaster, FAAC, BFT, and Linear hardware, and we see all four brands regularly across Los Angeles, from the Westside to the Valley. The mechanical troubleshooting in this guide applies to gates from any of those manufacturers, because the hinges, posts, and latches follow the same physics regardless of the operator brand.
The Bottom Line
Gate troubleshooting is a sequence, not a guessing game. Start with the hang angle, then the hinge pins, then the latch, then the strike plate. Only after those four checks pass do you look at electrical components. The most common mechanical repairs cost $150 to $250, and catching a post problem early saves you from the $400 to $700 fix that comes later. Level checks and visual inspections are safe for any homeowner. Lifting and digging are not. If you’re in Los Angeles and want a second set of eyes, we’re here: a live person answers (626) 649-4572, day or night, and the estimate is free.
Written by Cody Beckman, Owner at Latch & Post Gate Repair, serving Los Angeles since 2009.