
Last updated October 8, 2026
Free on-site gate assessment - hinges, posts, and your LiftMaster or Nice gate operator checked before anything is quoted
The assessment is free and the quote is the invoice.

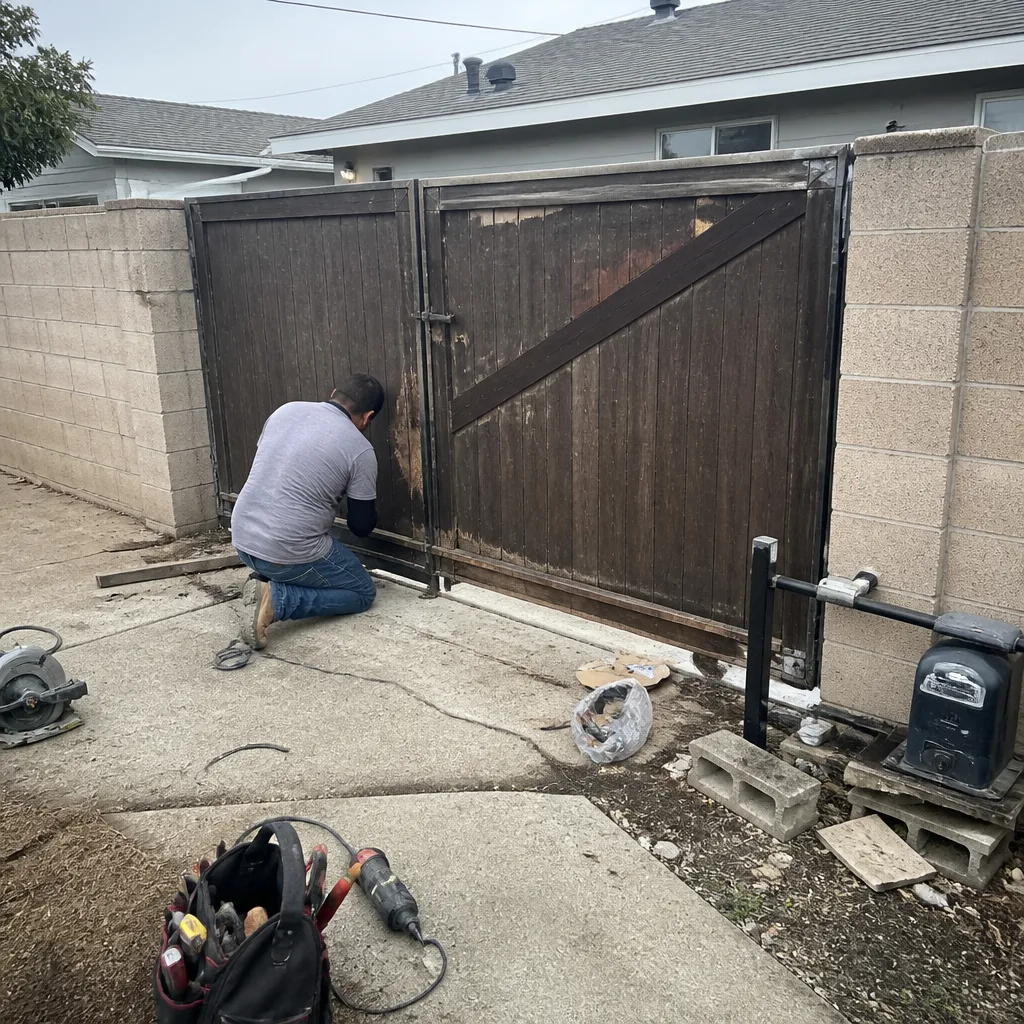 Before
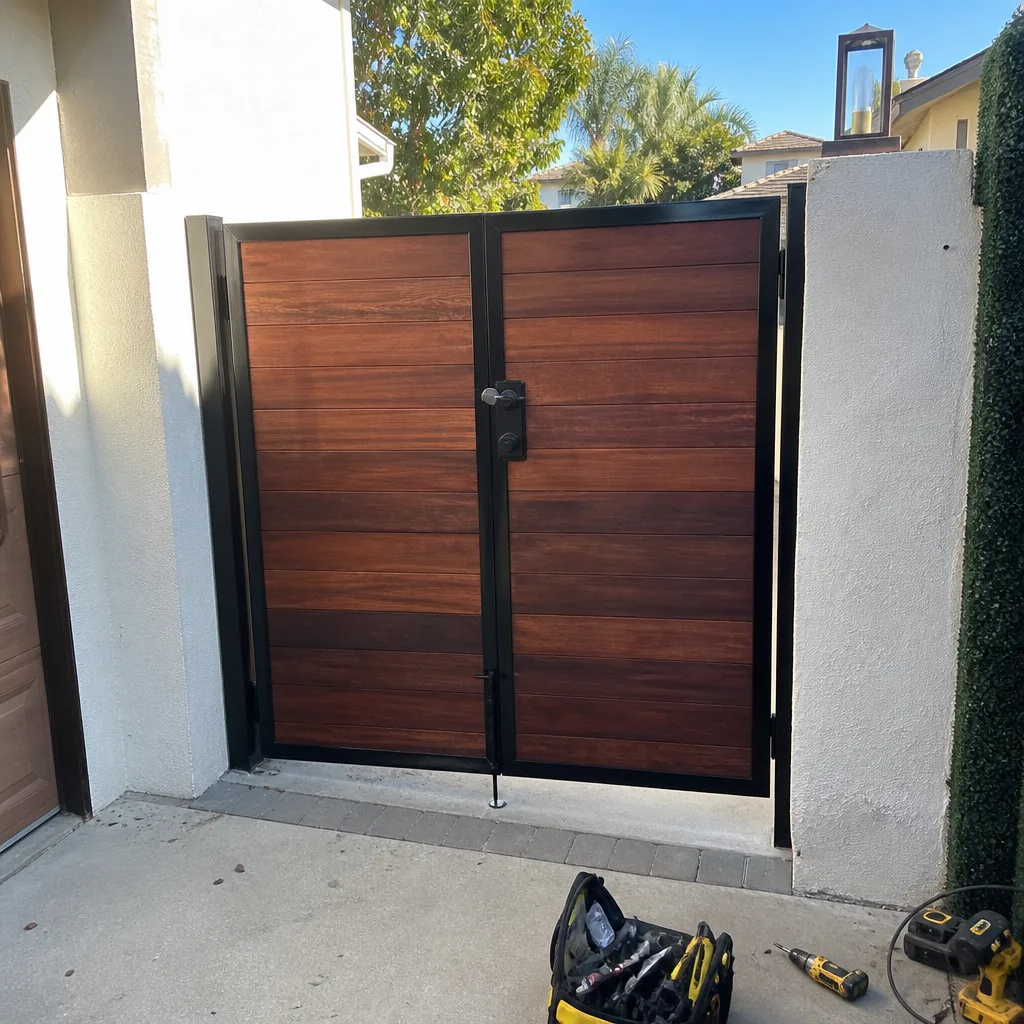 After
After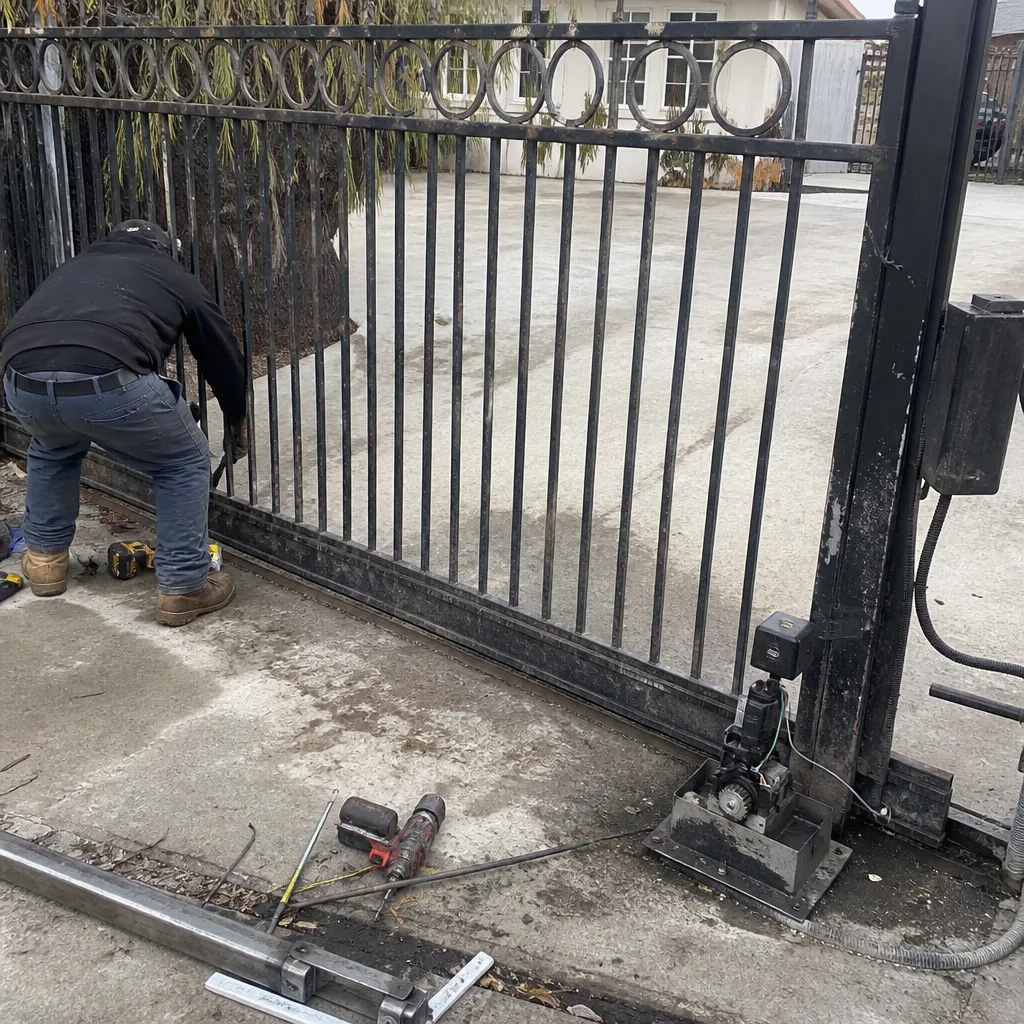 Before
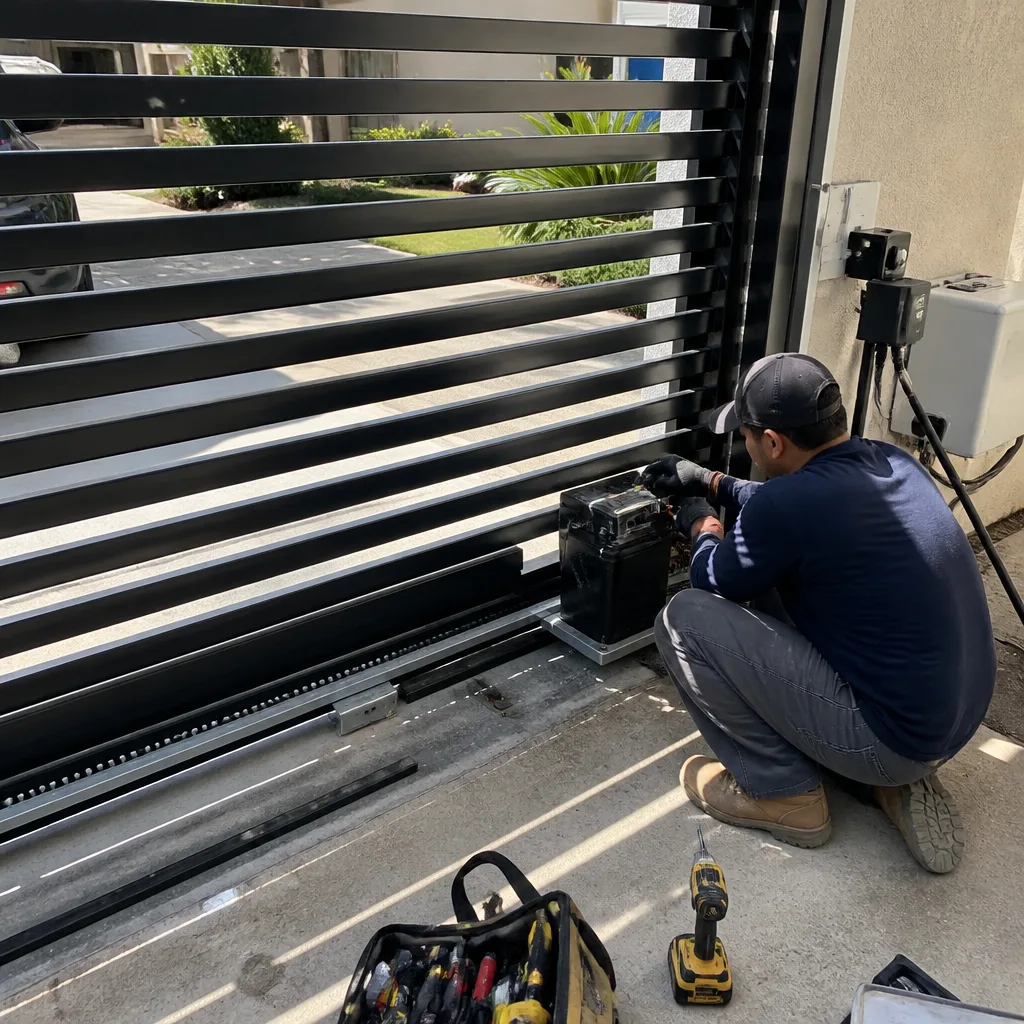 After
After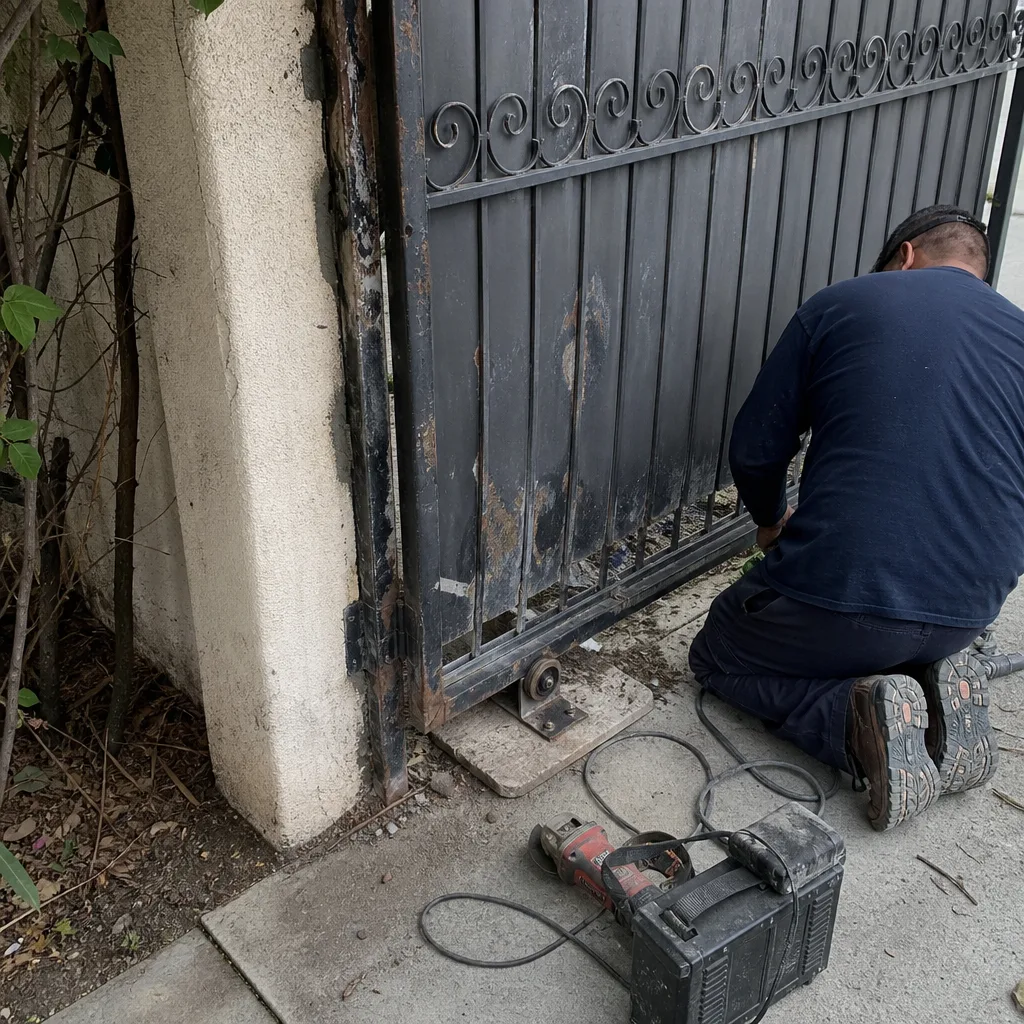 Before
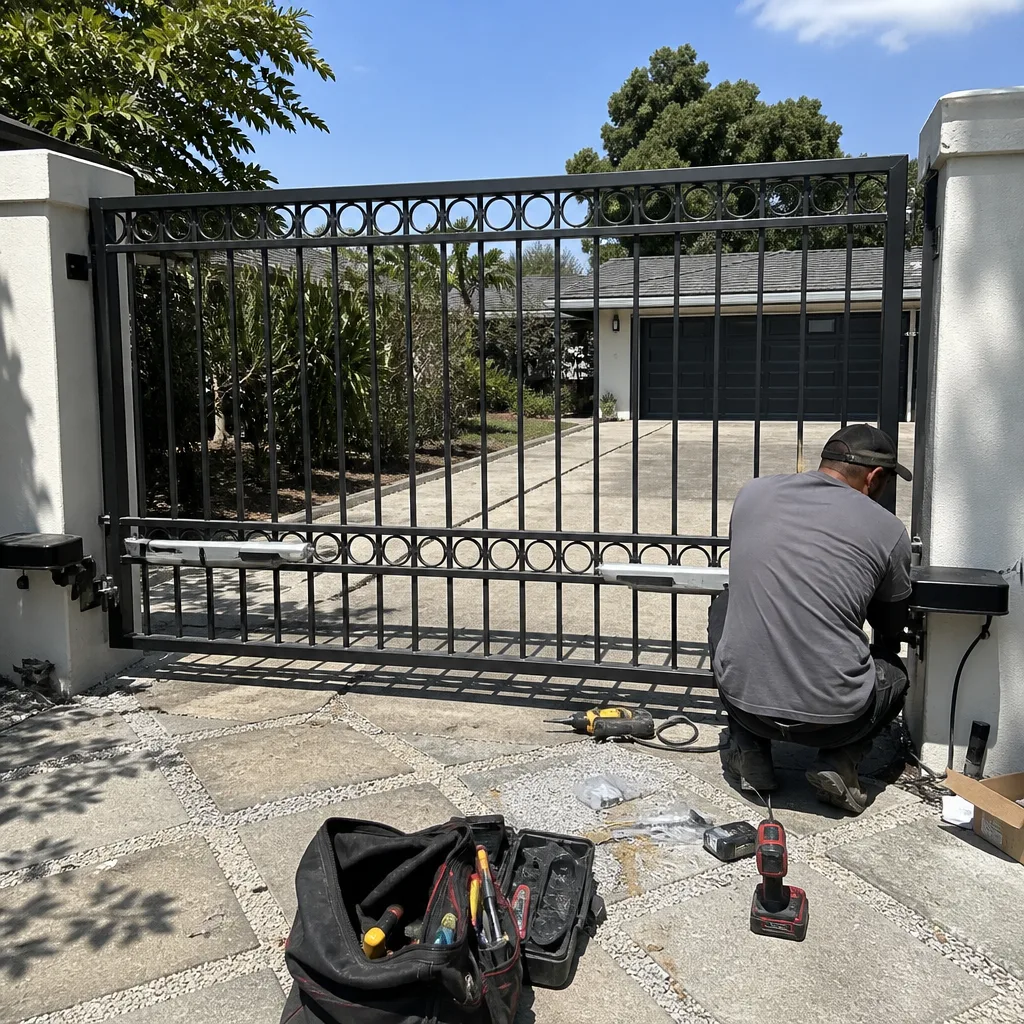 After
AfterGate Repair Warning Signs Every Homeowner Should Know
Here’s something most Los Angeles homeowners don’t realize until it’s too late: gates almost never fail suddenly. They degrade in a sequence. The first warning sign is usually something so small it doesn’t register as a warning at all. A gate that needs a slight lift at the handle to latch. A hinge that makes one soft click when the wind catches it. The gap at the top corner that’s maybe a quarter inch wider than it was last spring. Each of these feels minor on its own, but when you learn to read them together, they form a timeline. This guide will teach you to recognize where your gate sits on that timeline, what each stage means, and how much time and money you’re likely looking at before a small adjustment becomes a full re-hang.
Quick Answer
The most common Gate Repair Warning Signs: A Los Angeles Homeowner’s Reference Guide symptoms are a gate that requires lifting or forcing to latch, sagging that leaves a widening gap at the latch side, hinges that squeal or click, a gate that drifts open or closed on its own, and visible rust or movement at the post base. In Los Angeles, where gates often carry heavy solid-wood or wrought-iron panels on posts set into expansive clay soil, the two warning signs homeowners miss most often are hairline cracks at the post footing and a latch strike that has shifted downward by less than half an inch. Both are early indicators that the post is moving, and both are far cheaper to correct at that stage than they will be three months later.
Table of Contents
- The Five-Stage Degradation Sequence: Where Your Gate Sits Right Now
- Three Warning Signs Specific to Cedarwell-Family Gate Hardware
- Coastal vs. Inland Los Angeles: How Warning Signs Differ by Neighborhood
- The Real Cost of Waiting: Stage Two vs. Stage Four
- What to Check Once a Month (And What to Leave to a Pro)
- How to Photograph and Describe a Warning Sign When You Call for Help
- Electric Gate Warning Signs That Precede Mechanical Failure
- When to Call a Professional
The Five-Stage Degradation Sequence: Where Your Gate Sits Right Now
Every gate in Los Angeles, whether it’s a solid cedar driveway gate in Sherman Oaks or a powder-coated steel pedestrian gate in Eagle Rock, follows the same physical path from healthy to failed. Understanding which stage you’re in tells you how much time you have and what the fix will cost. The five stages take anywhere from six months to three years to run their course, depending on post depth, gate weight, hinge quality, and how much the soil beneath the post expands and contracts with the seasons.
- Stage One: First Notice. The gate still operates fine, but you notice something for the first time. Maybe the latch requires a touch more pressure than it did when it was new. Maybe the gate makes a faint sound when it moves that wasn’t there before. Maybe you spot a hairline crack in the concrete around the post base. At this stage, nothing has actually failed. A technician can usually identify the cause in under an hour and correct it with an adjustment rather than a replacement. Cost range: $60 to $150.
- Stage Two: Compensating Behavior. This is the stage homeowners most consistently ignore, because the gate still works. You’ve started lifting the handle slightly as you pull it closed. Or you’ve learned to give the gate a nudge with your hip to get the latch to seat. Or you’ve noticed the gate drags on one corner in the rainy season but not in the dry months. The trigger here is that you have adapted to the gate’s problem, which masks the fact that the problem is progressing. At stage two, the fix is still usually an adjustment: hinge tightening, latch realignment, or a strike plate that gets moved back into position. Cost range: $150 to $250.
- Stage Three: Visible Misalignment. Now the problem is obvious to anyone who looks. The gate sags visibly. The gap between the gate and the post is wider at the top than the bottom, or vice versa. The latch scrapes the strike when you close it. This is the stage where most Los Angeles homeowners make the call, and it’s still a good time to do so. The gate remains functional, but the hinge pins or post base are now taking load in a way they were never designed to. Cost range: $250 to $400, depending on whether the hinge itself needs replacing or just the mounting hardware.
- Stage Four: Imminent Failure. At stage four, you’re past the point of adjustments. The latch no longer catches without real force, or doesn’t catch at all. The gate has dropped enough that you can see a gap at the top hinge. The post itself may be visibly leaning. If the gate is electric, the operator may be straining audibly or tripping its safety reversal because the gate’s geometry has changed enough to confuse the sensors. A stage-four gate can fail completely at any time, usually on the day you need it most: a windy afternoon, a rainy morning, or the day you leave for vacation. Cost range: $450 to $900, because this usually means hinge replacement, post resetting or bracing, and a full re-hang.
- Stage Five: Failure. The gate has dropped off a hinge, the post has cracked through, or the operator has burned out fighting a gate that was too stiff to move. At stage five, what could have been a $180 adjustment is now a $1,200 to $2,500 repair that may involve concrete work, new posts, new hinges, and in some cases a new gate panel. Stage five is almost always preventable, and almost always the result of stages one through four being noticed and dismissed.
In our experience, most Los Angeles homeowners first call when their gate reaches stage three. The problem has become annoying enough to interrupt daily life, but the cost to fix it is still moderate. The ones who save the most money are the ones who call at stage two, when the gate is still working but sending signals. That’s why learning to recognize the earliest signs matters far more than knowing what a collapsed gate looks like.
Three Warning Signs Specific to Cedarwell-Family Gate Hardware
Every gate comes down to two parts: the latch that holds it and the post that carries it. That’s not a marketing line, it’s a mechanical truth. When we talk about Cedarwell-family gate hardware, we’re referring to the specific set of failure patterns we see in the gate styles most common across Los Angeles: post-mounted pedestrian gates with drop rods, top-hinged driveway gates with bushings, and single-post gates with exposed hinge pins. Here are the three warning signs specific to this hardware that generalist handymen often miss.
1. Play in the drop-rod socket. Many Los Angeles pedestrian gates use a drop rod that slides down into a receiving socket in the concrete to hold the gate closed. On a new gate, that rod fits snugly into the socket with no side-to-side movement when you push on the gate. Over time, the socket wears, the rod gets sloppy, and the gate begins to rock even when it’s closed. You can feel it: push the gate gently when it’s latched and notice whether it shifts under your hand. That play is the first sign that the drop-rod assembly is preparing to fail. If the rod is visibly wobbling in the socket, you’re at stage three. If the rod no longer drops into the socket at all, you’re at stage four. The fix at the play stage is usually a new socket or a repositioned rod guide, typically $120 to $220. If the rod fails completely, the gate can swing freely or wedge itself shut, and you’re looking at closer to $400 for the full assembly replacement.
2. The hinge pin squeal that won’t quiet with lubrication. Hinge pins squeal for one of two reasons: lack of lubrication, or wear past the bushing. A dry hinge squeals and responds to lubricant. A worn hinge squeals differently. The sound is higher and thinner, almost a metallic whine rather than a groan, and it comes back within days or weeks of lubrication because the problem isn’t dryness, it’s clearance. The bushing that once held the pin centered is gone, and the pin is now riding directly on the metal of the hinge leaf. Once a hinge reaches this point, no amount of oil will fix it. The hinge needs replacement, and on a heavy gate, doing that before the pin bends or snaps means a $180 to $350 repair instead of a $700 gate-drop repair.
3. The visible gap at the top corner that signals post movement. Look at the top corner of your gate opposite the hinge. On a well-installed gate, the gap between the gate edge and the post is consistent from top to bottom. On a gate whose post is moving, that gap at the top corner will be wider or narrower than the gap at the bottom. This is not a gate problem, it’s a post problem. In Los Angeles soil, posts move because the dirt around them expands when wet and contracts when dry, slowly walking the post out of vertical. Clay soils in neighborhoods like North Hollywood and Van Nuys are especially prone to this. The wider that top-corner gap gets, the more the post has moved, and the sooner you want a professional to look at it before the movement transfers load to the hinge and the latch in a way that accelerates every other failure on this list.
Coastal vs. Inland Los Angeles: How Warning Signs Differ by Neighborhood
Los Angeles is not one climate. A gate in Santa Monica faces a very different set of challenges than a gate in Pasadena, even though both are in the same city. Understanding the warning signs specific to your side of the city helps you catch problems early, because you’ll be looking for the right things.
In coastal neighborhoods like Santa Monica, Venice, and Playa del Rey, the dominant warning sign is surface rust appearing on hardware before the gate shows any structural problem. The marine layer delivers salt and moisture that oxidizes hinges, latch bodies, and the bolts holding them in place. The rust itself is cosmetic at first, but it’s a countdown. Once the protective zinc or powder coating is compromised, the fastener underneath begins to corrode, and the first sign of real trouble is usually a bolt head that crumbles or rounds off when a technician tries to remove it. We see coastal gates with perfectly straight posts and perfectly functioning operators that need complete hinge bolt replacement because the bolts have turned to rust. The early warning sign to watch for: rust bloom around bolt heads and at the hinge seam, especially on the side of the gate that faces the prevailing wind off the ocean.
Inland neighborhoods like Pasadena, Glendale, Burbank, and the San Fernando Valley face a different primary threat: post heave. The soil inland is heavier, with more clay content, and it swells dramatically in the winter rains and shrinks just as much in the summer heat. This expansion and contraction pushes posts upward and outward, even when the gate itself shows no visible damage. The warning signs of post heave are different from coastal corrosion signs. You’ll see hairline cracks in the concrete collar around the post base, or a post that has risen slightly out of its footing so that the gap between the bottom of the gate and the ground has changed. In severe cases, you’ll see the gate’s latch side drop slightly in winter and return in summer. That seasonal movement is the soil talking, and it’s telling you the post was set too shallow or without enough concrete. Left unaddressed, post heave eventually cracks the post itself or breaks the weld at the hinge mounting plate.
For Los Angeles homeowners, the practical takeaway is this: if you live within three miles of the coast, watch your hardware for rust. If you live inland, watch your posts and footings for movement. The gate itself may look identical in both places, but the early warning signs are not.
The Real Cost of Waiting: Stage Two vs. Stage Four
Let’s put actual numbers on the cost of ignoring a warning sign. These figures reflect the ranges we see across Los Angeles, where labor rates and materials costs are higher than the national average but lower than San Francisco or San Diego.
- Stage two catch, hinge adjustment only: $150 to $180. The hinge bolts are tightened, the gate is lifted slightly and re-shimmed, and the latch is realigned. The gate is returned to proper geometry, and the hinge is likely to last for years more. No parts replaced. Time on site: about an hour.
- Stage four catch, hinge replacement and re-hang: $450 to $520. The old hinge has worn past the bushing, the pin is bent or the mounting holes are elongated, and the gate has dropped enough that the latch no longer lines up. The hinge must be replaced, the gate lifted off, the mounting points repaired or reinforced, and the gate re-hung and re-aligned. Time on site: several hours, and the gate is out of commission for part of the day.
- Stage five catch, post reset and hinge replacement: $1,200 to $2,500 depending on whether the post can be salvaged or must be set new. This includes breaking out the old footing, pouring new concrete, setting the post, waiting for it to cure, and then re-hanging the gate. Time on site: one to two full days, and the gate is out of service for at least that long.
The difference between the stage-two price and the stage-four price is about $340. The difference between stage two and stage five can be over $2,000. That’s the reason this guide exists: the earlier you learn to read the warning signs, the smaller the invoice. Latch & Post Gate Repair provides a written price before any work begins, so you’ll know the exact number before you decide anything, whether it’s a $180 adjustment or a full re-hang.
What to Check Once a Month (And What to Leave to a Pro)
A monthly two-minute check catches most gate problems at stage two or earlier. Here’s the exact routine we recommend to Los Angeles homeowners, and it’s the same one we walk through with families who have just had their gate repaired or installed.
- Open and close the gate once, slowly. Listen for any sound that isn’t a smooth, even movement. Squeals, clicks, scrapes, or pops all mean something specific. Squeal: dry or worn hinge. Click: loose hardware or a shifting post. Scrape: misaligned latch or dropped gate. Pop: a hinge pin binding or a broken weld.
- Try the latch with one hand. If you need two hands, a hip, or a lift to get the latch to seat, your gate is at stage two or beyond. A properly hung gate latches with one hand, every time, without effort.
- Look at the gap between the gate and the post on all three sides. Is it even? If the gap at the top of the latch side is wider than at the bottom, your gate is sagging. If the gap at the hinge side has changed, your post is moving.
- Walk to the post base and look at the ground. Hairline cracks in the concrete collar, soil that has pulled away from the post, or a post that looks slightly tilted are all signs of post movement. On an electric gate, also look for any exposed wiring at the post base or along the gate’s hinge side.
- For electric gates only: open and close on the operator, not by hand. Watch whether the gate moves smoothly or shudders, whether it pauses mid-travel, and whether the safety reversal triggers for no visible reason. An operator that’s working harder than it used to is often reacting to gate geometry problems before those problems are visible to the eye.
A note on safety: if your gate has exposed high-tension springs, counterweight cables, or a heavy iron panel that has already dropped, do not attempt to lift it or adjust it yourself. A dropped gate can weigh hundreds of pounds, and the springs and cables that carry it are under load in ways that can release suddenly. If any of your monthly checks shows movement in the post, hardware that is loose, or an electric gate that is behaving erratically, close the gate if you safely can and call a professional to come look. We answer the phone at (626) 649-4572 with a live person 24 hours a day, and we can tell you over the phone whether what you’re seeing is a watch-it situation or a book-this-week situation.
How to Photograph and Describe a Warning Sign When You Call for Help
When you call a gate repair specialist, the person on the phone is trying to answer one question: is this urgent or can it wait? The better your description, the more accurate their answer. Here’s how to photograph and describe a warning sign so the technician who answers can actually help you.
Take three specific photos. First, a full photo of the gate from about ten feet back, showing the gate, both posts, and the ground around the posts. Second, a close-up of the area where the problem is: the hinge you think is loose, the latch that’s not seating, the crack at the post base. Third, a photo of the gap between the gate and the post at the top and bottom of the latch side. That third photo tells a technician more about your gate’s structural condition than almost anything else, because it shows the drop or the post lean directly.
When you describe the problem, use measurements and sounds, not adjectives. Instead of “the gate is sagging,” say “the gap at the top of the latch side is half an inch wider than at the bottom.” Instead of “it makes a weird noise,” say “it makes a high squeal when it’s halfway open, and the squeal is worse at night when it’s cooler.” Instead of “the post is cracked,” say “there’s a vertical crack in the concrete around the base of the post, about three inches long, starting from the gate side.” Specifics like these allow the person on the phone to distinguish between a hinge problem and a post problem, which is the single most important distinction in gate repair.
Mention when you first noticed it and whether it’s getting worse. A hinge that has been squealing for two years and hasn’t changed is a different situation than a hinge that started squealing last month and now the gate needs a lift to latch. The timeline matters. In our experience, a warning sign that has been stable for a year can usually wait a few weeks. A warning sign that has progressed noticeably in the last month should be looked at as soon as possible.
When you call Latch & Post Gate Repair, a live person answers, and that person is trained to ask the right questions. Describe the gap, the sound, and the timeline, and we can tell you over the phone whether this is something to keep an eye on or something to book this week.
Electric Gate Warning Signs That Precede Mechanical Failure
Electric gates in Los Angeles use operators from brands like DoorKing, Elite, Mighty Mule, and LiftMaster. These operators are built to move a gate that opens and closes smoothly, and they usually fail because they’ve been fighting a gate that no longer does. When an operator burns out, the cause is almost never the motor’s age. It’s the gate’s mechanical condition. Here are the electric-gate warning signs that show up before the motor gives out.
The operator’s sound changes. An electric gate motor should sound like a consistent, smooth hum while the gate is in motion. A motor that groans, labors, or changes pitch midway through travel is telling you the gate is binding somewhere and the motor is working harder than it should. That binding is usually hinge wear or a post that has moved, and fixing it early saves the motor.
The safety reversal triggers without a visible obstruction. Most modern operators have a safety loop or sensor that reverses the gate if it hits something. If your gate reverses for no apparent reason, the most common cause is not a bad sensor. It’s a gate that has dropped or shifted enough that it’s now hitting the ground, the stop, or its own track where it never used to. The sensor is doing its job. The gate is the problem.
The gate stops midway or won’t close all the way. This often starts innocently: the gate closes to within a few inches of the post and then stops. Or it opens fully but closes only halfway. Over time, the problem worsens until the gate won’t close at all. The cause is usually mechanical drift, not electrical failure. As the gate wears, its open and closed positions change by small increments, and the operator’s limit switches are set for the old positions. The fix is usually a re-alignment and limit-switch adjustment, not a motor replacement. But if you wait until the operator has been running against a stopped gate for weeks, the motor can overheat and fail, and then the repair is several times the cost.
If your electric gate is showing any of these signs, the operator itself may still be fine. Catching the mechanical problem before it damages the motor is the difference between a $180 gate adjustment and a $900 operator replacement. Latch & Post Gate Repair is factory-trained on DoorKing, Elite, Mighty Mule, and LiftMaster operators, so we can usually diagnose the problem on the first visit and give you a written price before any work begins.
When to Call a Professional
Call a gate repair professional when your gate needs a lift to latch, when the gap at the latch side is visibly uneven, when a hinge squeal comes back after lubrication, when the post base shows new cracks or movement, or when your electric gate starts reversing or stopping unexpectedly. These are all signs the gate has moved beyond what tightening a few bolts at home can address safely. Call Latch & Post Gate Repair home at (626) 649-4572 and describe what you’re seeing. If you’re in the Los Angeles area, we offer free estimates, and our team covers Gate Repair in Los Angeles with written pricing before any work starts. For new builds and full replacements, see Gate Installation in Los Angeles. And for operator issues, sensor problems, or gate automation, see Electric Gate Repair in Los Angeles.
Common Mistakes to Avoid
- Lubricating a worn hinge instead of replacing it. Lubricant fixes a dry hinge, not a worn one. If the squeal returns within weeks, the bushing is gone and the hinge needs replacement, not more oil. Lubricating a worn hinge buys a little quiet while the hinge continues to wear, which means you’ll eventually replace it under worse conditions and possibly pay for damage to the post or the gate panel too.
- Adjusting the latch to compensate for a sagging gate. When a gate starts needing a lift to latch, some homeowners move the latch or the strike instead of fixing the underlying drop. That keeps the gate latching for a while, but it masks the real problem. The hinge or the post is failing, and the longer it goes uncorrected, the more expensive the eventual fix.
- Ignoring rust because it’s only cosmetic. In Los Angeles coastal neighborhoods, rust on hardware is the first stage of corrosion that will eventually destroy the bolt or hinge. Treating rust early means wire-brushing it and re-coating. Treating it late means drilling out broken bolts and replacing hardware that has seized.
- Waiting until the gate fails completely before calling. A gate that has already dropped or a post that has cracked is a stage-five repair. The same problem caught months earlier would have been a fraction of the cost. If you’ve noticed a warning sign, even a small one, call and describe it. The call costs nothing, and the person on the phone can tell you whether it can wait.
- Doing structural work on a heavy gate without help. A solid wood or iron gate panel can weigh 200 pounds or more, and the hinges and cables that carry it are under continuous tension. If a hinge pin snaps or a cable releases while you’re working on it, the gate can drop without warning. We choose safe practices every time, and we recommend any homeowner with a dropped or partially-dropped gate keep clear and call a professional.
- Assuming the operator is the problem when the gate isn’t moving right. Most electric gate operator failures are caused by mechanical gate problems the operator has been fighting. Replacing the operator without fixing the underlying gate geometry usually means you’ll replace the operator again. Diagnose the whole system, not just the motor.
Frequently Asked Questions
Gate Repair in Los Angeles typically costs between $150 and $900 depending on the stage of the problem and what’s failed. Early-stage fixes like latch realignment or hinge tightening run $150 to $250. Mid-stage repairs like hinge replacement and gate re-hanging run $450 to $520. Late-stage repairs involving post resetting, concrete work, or full hinge and post replacement run $1,200 to $2,500. Latch & Post Gate Repair provides a written price before any work begins, so you’ll know the exact number before you decide. Call (626) 649-4572 for a free estimate.
The first sign is usually a gate that requires slightly more effort to latch than it once did, followed by a squeal or click from the hinge that wasn’t there before or a widening gap at the latch side. In Los Angeles homeowners with clay soil, the first sign may instead be a hairline crack in the concrete around the post base. Any of these signs is worth a phone call so a professional can tell you whether it’s a watch-it situation or a book-this-week situation.
A gate that needs lifting to latch has dropped because the hinge has worn, the post has moved, or both. The latch and strike are now misaligned by a fraction of an inch, and that misalignment will worsen until the latch stops catching entirely. This is usually correctable with a hinge adjustment or latch realignment if caught early, and it generally requires hinge replacement and re-hanging if ignored.
In most cases, yes. A sagging gate is usually the result of a worn hinge or a moving post, and both can be corrected without replacing the gate panel itself. The repair may involve tightening and re-shimming the hinges, replacing the hinge if it has worn past its bushing, or resetting the post if it has moved in its footing. The gate panel usually stays. The exception is when the panel itself has rotted or cracked around the hinge mounting points, at which point replacement may be the better option.
Look for three things: hairline cracks in the concrete around the post base, a gap between the post and the surrounding soil, and a post that looks slightly tilted relative to the gate. On the gate itself, post movement shows up as a gap at the top corner of the latch side that is wider or narrower than the gap at the bottom. If you see any of these signs, especially after a rainy season, the post is likely moving and should be looked at before the movement worsens.
A grinding noise from an electric gate means the operator is working against resistance, usually from a worn hinge, a misaligned track, or a gate that has dropped. The gate may still open and close, but continuing to run it in this condition puts strain on the motor and can lead to a burn-out that costs far more than the mechanical fix would have. The safe choice is to run the gate only when necessary and call a professional right away to diagnose the source of the noise. Call (626) 649-4572 and describe the sound; we can usually tell you over the phone whether it can wait a few days or needs attention now.
The Bottom Line
Gate warning signs are a sequence, not a single event. The gate that needs a slight lift to latch is telling you something real, even though it still works. The hinge that squeals and quiets with oil is counting down, not healing. The hairline crack at the post base is the soil moving, and it will not stop on its own. Learn to read these signs early, and you’ll pay $180 for an adjustment instead of $520 for a re-hang or $1,500 for a post reset. Learn to photograph and describe what you see, and the person on the phone can tell you whether it’s urgent. For more guides & resources, explore our blog. In Los Angeles, where gates are heavier, soil moves more, and coastal rust never sleeps, the homeowners who save money are the ones who notice things early and act while the fix is still small. If you’ve seen something, call (626) 649-4572. A live person answers, and the estimate is free.
Written by Cody Beckman, Owner at Latch & Post Gate Repair, serving Los Angeles since 2009.