
Last updated October 8, 2026
Free on-site gate assessment - hinges, posts, and your LiftMaster or Nice gate operator checked before anything is quoted
The assessment is free and the quote is the invoice.
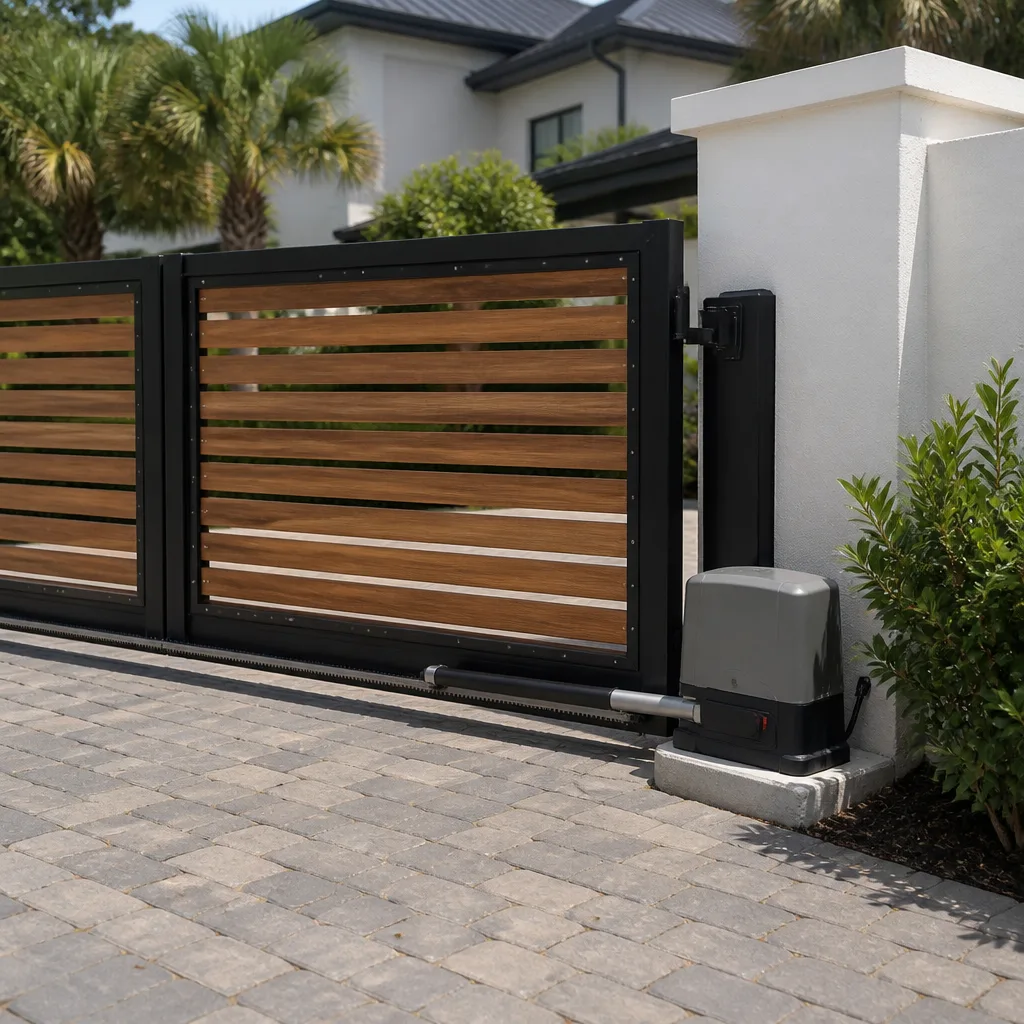
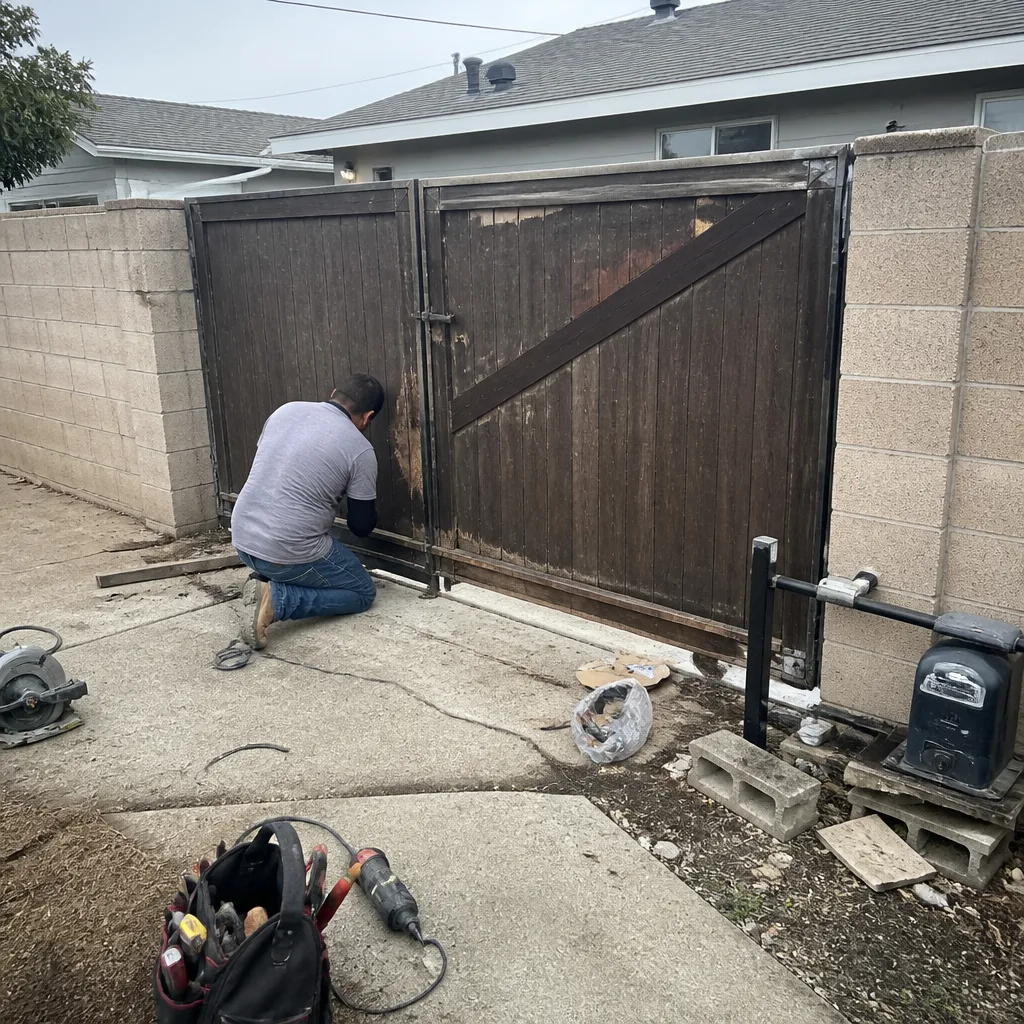 Before
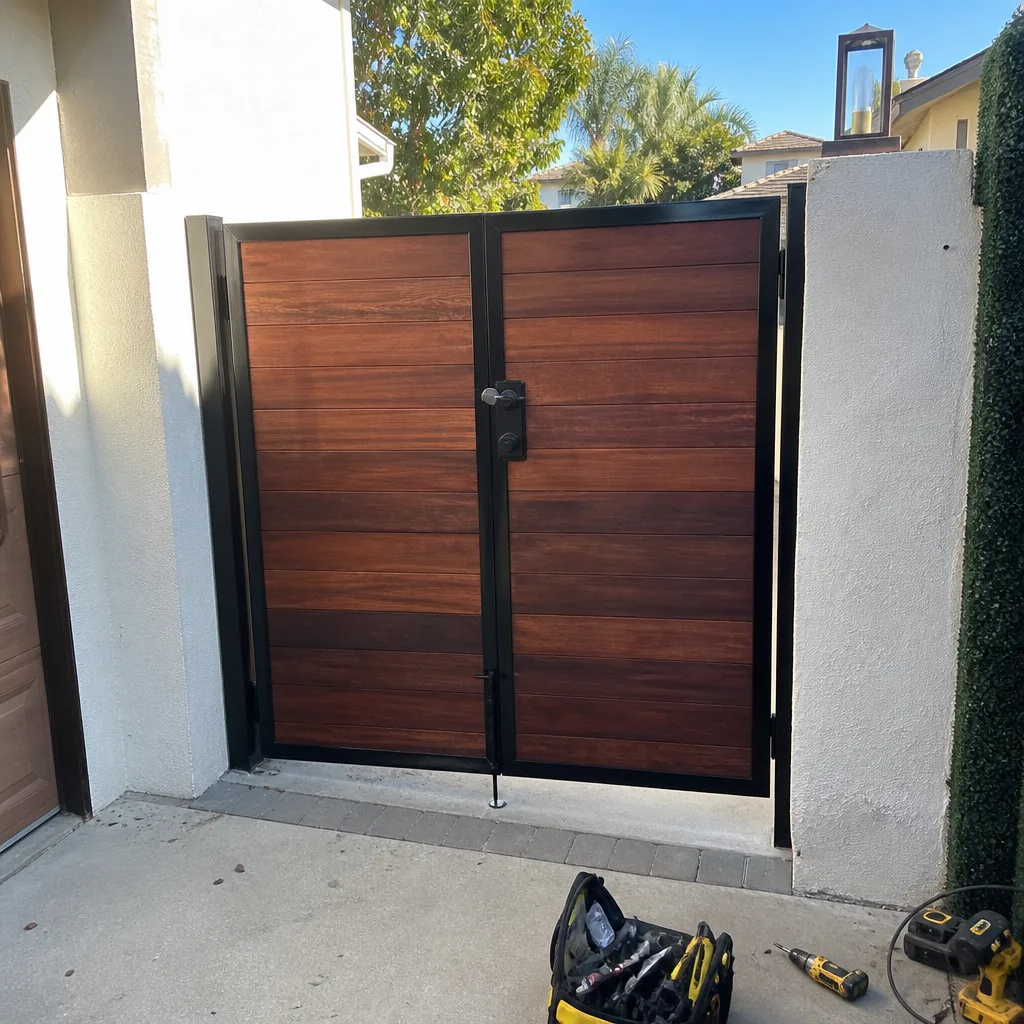 After
After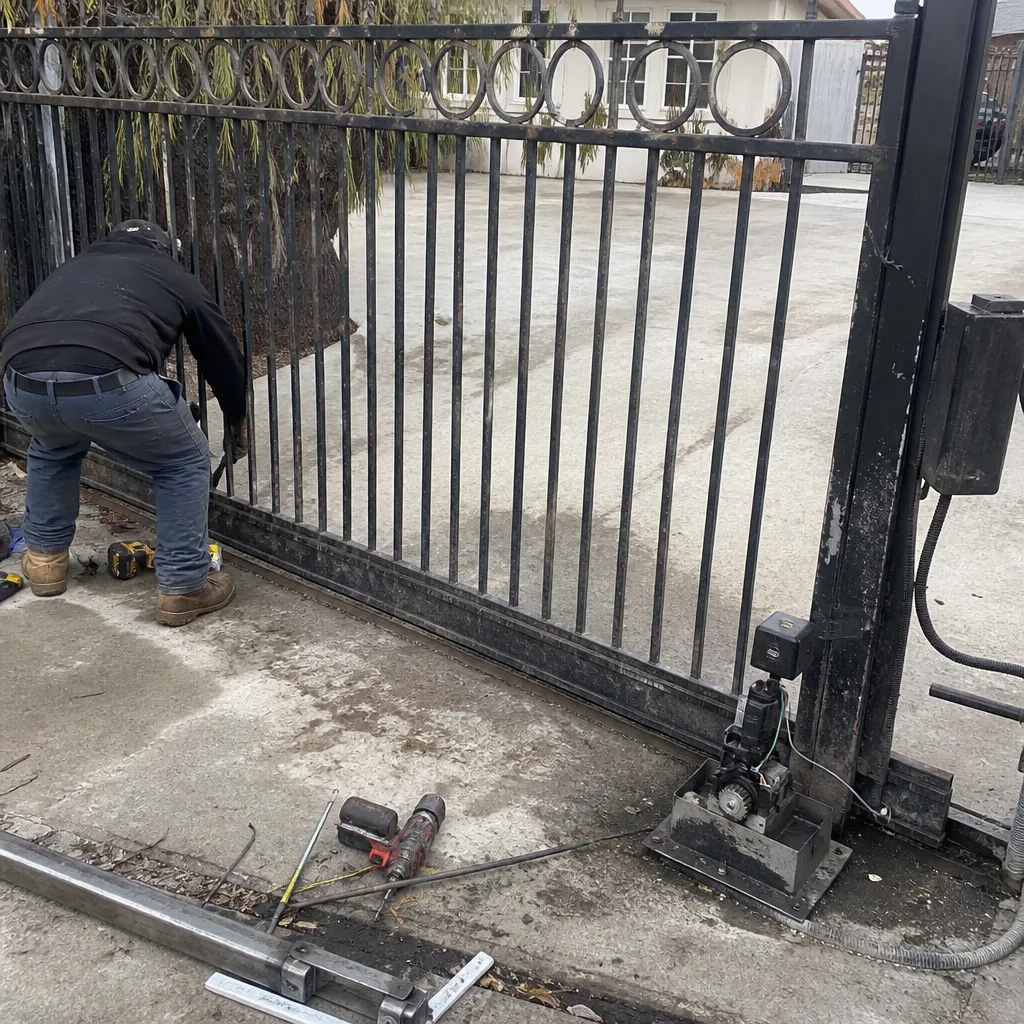 Before
 After
After Before
 After
AfterGate Installation Maintenance Schedule: What to Do and When
Most homeowners in Los Angeles treat a new gate the way they treat a new roof: install it, forget it, and only think about it when something goes wrong. The problem is that a gate has moving parts, and those moving parts do most of their settling during the first twelve months. A hinge bolt that’s torqued correctly at installation can loosen by a quarter turn within sixty days as the gate’s weight finds its resting position against the post. Miss that window and the bolt backs out further, the threads strip under repeated opening and closing, and a five-minute adjustment becomes a $200 hinge replacement. This guide covers what to check, when to check it, and why the first year demands a different schedule than every year after.
Quick Answer
A newly installed gate needs four maintenance visits in its first year: a 30-day hang check, a 60-day hardware torque check, a 6-month seasonal lubrication, and a 12-month full inspection before the first warranty year closes. From year two onward, the schedule simplifies to two annual visits, roughly six months apart, at $120 to $180 per visit compared to the first year’s four visits at $45 to $80 each. The most important appointment on the entire calendar is the 60-day check, because that’s when bolts that have loosened under the gate’s weight can still be re-tightened before they damage the threads.
Table of Contents
- The Year One Maintenance Calendar
- The 30-Day Hang Check
- The 60-Day Hardware Torque Check
- The 6-Month Seasonal Lubrication
- The 12-Month Full Inspection
- Year Two Onward: The Simplified Schedule
- Which Lubricant Goes Where
- The Maintenance Log You Should Keep
- Common Mistakes to Avoid
- When to Call a Professional
- Frequently Asked Questions
- The Bottom Line
The Year One Maintenance Calendar
Concrete takes time to cure. Not days. Weeks. A standard gate post set in concrete at a Los Angeles home reaches most of its compressive strength within seven days, but the curing process continues for a month or more, and during that time the post is still settling into the ground in ways you can’t see from the outside. Meanwhile, the gate itself is finding its permanent hang. Every swing, every closing force, every temperature fluctuation between a bright Pasadena afternoon and a cool coastal evening in Santa Monica is working the hardware. This is why the first year demands four visits.
- Day 30: Hang check. Confirm the gate still sits level and the latch still lines up square.
- Day 60: Hardware torque check. Re-tighten hinge bolts, latch body screws, and the drop-rod socket before threads strip.
- Month 6: Seasonal lubrication. Clean and lubricate the hinge pins, latch mechanism, and drop-rod socket as Los Angeles moves into the dry season.
- Month 12: Full inspection. Document the gate’s condition before the first warranty year closes, addressing anything that’s drifted.
Four visits in twelve months sounds like a lot, but each one is short and inexpensive. Most run between $45 and $80, and a homeowner who skips them will typically pay far more in year two or three, when small problems that would have been caught early have turned into parts replacements. Our gate installation work at Latch & Post Gate Repair comes from the same discipline: a new gate is not finished when we drive away. It’s finished when it’s been through a full year of load, movement, and Los Angeles weather, and the hardware still holds true.
The 30-Day Hang Check
The first month is about one thing: whether the gate is still hanging where it was installed. Concrete has cured enough to hold the post firmly, but it has not finished curing, and the gate has now been opened and closed hundreds of times. Each cycle applies a small rotational force to the post. That force does two things: it compacts the soil around the footing, and it tests the fit of the hinge bolts against their holes.
What a 30-day check involves:
- Level check: A four-foot level across the top rail. A gate that’s drifted more than an eighth of an inch out of level is a gate that’s already telling you something about the footing.
- Latch alignment: The latch tongue should meet the strike cleanly. If the gate has drifted even slightly, the latch will start to catch or bind. You’ll feel it as a hard close.
- Drop-rod socket: For double gates, the drop rod should fall fully into its socket without scraping. A socket that’s off-center by a quarter inch means the inactive leaf has moved.
- Visual sweep: Walk the gate through its full arc twice, once slowly and once at normal speed. Watch for any wobble at the hinge point or hesitation mid-swing.
If everything checks out, great. The gate is holding its hang. If anything is off, this is the cheapest possible moment to correct it. Adjusting the hinge pack or re-setting the latch at thirty days is usually a simple service call. Letting it drift for six more months turns it into a hardware replacement. Around Los Angeles, we see more drift on hillside properties in Silver Lake and Echo Park, where the natural slope puts a constant downhill force on the hinge side of the gate. Those homes benefit most from keeping this first appointment.
The 60-Day Hardware Torque Check
This is the visit that matters most, and it’s the one almost nobody schedules. At sixty days, the hinge bolts, latch body screws, and drop-rod socket have gone through enough open-close cycles to reveal whether they’re seating properly. The bolt that was torqued to spec at installation has been worked back and forth by the weight of the gate. It may have loosened an eighth of a turn, a quarter turn, or not at all. The issue is not the loosening itself. It’s what happens if the loosening goes unnoticed.
When a hinge bolt backs out slightly, the hinge plate begins to work against the post with each swing. The bolt is no longer clamping the plate firmly. It’s allowing micro-movement. That movement slowly deforms the threads in the bolt hole. The longer it goes on, the more the threads wear. Eventually, re-tightening the bolt doesn’t hold because the threads are gone. At that point, the repair is a new hinge, a re-drilled post, and a re-hang at $200 or more. The prevention is five minutes with a socket set at the two-month mark.
On gates from brands like FAAC and BFT, which are common across Los Angeles homes, the hinge arrangement is slightly different from one model to the next, but the principle is the same: hardware under load needs re-torquing after it has settled. Our technicians at Latch & Post Gate Repair make this part of every new installation follow-up. It means checking every bolt on the hinge leaf, the latch body mounting screws, and the drop-rod socket plate, and re-tightening each to the manufacturer’s torque spec. No guesswork. A torque wrench, not a feel for tight enough.
One note for households on the Westside, from Venice to Pacific Palisades: the salt air accelerates surface corrosion on hardware, and a bolt that’s loosened slightly is a bolt that’s also admitting moisture. The 60-day check is your chance to catch both at once.
The 6-Month Seasonal Lubrication
Los Angeles does not have four seasons. It has two: a long dry stretch from roughly May through October, and a shorter wet season from November through April, with a marine layer that lingers near the coast through June. What all of that means for a gate is simple. The dry season brings dust. The wet season brings moisture, and moisture plus dust makes a grinding paste that works its way into hinge pins and latch internals. Six months after installation, your gate’s moving parts have seen a full cycle of Los Angeles weather, and they need cleaning before lubrication does any good.
Lubricating a gate without cleaning the hardware first is like waxing a car without washing it. You’re sealing in the contaminants. The right approach is to clean each friction point first, then apply the right product to the right spot. We’ll cover the products in detail in a later section, but the short version is this: hinge pins take one type of lubricant, the latch mechanism takes another, and the drop-rod socket takes a third. Using the wrong product on any of these three shortens the hardware’s life instead of extending it.
If you’re doing this yourself, the order matters. Open the gate fully. Clean the hinge pins with a rag. Apply lubricant to each pin. Work the gate through three full swings to distribute it. Then clean the latch face and the strike plate. Apply lubricant to the moving parts only, not the strike. Test the latch ten times. Finally, pull the drop rod up and clean the socket, apply a light coat, and seat it back down. The whole routine takes twenty minutes. If you would rather not touch any of this, a maintenance visit runs $45 to $80 and includes the same sequence, plus a check on everything else while we are there.
The 12-Month Full Inspection
The final first-year visit is the one that closes out the installation warranty period. Most gate warranties cover parts and workmanship for one year from the date of installation, and the twelve-month mark is when a problem can still be addressed under warranty but won’t be in month thirteen. This is also when to review Gate Installation Warning Signs Every Homeowner Should Know. This visit is about documenting where the gate is now, comparing it to where it was at installation, and catching anything that needs attention before the clock runs out.
A full inspection covers:
- All hinge points: Check for play, wear, or corrosion. Any hinge with visible slop at twelve months is a hinge that won’t make it through year two.
- Latch and lock hardware: Test the latch action, the keyway, and the handle through fifty cycles. Feel for binding, grinding, or looseness.
- Drop rod and socket: Inspect the rod for scoring and the socket for wallowing.
- Post stability: Push the post hard in both directions. Any movement at the base means the footing or the post has a problem.
- Gate plumb and level: Re-check the same measurements from day one. A gate that has held level for a year is a gate that will hold level for many more.
- Finish and coating: Look for chips, scratches, or bare metal, especially near welds and at the bottom rail where irrigation overspray can sit.
In Los Angeles, irrigation overspray is a real factor. Sprinklers that hit the bottom of a gate every evening create a persistent wet-dry cycle that accelerates finish failure and promotes rust. If the inspection finds bare metal at the bottom rail, the fix is simple at twelve months: clean, prime, and touch up. Let it go for another year and the rust advances into the tube itself. The twelve-month inspection is also when we recommend switching from the first-year schedule to the simplified two-visit annual plan, because by this point the gate has done its settling, the footing has fully cured, and the hardware has proven itself under load.
Year Two Onward: The Simplified Schedule
After the first year, a gate enters its settled life. The footing is fully cured. The hardware has seated. The gate has found its permanent hang. That does not mean maintenance stops. It means the frequency drops by half and the focus shifts from correction to preservation.
The year-two-onward schedule is two visits annually, spaced roughly six months apart. In Los Angeles, the natural timing is:
- January: After the Santa Ana winds have blown dry, abrasive dust into every hinge and latch, and after the first winter rains have tested the finish. This visit is about cleaning out residue, checking for moisture intrusion, and preparing the gate for the long dry stretch ahead.
- June: As the marine layer retreats and the dry season settles in. This visit is about lubrication, re-torquing any hardware that has loosened, and checking the finish before the harshest UV months of July through September.
The cost difference is significant. The first-year schedule is four visits at $45 to $80 each, which is $180 to $320 for the year. The ongoing schedule is two visits at $120 to $180 per visit, which is $240 to $360 annually. The ongoing visits cost more per appointment because they’re more thorough, but the annual total is comparable, and the gate receives the appropriate level of attention for its stage of life. A gate that gets these two visits each year is a gate that typically outlives the homeowner’s schedule, not the other way around.
One thing worth stating plainly: these prices cover inspection and routine maintenance. If a visit uncovers a problem that needs parts or a more involved repair, that work is quoted separately, in writing, before anything is done. That’s the standard we work to at Latch & Post Gate Repair, and it’s the standard you should expect from any gate company in Los Angeles.
Which Lubricant Goes Where
The wrong lubricant on gate hardware does more damage than no lubricant at all. A heavy grease on a hinge pin attracts dust and grit, and within weeks you’ve created a grinding compound that wears the pin and the hinge barrel. A dry graphite on a latch mechanism with a spring might work for a while, then leave residue that gums the internals. The point is that there is no one-size-fits-all gate lubricant. There is a right product for each friction point. Here’s what goes where on most Los Angeles gates, including the ones from Viking and Linear that we service regularly.
- Hinge pins: A dry-film lubricant, applied after cleaning. It leaves a slick coating that does not attract dust, which matters through Los Angeles’s long dry season. Do not use grease. Grease holds grit.
- Latch mechanism: A light machine oil or a dedicated lock lubricant. You want penetration into the pivot points inside the latch body. Two to three drops is enough. Too much oil runs down the gate face and stains the finish.
- Drop-rod socket: A dry silicone spray or a dry-film lubricant. The socket sits at ground level where it collects dust and debris, so anything sticky turns it into a clogged catch.
- What to avoid everywhere: WD-40 as a lubricant. It’s a water displacer and a solvent, not a long-term lubricant. It works briefly, then evaporates and leaves the surface drier than before. If you’ve been spraying WD-40 on your hinge pins, that’s likely why the gate is squeaking again two weeks later.
If you’re not sure which product your gate needs, ask during your next maintenance visit, or browse more guides & resources on our blog. We can identify what’s on the hardware now, what’s causing any noise or stiffness, and what the right replacement is. The goal is always the same: keep the hardware clean, keep it lubricated with the correct product, and keep the gate moving like it did the day it was installed.
The Maintenance Log You Should Keep
Documentation matters more than most people think. A simple maintenance log becomes the record that settles questions about warranty coverage, proves that the gate received proper care, and tells any future technician exactly what has been done and when. It also helps you notice patterns. A gate that needs hinge re-torquing every January for three years running is telling you something about the footing or the gate’s weight distribution that a one-off visit might miss.
What to record after every maintenance visit:
- Date: The day of the visit.
- What was checked: Hinges, latch, drop rod, posts, finish, opener if applicable.
- What was adjusted or replaced: Specific parts, not vague descriptions. “Re-torqued top hinge bolt” is more useful than “tightened stuff.”
- What lubricant was applied and where: Particularly useful if you ever change products.
- Who did the work: Company name and technician name.
- Any concerns noted: “Slight play in bottom hinge, will monitor” is the kind of note that prevents a small problem from becoming a big one.
Keeping this log is especially important if a repair is needed during the first year. If the gate develops an issue covered by the installation warranty or the 365-Day Done Right Promise, a log that shows the required maintenance was performed strengthens the claim and accelerates it. A homeowner who cannot say when the gate was last checked or in what condition it has been kept is in a weaker position. A one-page log in a kitchen drawer solves that. At Latch & Post Gate Repair, we keep records on our side for every installation we complete, but we recommend our clients keep their own as well. Two records are better than one when a question comes up.
Common Mistakes to Avoid
- Skipping the 60-day torque check. This is the single most common and most damaging skip we see. Loose hinge bolts strip their threads quickly, and a gate that could have been saved with a socket set now needs a new hinge and a re-drilled post. Five minutes versus two hundred dollars.
- Using the wrong lubricant. Grease on hinge pins, WD-40 on everything, household 3-in-1 oil on a drop rod that sits in the dirt. Wrong products accelerate wear instead of preventing it, and the fix is usually more involved than the original maintenance.
- Treating the first year like the stable years. The assumption that a new gate is at its strongest on day one is backward. A new gate is still settling, and it needs more attention in year one than in year five.
- Ignoring a stiff latch. A latch that requires extra force to close is telling you that something has shifted. Working it harder does not fix the misalignment. It compounds it.
- Waiting until a squeak becomes a grind. Squeaks are cheap to address. Grinds mean parts have already started wearing metal on metal. By the time a gate grinds, you’re replacing hardware, not maintaining it.
- Letting irrigation spray hit the gate. Common across Los Angeles yards where sprinkler heads are aimed at the gate year-round. Persistent moisture on the lower rail and hinge side causes rust, finish failure, and eventually structural weakening.
- Using a pressure washer on the gate near the hardware. A quick blast on the driveway gate feels efficient, but high-pressure water forces its way into hinge barrels and latch bodies, washing out the lubricant and inviting rust. Hand-wash the gate instead, and keep the spray away from moving parts.
When to Call a Professional
Some maintenance is a judgment call. A homeowner who is comfortable with basic tools can handle a lot of the lubrication and visual inspection work. But there are moments when the right move is to pick up the phone. If the gate has drifted out of level more than an eighth of an inch and you’re not sure why, call. If a hinge bolt will not hold torque, call. If the latch is binding and adjusting the strike hasn’t helped, call. If the post itself moves when pushed, call immediately. That last one is not routine maintenance. It is a footing problem, and it gets worse the longer it waits.
Latch & Post Gate Repair offers free estimates in Los Angeles. If you’re not sure whether your gate needs a service call, call (626) 649-4572, describe what you’re seeing, and we’ll tell you honestly whether it needs attention or can wait. A live person answers, day or night.
Frequently Asked Questions
Routine maintenance visits in Los Angeles typically cost $45 to $80 per visit during the first year, when the checks are shorter and more targeted, and $120 to $180 per visit for the ongoing twice-annual schedule, when the visit is more comprehensive. You’ll always see the exact price in writing before any work begins. Call (626) 649-4572 for a quote on your specific gate.
Yes. The first year is when the concrete footing finishes curing, the hardware seats under load, and the gate finds its permanent hang. Skipping the early checks, especially the 60-day torque check, is the most common reason we see hinge failures on gates that are only two or three years old. The four visits cost less combined than a single hinge replacement.
Hinge bolts that loosen during the first two months and are not re-torqued begin wearing their threads. Once the threads are stripped, re-tightening no longer holds, and the hinge must be replaced and the post re-drilled. What takes five minutes at the sixty-day mark costs $200 or more by the time it fails.
You can, and for many homeowners a simple cleaning and lubrication routine is manageable. The key is using the right product: a dry-film lubricant on hinge pins, a light machine oil on the latch mechanism, and a dry silicone spray on the drop-rod socket. Avoid grease and avoid WD-40 as a lubricant. If you’re not comfortable doing it, a maintenance visit includes the same work done correctly.
A full gate installation in Los Angeles includes the gate itself, posts set in properly cured concrete, hinges and latch hardware, and all the adjustments needed to hang the gate square and level. The work includes a written price before anything starts, shoe covers and drop cloths inside your home if the work requires entry, and a photo of the cleanup before we leave. Our installations are covered by the 365-Day Done Right Promise.
The promise covers the work we perform. If a repair or installation we completed isn’t right, we make it right, no argument and no fine print. That’s separate from routine maintenance, which is about keeping a properly working gate working. Keeping a simple maintenance log is the best way to document that your gate has been cared for, whatever questions come up later.
The Bottom Line
A new gate needs more attention in its first year than at any other point in its life. Four visits, four specific purposes, and a total cost that’s usually less than the repair that comes from skipping them. From year two onward, two well-timed visits each year keep the gate clean, lubricated, and stable through Los Angeles’s dry seasons and wet seasons alike. Keep a log, use the right products in the right places, and call for help when something moves that shouldn’t. The gate will outlast most of the hardware around it. For experienced service from the Cedarwell family of gate specialists, Latch & Post Gate Repair offers gate repair in Los Angeles and electric gate repair in Los Angeles, with free estimates and a live person on the phone at (626) 649-4572, 24 hours a day.
Written by Cody Beckman, Owner at Latch & Post Gate Repair, serving Los Angeles since 2009.