
Last updated October 8, 2026
Free on-site gate assessment - hinges, posts, and your LiftMaster or Nice gate operator checked before anything is quoted
The assessment is free and the quote is the invoice.

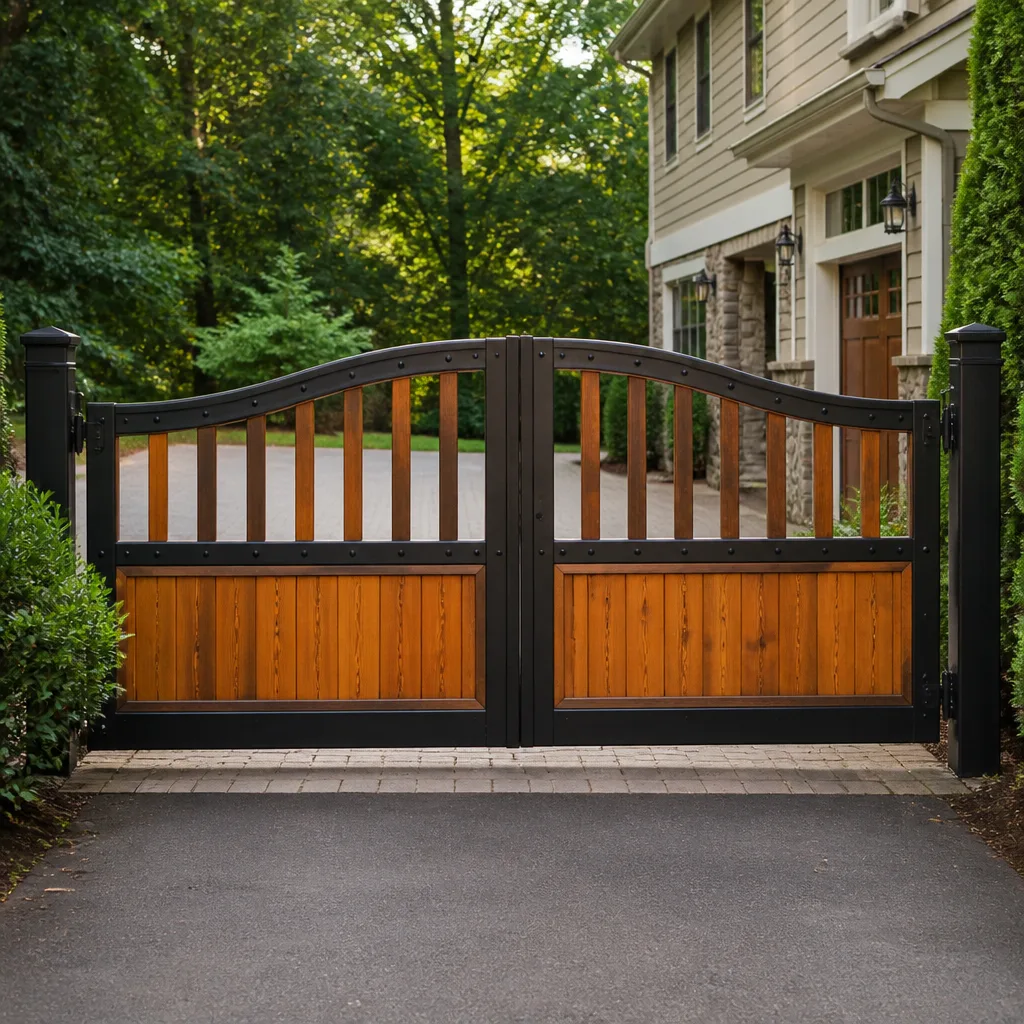
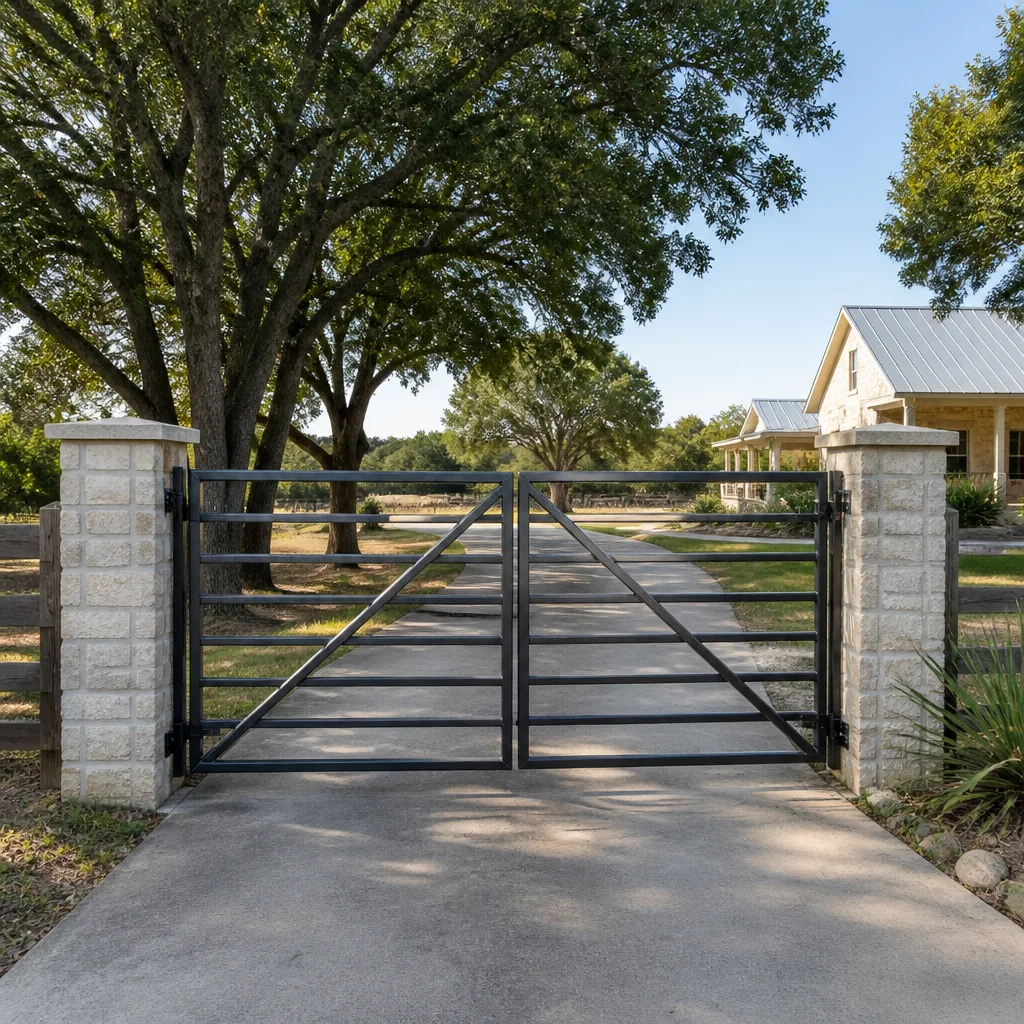
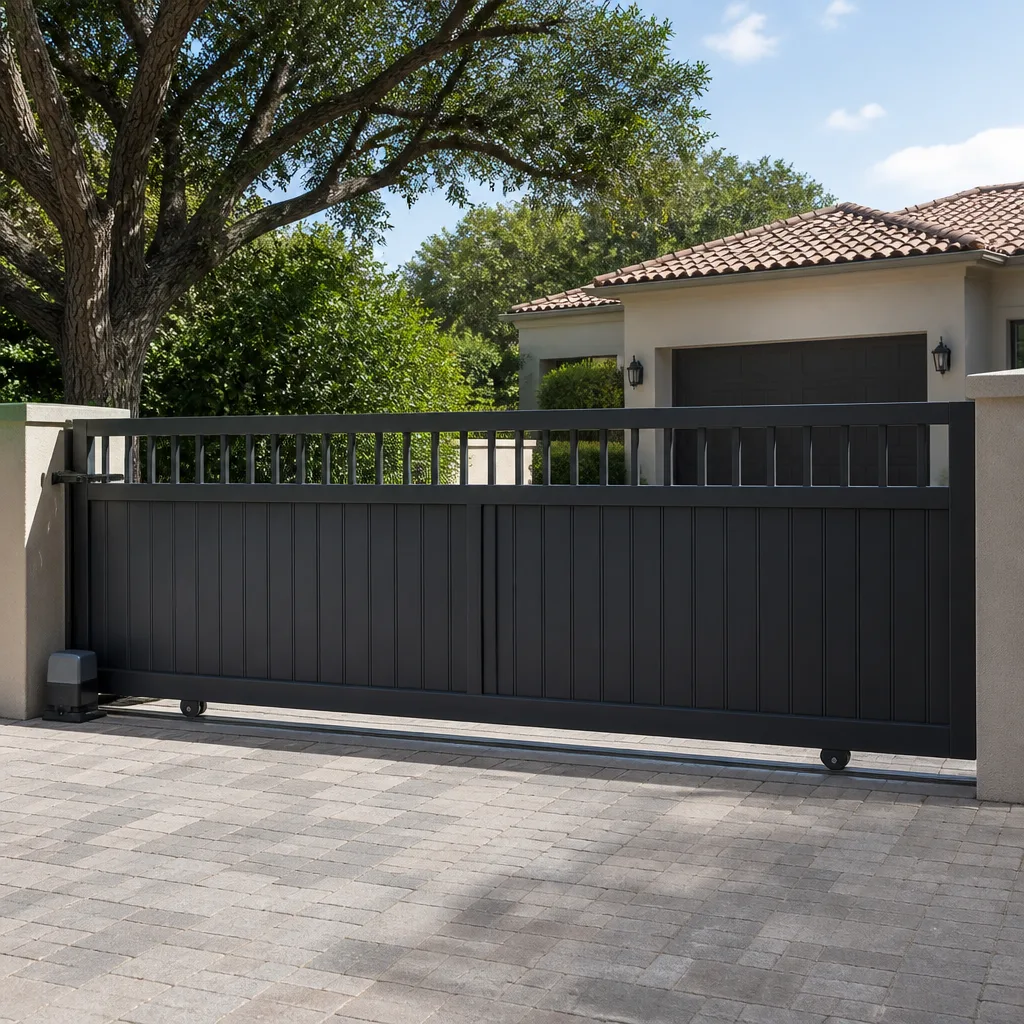
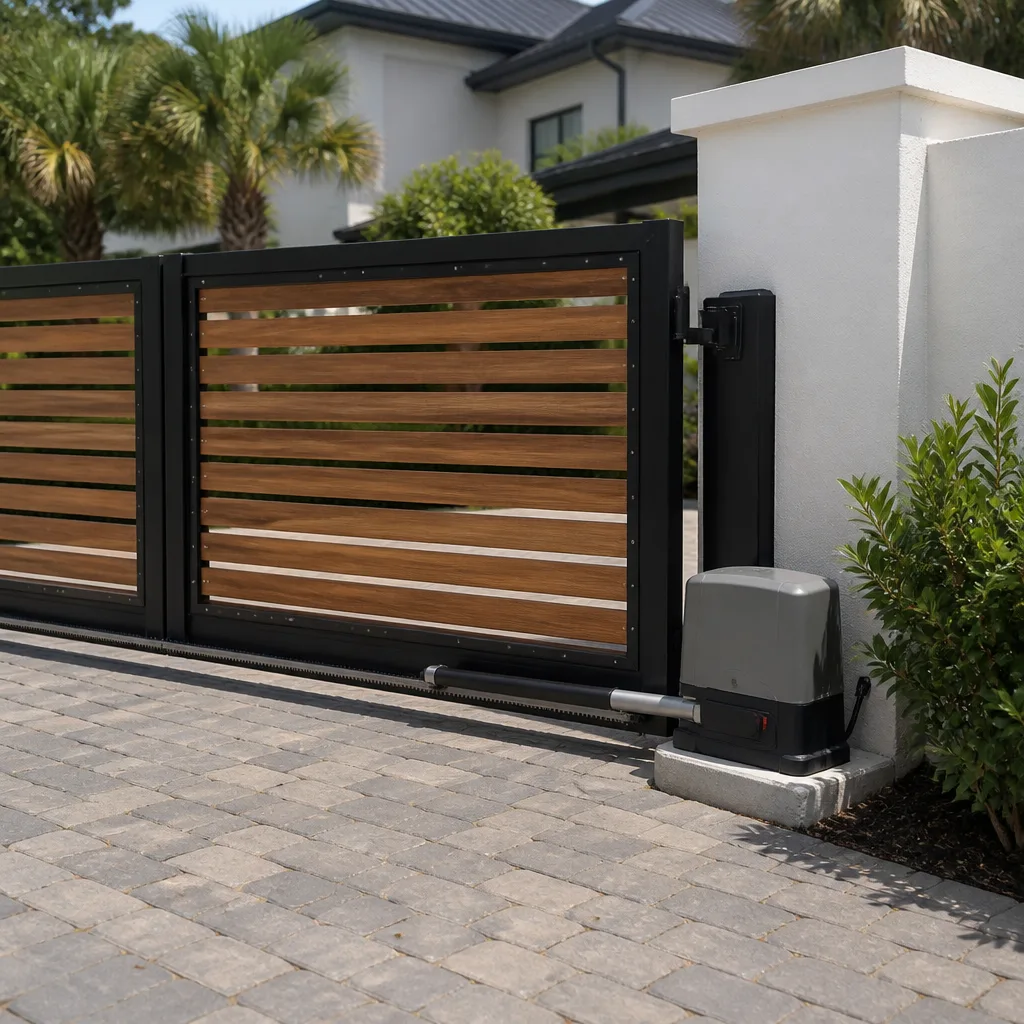
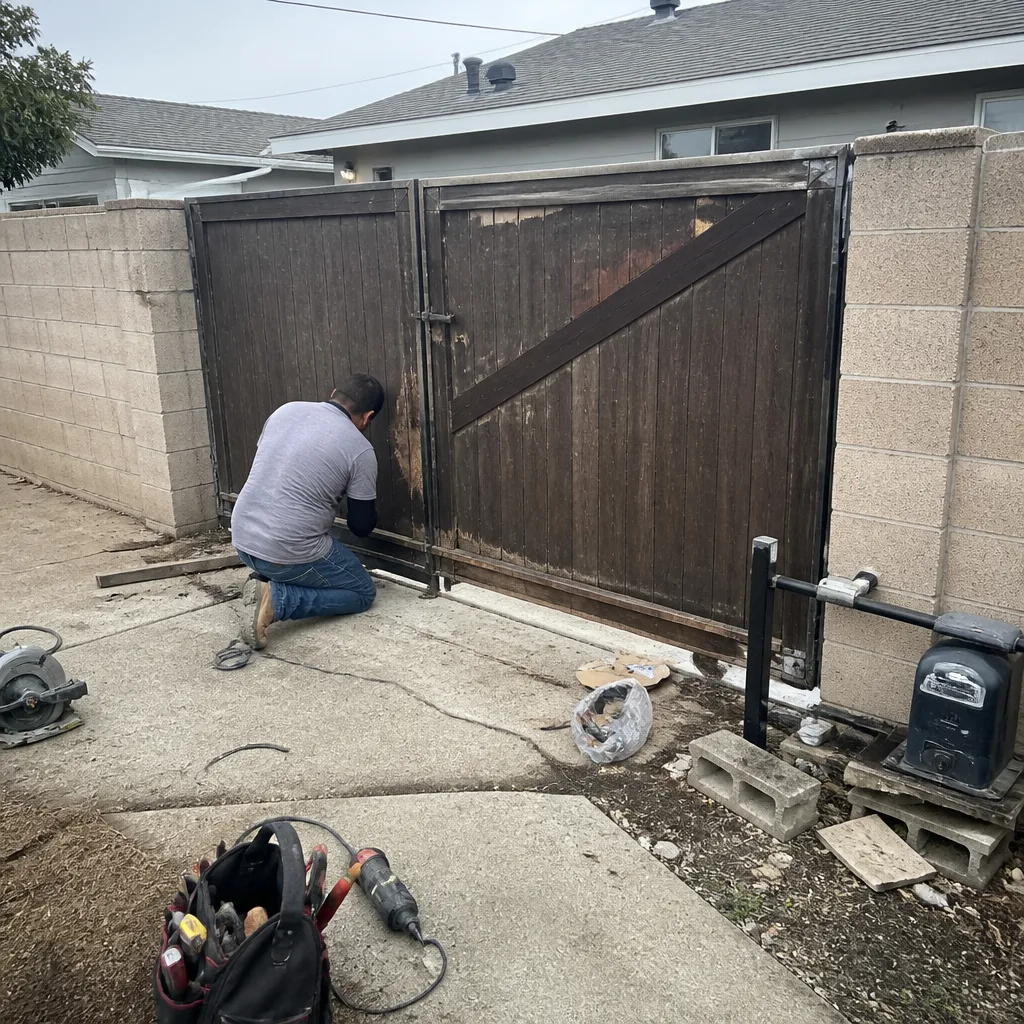 Before
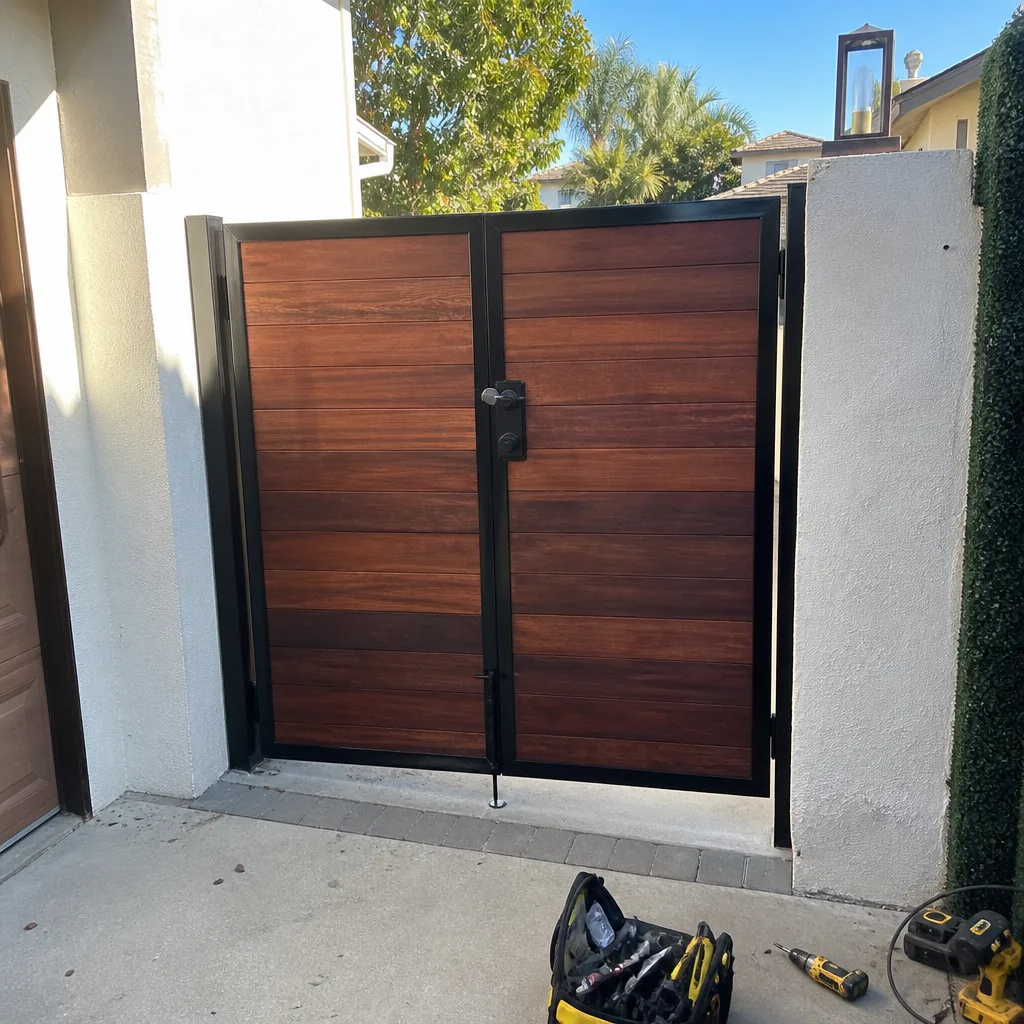 After
After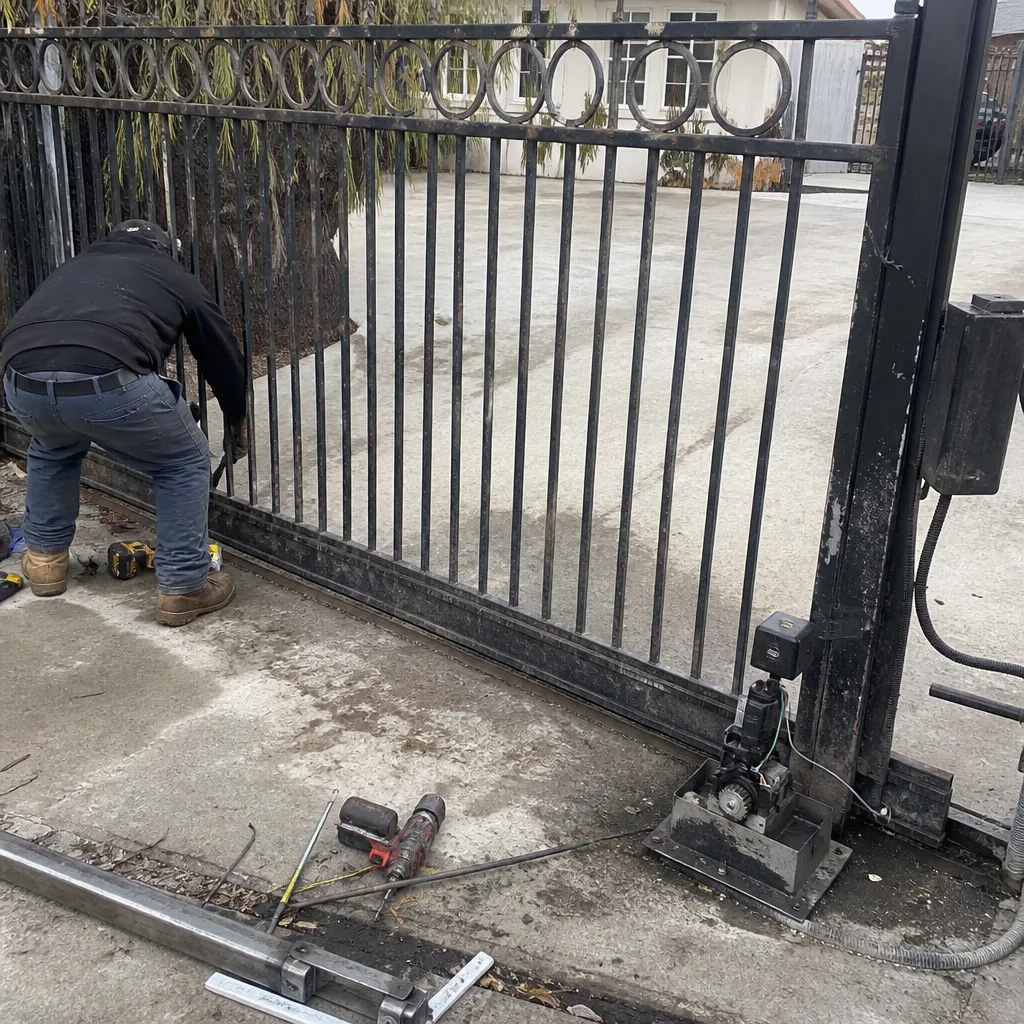 Before
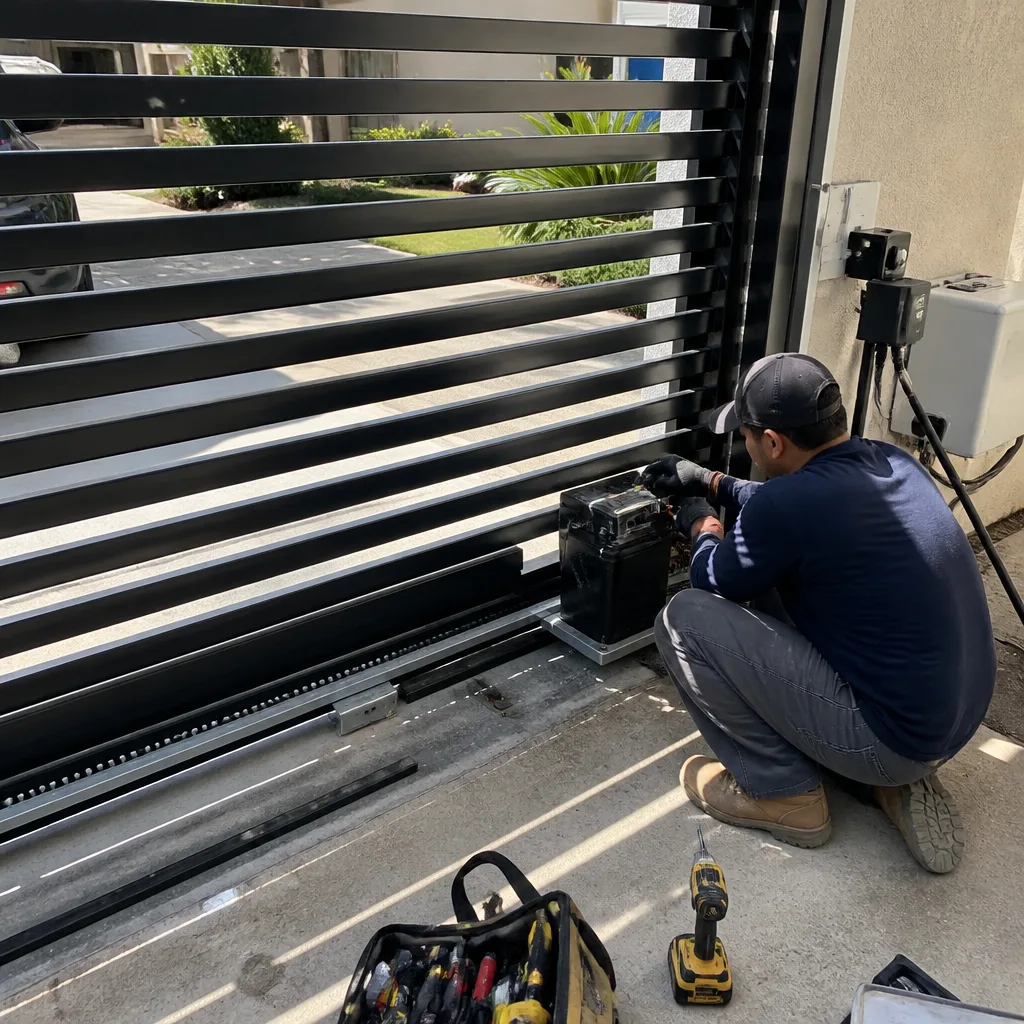 After
After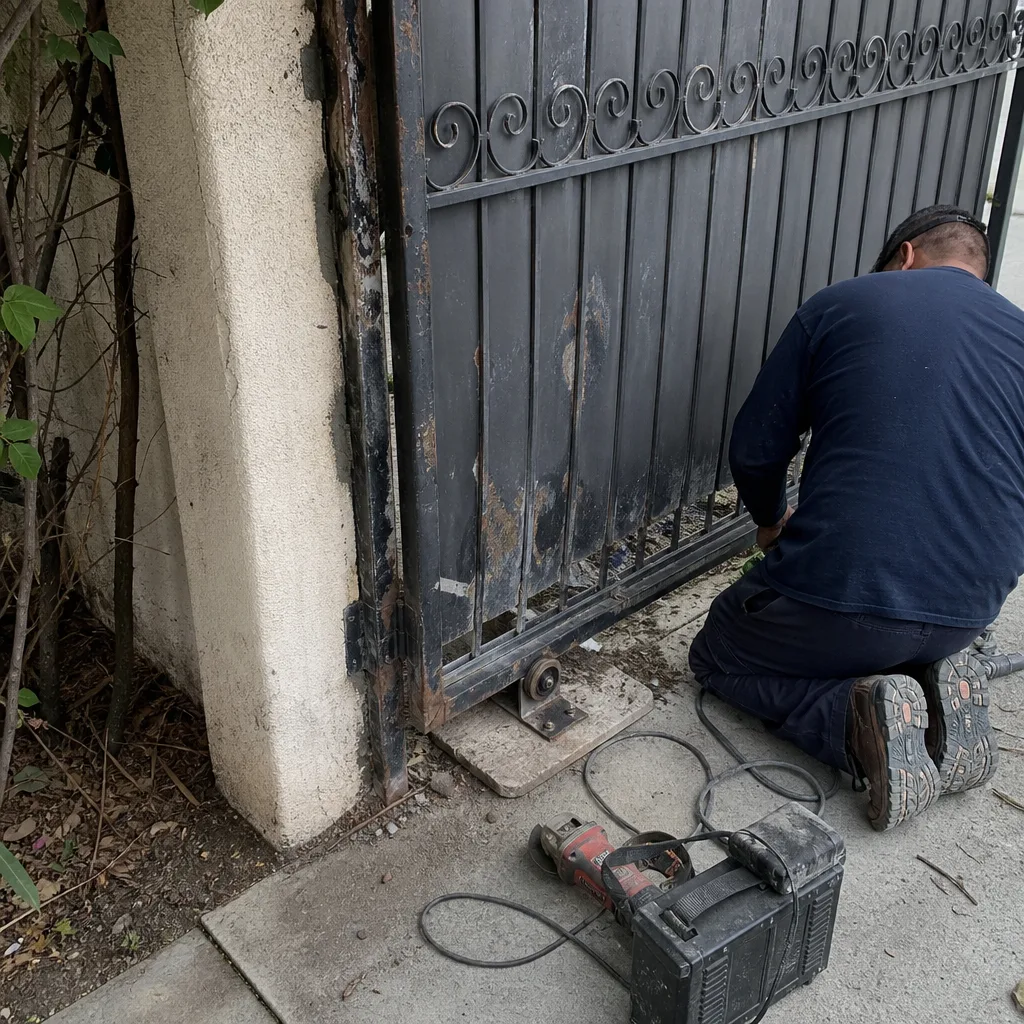 Before
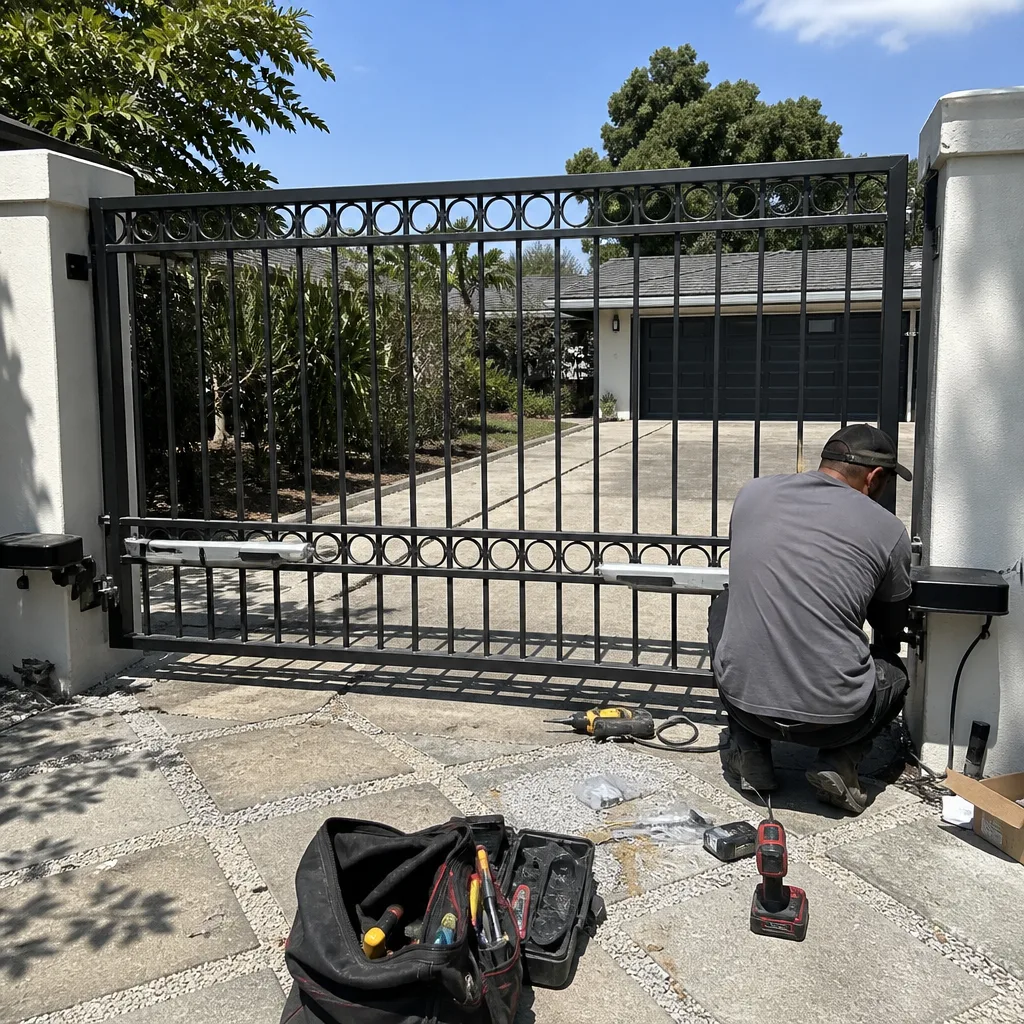 After
AfterGate Installation Warning Signs Every Homeowner Should Know
A gate post set in a 12-inch-deep footing instead of the code-required 24 inches looks perfectly straight on day one and leans noticeably by the following winter. That shortcut saves the installer about $75 in concrete and creates a $600 to $900 reset job for the homeowner less than a year later. This guide walks through what actually matters after our Gate Installation services in Los Angeles: what to inspect before the crew packs up, what warning signs show up in the first six to eighteen months, and which “small quirks” are really structural problems announcing themselves early. By the end, you’ll know more about your gate’s health than the person who installed it.
Quick Answer
Gate installation warning signs fall into three groups: post problems (leaning, cracked footing concrete, movement when the gate swings), hinge problems (sag, drift, squealing, rust bleed from fasteners), and latch problems (needing to lift the gate to close it, strike plate wear, binding). The three most serious red flags on day one are a post that shifts when you push on it, a gate that drifts open or closed on its own, and a latch that only catches when you lift the gate. Any one of these means the installation was not done to standard and will get worse, not better.
Table of Contents
- The Post Depth Test: What Los Angeles Soil Requires
- The Swing Test: What Gate Drift Tells You About Hinge and Post Alignment
- Latch-Strike Misalignment: The “Lift It a Little” Warning Sign
- Three Visual Checks for Wood Gates
- Electric Gate Warning Signs: What the Operator Is Trying to Tell You
- Why Completion Photos and Measurements Matter for Warranty Claims
- The Day-One Inspection Checklist
- Frequently Asked Questions
The Post Depth Test: What Los Angeles Soil Requires
In Los Angeles, gate posts need to be set at least 24 inches deep, with a concrete footing that extends below the post itself. That depth matters because our soil expands and contracts with the wet and dry seasons. A post set too shallow rises and settles with the clay, and every cycle shoves it further out of plumb. In neighborhoods like Woodland Hills and Sherman Oaks, where the soil has a heavy clay component, we’ve seen posts set 12 inches deep lean visibly within eight months. In the San Fernando Valley’s sandier pockets, the same shallow post takes a bit longer to move, but it still moves.
The test we tell every homeowner to perform on day one is direct: grip the post at chest height with both hands and push it hard, left to right, then front to back. A correctly set post does not move at all. No wiggle, no flex, no creak. If you feel even a fraction of an inch of movement, the footing is too shallow, the concrete hasn’t cured, or the post was undersized for the gate it carries. Ask the installer then and there, before they leave, to explain what’s under the ground. A proper answer includes depth, concrete volume, and whether rebar or an anchor bracket was used. A vague answer usually means you’re looking at a reset job within two years.
For a gate installation in Los Angeles, the footing depth standard for a 6-foot-tall gate is 24 inches minimum, with some cities and HOAs requiring 30 inches for wider double gates. The concrete should extend at least 4 inches beyond the post on all sides. If you didn’t witness the hole before the pour, the push test is your best verification, especially in the first week while the concrete is still curing.
The Swing Test: What Gate Drift Tells You About Hinge and Post Alignment
The swing test is the single most useful diagnostic any homeowner can do, and it takes thirty seconds. Open the gate fully, let it go, and watch. A gate installed with level hinges and a plumb post stays exactly where you left it. It does not drift open. It does not drift closed. If your gate moves on its own, here’s what each direction tells you:
- Drifts open: The top hinge is binding or the gate is slightly out of plumb, leaning away from the latch side. This usually traces back to a post that was set a degree or two off vertical and shimmed at the hinge instead of corrected at the footing. The weight of the gate pulls it toward the low side, and it will get worse as the hinge plate wears against the post.
- Drifts closed: The gate’s weight is not carried evenly. This often happens when the bottom hinge is higher than the top hinge relative to the post face, or when the post itself leans toward the latch side. Drifting closed might seem harmless on a driveway gate, but it means the latch is absorbing lateral pressure every single time someone passes through, which accelerates striker wear and eventually bends the latch plate.
- Stays put, but swings with a hitch or catches mid-arc: The hinge barrel is misaligned from the hinge pin, likely because the two gate halves or the gate and post are no longer in the same plane. Less common on day one, but when present, it’s a sign the gate was partially sagging before installation was complete.
For electric gates with operators, the swing test has an extra dimension. A gate opener from Linear or Viking will fight drift every cycle, which shortens the operator’s life. If your gate drifts on its own before the opener is installed, fix the geometry first. Adding a motor to a drifting gate is like adding cruise control to a car that pulls to the right.
Latch-Strike Misalignment: The “Lift It a Little” Warning Sign
A latch that only catches when you lift the gate is not a quirk. It’s sag announcing itself. The distance between the latch and the strike plate is fixed at the moment of installation. If that distance changes, it means the gate leaf has dropped relative to the post, which means the hinges or the post footing have already begun to fail. A very small drop, an eighth of an inch or less, can come from hinge plates settling into the wood or metal surface under load. That’s worth tightening. Any drop beyond that points back to the post.
Here’s the rule we use on every gate we service: the latch bolt should enter the strike plate freely, with no lifting, no kneeing the gate with your hip, and no pulling up on the top rail. If you have to lift, the installation was marginal before the concrete even cured. Over the next 6 to 18 months, the gap grows, the bolt starts shaving metal from the strike, and eventually the latch jams entirely. In Los Angeles, where gates get daily use in the dry months and monthly rain in the wet ones, the sag timeline compresses compared to a mild coastal climate.
One specific detail worth knowing: a striker that shows bright metal wear on the bottom edge is proof the latch has been misaligned for a while. Paint or coating is worn through only where the bolt enters at an angle. If you see that on a gate under a year old, the installation wasn’t right, and the hinge side is the most likely culprit. For context on what proper hinge work looks like on a corrective gate repair, the fix usually means re-seating the hinges on a corrected post, not adding washers and hoping.
Three Visual Checks for Wood Gates
Wood gates need three specific inspections immediately after installation and again at the six-month mark. These apply to any solid-wood or frame-and-panel gate, the style most common in Los Angeles foothill neighborhoods like Altadena, La Cañada, and Studio City.
- Gaps at the horizontal rails. Look at where the top and bottom rails meet the vertical stiles. On day one, those joints should be tight, with no daylight and no caulk smeared to hide a gap. A gap means the rail was cut short, the joinery was forced, or the wood was not allowed to acclimate before assembly. Mid-rail gaps on a new gate are particularly bad, since the mid rail carries most of the latch load. By month six, a day-one gap becomes a visible crack and the gate’s racking resistance drops.
- Fastener rust bleed on day one. Brown or black streaks below screw and bolt heads on a brand-new gate mean the fasteners are not galvanized or stainless. The installer saved a few dollars on hardware that will stain the wood and seize in place within a year. In Los Angeles, where coastal moisture in Santa Monica and Marina del Rey carries salt, non-galvanized hardware fails even faster. The fix is not paint; it’s fasters replacement before rust pits the wood around the hole.
- Even bottom clearance across the full width. Step back and look at the gap between the bottom of the gate and the ground. It should be even from hinge side to latch side, matching whatever clearance was specified, typically 2 to 3 inches for a swing gate over flat ground. If the gap tapers, the gate is already out of level, even if it’s small enough to ignore for now. On sloped Los Angeles driveways, note that the bottom cut should follow the slope line, so the visual reference is the shadow line under the gate, not the horizontal ground.
None of these three checks requires a tool or any experience. They require only walking around the gate, looking at the joints, and touching the hardware. That’s the level of scrutiny that catches a botched installation before it becomes a failed gate.
Electric Gate Warning Signs: What the Operator Is Trying to Tell You
Electric gate operators made by BFT, Ghost Controls, and Viking are engineered to stop when they sense resistance. If your newly installed opener reverses mid-cycle, pauses for no reason, or slams against the stop at full speed, the operator is telling you something about the gate itself, usually the hinge alignment or the post. A properly hung gate lets the operator work at low draw for years. A binding gate makes the operator work against itself, which burns out capacitors and gears far ahead of schedule.
Listen specifically for these three sounds in the first week: a grinding whine that rises in pitch as the gate cycles, which indicates the gearbox is under excessive load from a gate out of level. A rhythmic clanking at the hinge end, which means the hinge pins are not seated or the plate fasteners are loose. And a hard clunk when the gate reaches fully open or fully closed, which means the limit switch is set late or the mechanical stops are missing entirely. Each one is a correctable installation error, and each one is cheaper to fix now than after the warranty window has closed.
For gates equipped with safety edges and photocells, test them before the installer pulls away. Block the photocell beam with your body and confirm the gate stops or refuses to close. Push the safety edge and confirm the gate reverses. These devices are not optional extras; in Los Angeles, an automatic gate without working entrapment protection is a genuine safety hazard, especially around children and pets. If the installer shrugs off the photocell test, that’s the clearest warning sign of all.
Why Completion Photos and Measurements Matter for Warranty Claims
Every gate installation should produce a baseline: a set of measurements and photos taken the day the job is complete. That baseline is what a future warranty claim is measured against. Without it, disputes become arguments about whether the gate was always out of level or whether it moved over time. With it, the answer is objective.
At Latch & Post Gate Repair, our completion routine includes a photo of the post footing before the pour when the homeowner wants it, a photo of the finished gate from both sides, and a close-up of the hinge plates, latch strike, and bottom clearance. We also take a cleanup photo before we leave, which is part of the Cedarwell C.A.R.E. values our technicians work under: Clean up like it is our own home, Ask before we move or touch anything, Respect the family’s time and quiet hours, Explain the price before the work. Those same values are why we lay drop cloths on the floor and put on shoe covers before stepping inside a Los Angeles home. Your floors stay clean, and you have a photographic record of the installation the day it was finished.
If something shifts within the 365-Day Done Right Promise window, we compare what you’re seeing now against what we photographed then. The baseline makes the right fix obvious, whether that is a hinge adjustment or a post reset. No argument, no fine print. If your previous installer never gave you those photos, take your own this week. Use your phone. Get the hinges, the latch, the bottom gap, and both posts from straight on. Those four photos will matter the first time something doesn’t feel right.
The Day-One Inspection Checklist
Bookmark this list and walk through it before you sign off on any gate installation, and check our more guides & resources for ongoing maintenance. Each item takes under a minute, and together they catch the problems that show up later disguised as wear and tear.
- Push both posts hard, side to side and front to back. Any movement, even slight, is a fail. A proper post is set 24 inches deep in concrete and does not move the day it’s installed or a year later.
- Perform the swing test. Open the gate fully and release. Drift in either direction means hinge or post alignment is off. A correct installation holds position.
- Open and close the gate ten times by hand. Listen for grinding, rubbing, or ticking. The latch should catch cleanly every time, with no lifting.
- Check the latch strike wear path. The bolt should enter the strike plate straight. Bright wear on the bottom edge means the bolt is meeting the plate at an angle under load.
- Inspect the hinges. All fastener heads should sit flush or below the surface, with no rust bleed. The hinge barrels should be vertical and in line with each other.
- Look at the bottom clearance from ten feet away. Even gap, full width, matching the specified clearance. A taper means the gate is hung out of level.
- Test every safety device on electric gates. Photocell beams stop the gate, safety edges reverse it. Test each one yourself, not just at the installer’s word.
- Take four photos. Both posts, the latch, the hinges, the full gate from straight on. This is your baseline for any future claim.
If any item fails, tell the installer before they leave. A reputable gate specialist fixes it on the spot or schedules the return immediately. A problematic one argues with you. That distinction, more than any brand name on the opener, predicts how the next year will go.
Common Mistakes to Avoid
- Signing off on a gate you haven’t pushed on. The post push test takes five seconds and tells you more than any brochure. If the installer rushes you through it, that’s information too.
- Accepting “it’ll settle” as an explanation for drift. Gates do not settle into alignment. They settle out of it. Drift on day one is drift forever, and it worsens with every weather cycle in Los Angeles.
- Ignoring a latch that needs a little lift. That little lift is geometry changing in real time, and it will not reverse itself. The longer it continues, the more hinge and striker wear you’re paying for.
- Choosing the cheapest post hardware available. Non-galvanized fasteners on a wood gate in Los Angeles, where we get coastal fog and wet winters, will rust through before the wood begins to age. The small savings now becomes a full hardware replacement.
- Mounting an operator on a gate that isn’t manually balanced. LiftMaster, BFT, Ghost Controls, every operator brand - none of them can correct a sagging hinge or a leaned post. They can only fight it, and fighting shortens their life.
- Skipping the photocell and safety edge test on an automatic gate. These devices protect kids, pets, and delivery drivers. A gate that closes on a person because a safety edge wasn’t tested is not a warranty issue; it’s a liability.
- Not taking day-one photos. Your memory of “it always looked like that” is not evidence. Four phone photos take one minute and become the basis for any warranty conversation you ever need to have.
When to Call a Professional
Call a gate specialist the moment your gate fails the push test, drifts on its own, needs a lift to latch, or starts making sounds it didn’t make the week before. These are not tuning issues that resolve with a spray of lubricant; they are structural or mechanical problems that get more expensive the longer they run. A post reset in Los Angeles typically falls between $600 and $900 depending on access and the size of the footing, which is far less than a full gate rebuild but far more than checking it on day one. The same goes for hinge replacement, latch realignment, and operator replacement: early fixes are smaller fixes. Latch & Post Gate Repair offers free estimates in Los Angeles, with a written price before any work starts - call (626) 649-4572 to have a technician look at your gate. We’ll be honest if it’s fine and specific if it isn’t.
Frequently Asked Questions
A gate post in Los Angeles should be set at least 24 inches deep in a concrete footing that extends 4 inches or more beyond the post on all sides, with some double gates and tall gates requiring 30 inches. Our clay-heavy soils in the Valley and foothills expand and contract with the seasons, and anything shallower allows the post to lean within the first year or two. If you weren’t present for the excavation, perform the push test: a correctly set post will not move at all when you shove it hard at chest height. If it shifts, the footing was not done to standard and the post will eventually need a reset, which runs $600 to $900 in the Los Angeles market. For a specific assessment, call (626) 649-4572 and we’ll give you a written answer and a written price.
A gate drifts open or closed because the post is not perfectly plumb or the hinges are not perfectly level, which means the gate’s weight is not evenly supported and gravity does the rest. Drift open typically points to the post leaning away from the latch side; drift closed usually means the post leans toward the latch side or the bottom hinge sits high. Either condition accelerates hinge wear and striker damage, and on automatic gates it makes the operator work harder, shortening the life of motors from brands like Linear and Viking. The fix is correcting the geometry, not simply adjusting the latch. If your gate doesn’t stay where you leave it, call (626) 649-4572 for a free estimate.
No, lifting a gate to close it is never normal and never acceptable on a new installation. It means the gate leaf has dropped relative to the strike plate, which means the hinges or post footing are already failing. On day one it’s an installation error; by month twelve it’s sag, and by month eighteen the latch jams or the striker plate is chewed through. The right repair is to re-seat the hinges on a corrected post, not to add washers and hope. In Los Angeles, where daily use and seasonal moisture keep a gate working hard, the sooner this is addressed the cheaper it is.
Run the day-one checklist: push both posts hard in every direction (no movement allowed), open the gate fully and release it to check for drift, cycle the latch ten times with no lifting, inspect the hinge fasteners for rust bleed, step back and verify even bottom clearance across the full width, and on automatic gates test the photocell and safety edge yourself. Take four photos of the posts, hinges, latch, and full gate as a baseline. Any fail on any item means the installation is not done and should be corrected before the installer leaves. Most standard gate repairs in Los Angeles, had they been caught on day one, would have been a five-minute adjustment.
A leaning gate post reset in Los Angeles typically costs between $600 and $900, depending on gate size, access, and whether the concrete footing needs to be entirely re-poured or can be re-formed around a new anchor. For full pricing context, see our Gate Repair Cost Breakdown: The Los Angeles Homeowner’s Reference for 2026. That’s the price of a shortcut taken months earlier, when a shallower hole saved the installer roughly $75 in concrete. The work involves un-hanging the gate, digging out or cutting the old footing, setting and bracing the post at the correct 24-inch minimum depth, and re-hanging the gate. You’ll see the exact number in writing before any work starts. Call (626) 649-4572 for a free estimate. Latch & Post Gate Repair is part of the Cedarwell family of gate specialists and we’ve been correcting post problems across the Los Angeles area since 2009.
Many Los Angeles gate installations require a permit, particularly for driveway gates, automated gates, any gate over 6 feet tall, and any gate affecting the public right-of-way or a shared easement. Requirements vary by city within LA County; Burbank, Pasadena, Santa Monica, and unincorporated county areas all enforce their own standards. A qualified installer should know whether your specific project requires a permit and handle it accordingly. An installer who waves off the permit question in the Los Angeles area is taking a shortcut that can come back as a stop-work order or a code enforcement notice later.
The Bottom Line
A gate installation is not finished when the gate hangs straight and the opener hums. It’s finished when the posts don’t move under force, the gate holds position when released, the latch catches without lifting, the hinges are clean and flush, and you have photos documenting every one of those facts. The warning signs described here - drift, lever-lifting, rust bleed, tapered clearance, operator strain - are the installer’s shortcuts writing their own invoice, due 6 to 18 months after the job. In Los Angeles, where gates live outside in sun and rain and get used every single day, those invoices come faster, and they’re written for more. Prepare ahead with our Gate Repair Emergency Preparedness Guide for Los Angeles Homes. Check your gate this week, with your hands and your phone. If something fails, call (626) 649-4572 and we’ll tell you what it is and what it costs before anything else happens.
Written by Cody Beckman, Owner at Latch & Post Gate Repair, serving Los Angeles since 2009.