
Last updated October 8, 2026
Free on-site gate assessment - hinges, posts, and your LiftMaster or Nice gate operator checked before anything is quoted
The assessment is free and the quote is the invoice.

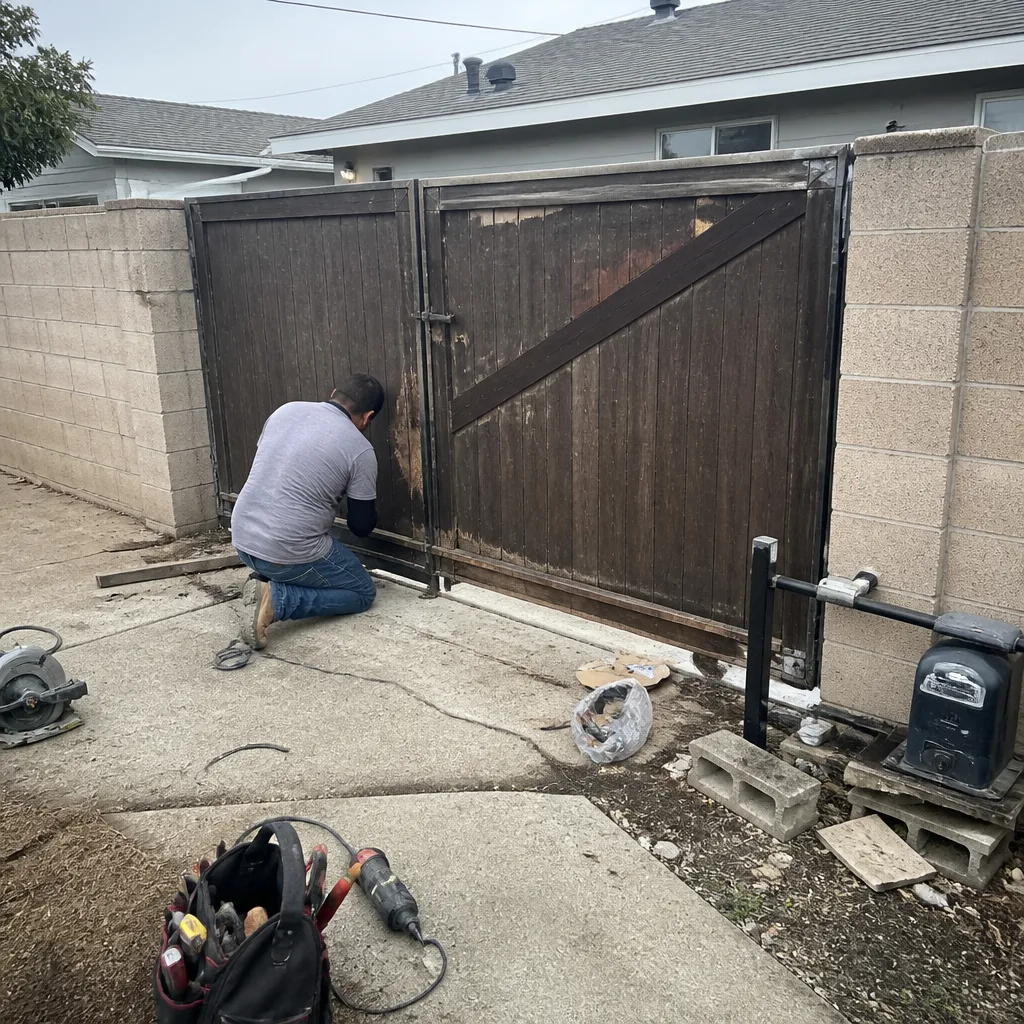 Before
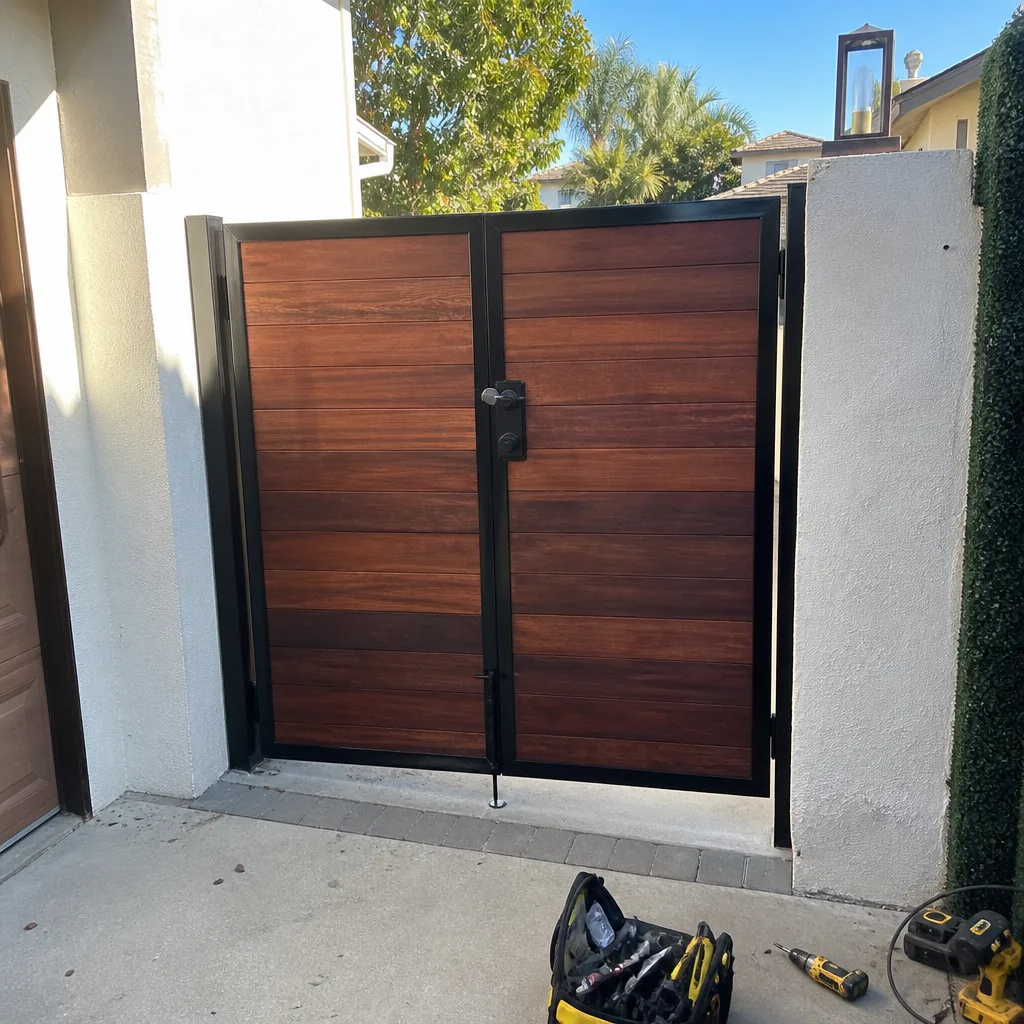 After
After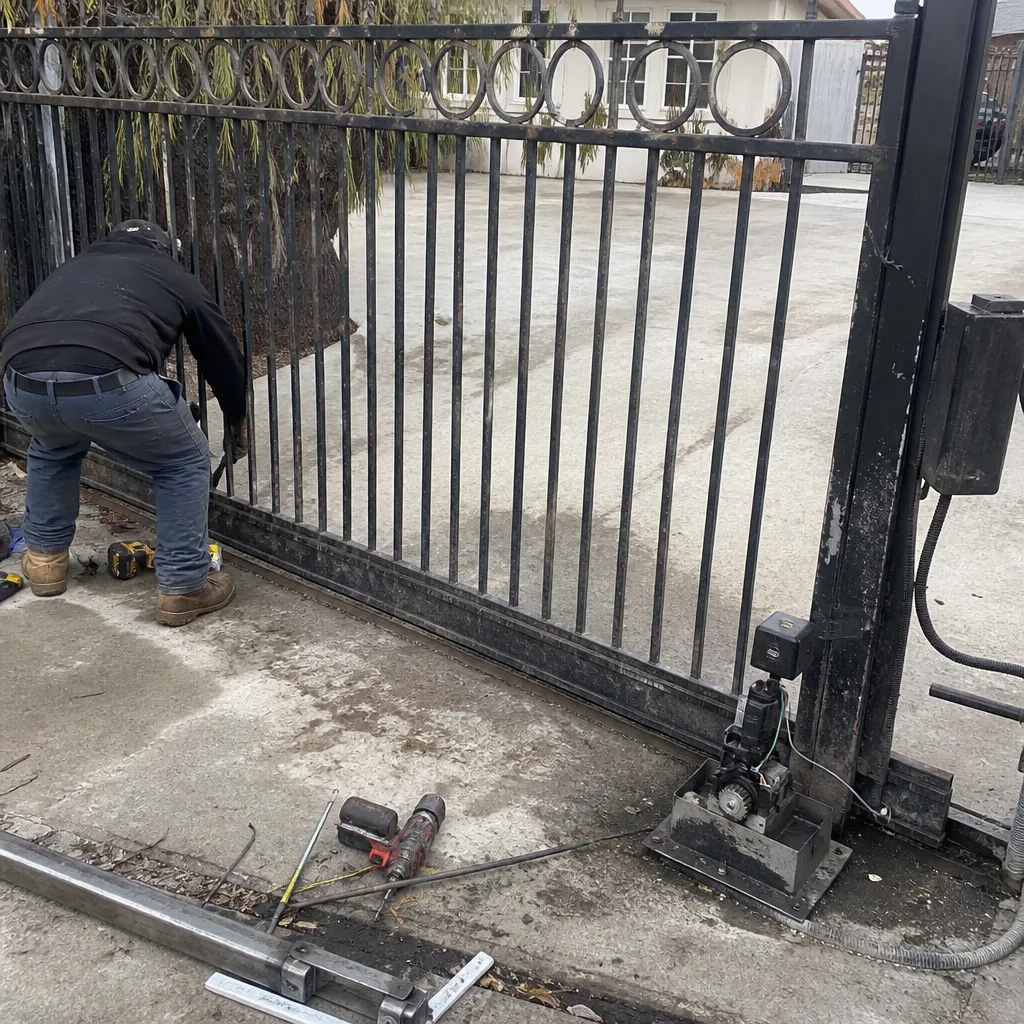 Before
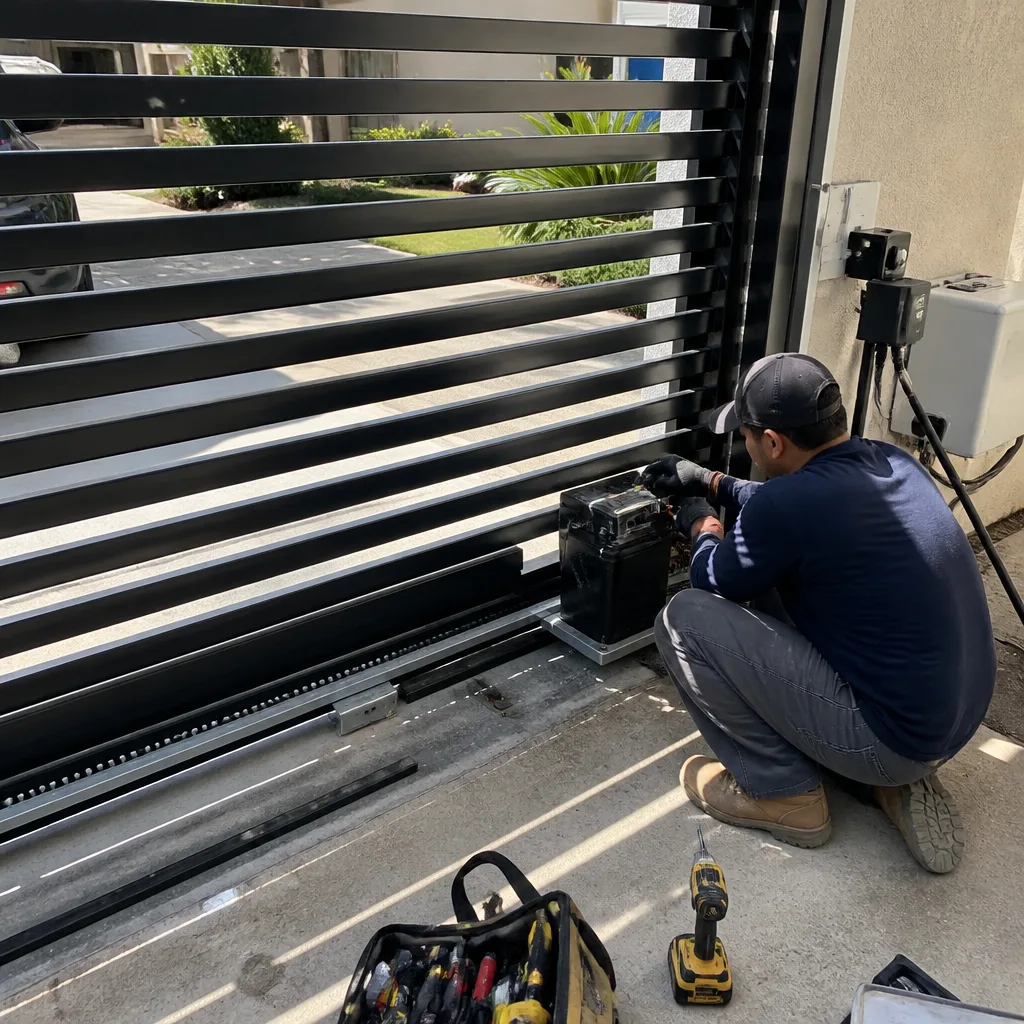 After
After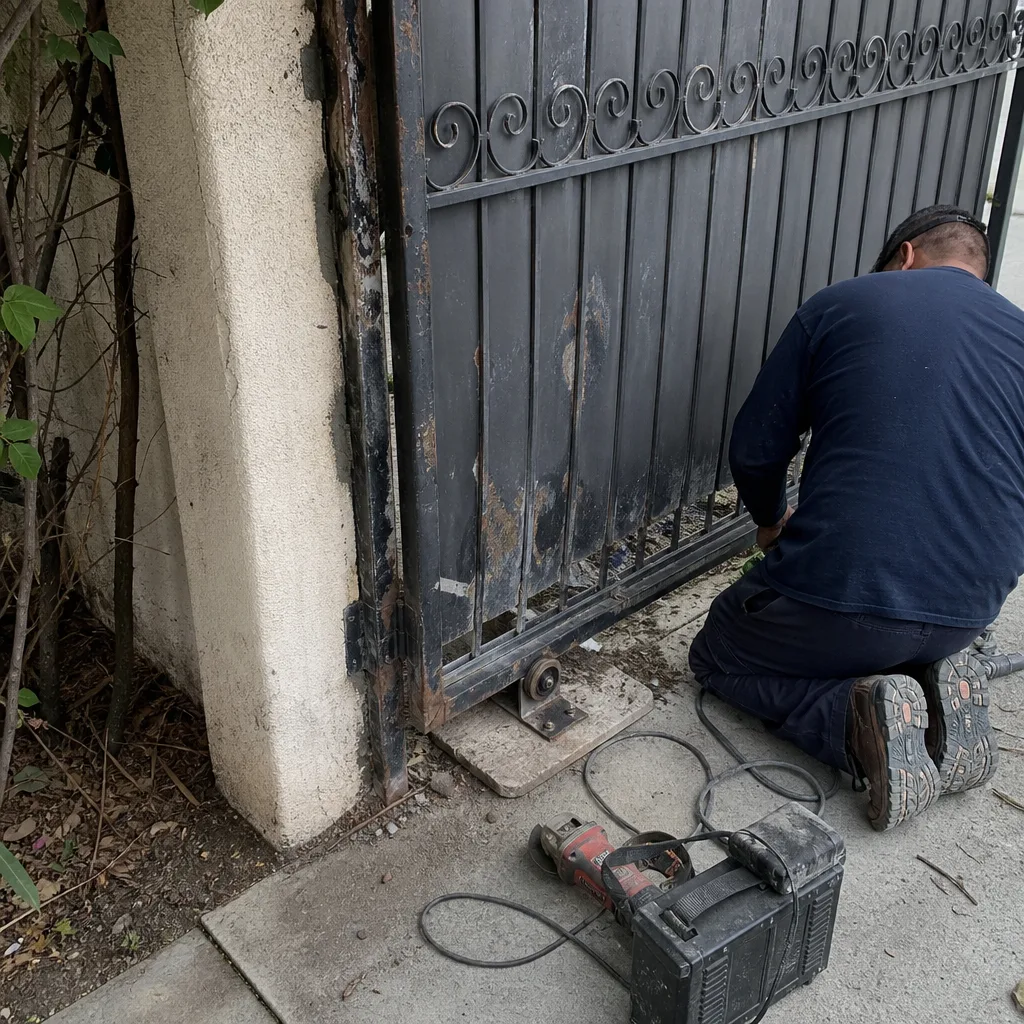 Before
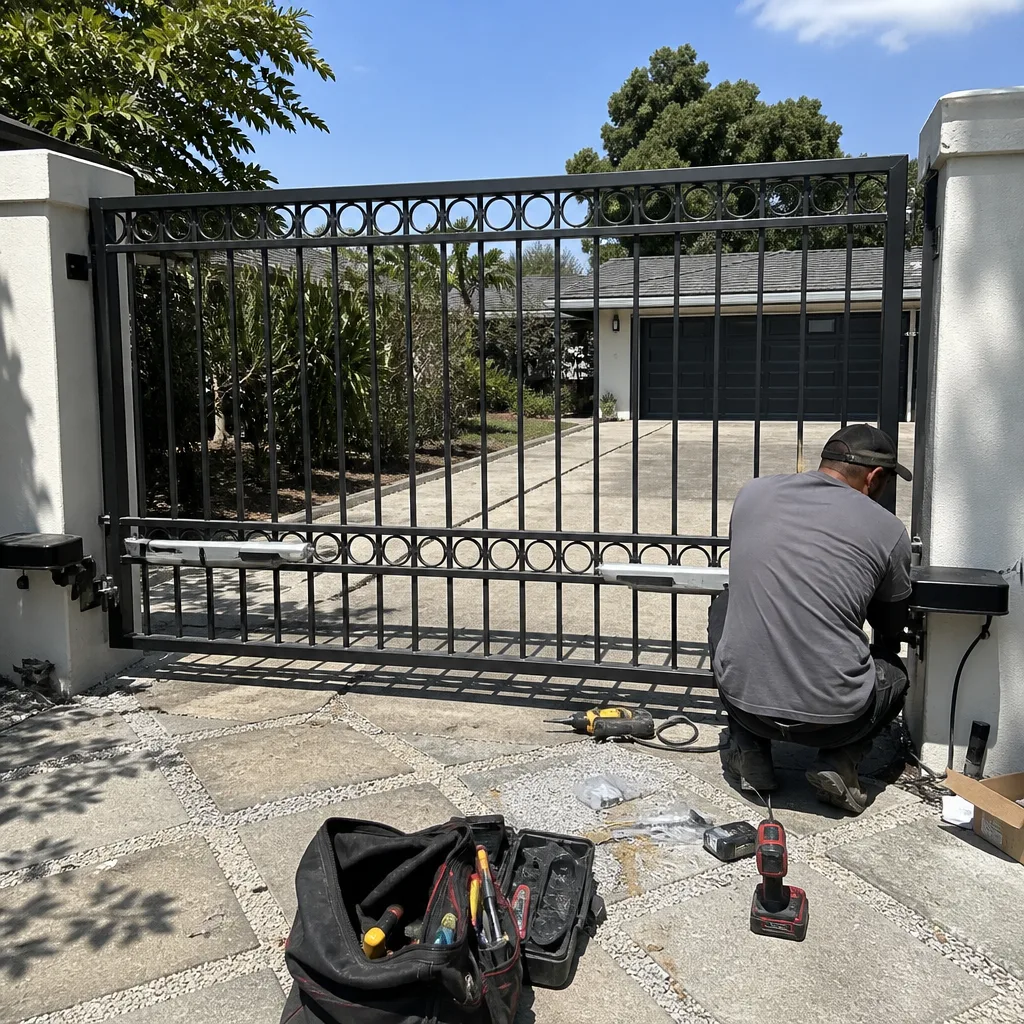 After
AfterDIY vs Professional Electric Gate Repair: What’s Safe to Do Yourself
A gate operator capacitor can hold a lethal charge for up to 60 seconds after the power is disconnected. That’s the same reason HVAC technicians discharge capacitors before touching them, and it’s the reason “I just watched a YouTube video” is genuinely dangerous for certain gate repairs. This guide is written from hundreds of Gate Repair service calls across Los Angeles, where we’ve seen the difference between a clean DIY fix and a repair that doubled in cost because someone opened the wrong housing. You’ll learn exactly which tasks a careful homeowner can handle, which ones to leave alone, and how to document your work so a professional rescue stays affordable if you get stuck.
Quick Answer
Most homeowners can safely handle four or five specific electric gate tasks: cleaning photo eyes, testing remotes, lubricating external hinges, checking battery voltage with a multimeter, and tightening visible hardware. The line between safe DIY and dangerous territory isn’t about mechanical skill. It’s about whether the task requires opening a housing that contains a charged capacitor or working near a moving gate that weighs 200 to 800 pounds under spring tension. If the job asks you to open the operator’s control box, touch wiring inside it, or adjust anything that changes how far or how hard the gate swings, stop and call a professional.
Table of Contents
- The Real Boundary: Capacitors, Crush Force, and Spring Tension
- What’s Genuinely Safe to Do Yourself
- What Requires a Technician, Every Time
- Documenting Before You Touch Anything
- The Real Cost Comparison: DIY vs Professional
- Los Angeles-Specific Factors That Change the Math
- What Happens When You’ve Already Tried the Repair Yourself
- Common Mistakes to Avoid
- When to Call a Professional
- Frequently Asked Questions
- The Bottom Line
The Real Boundary: Capacitors, Crush Force, and Spring Tension
Electric gate systems look approachable. A metal box, some wires, a remote that stopped working. But three physical forces are operating inside even a modest residential gate, and none of them care how careful you are.
First, the capacitor. Every gate operator contains at least one capacitor that stores electrical energy to give the motor its starting surge. When you cut power at the breaker, that capacitor can hold a charge for up to a minute, sometimes longer in humid Los Angeles air. Touch the wrong two terminals and you get a shock that can stop your heart. This is not a worst-case scenario from a safety manual. This is the reason every experienced technician treats the inside of an operator housing with the same respect as an electrical panel.
Second, crush force. Gate operators are rated in foot-pounds, and a typical residential swing gate generates between 200 and 800 foot-pounds of force at the edge of the gate leaf. To put that in perspective, an adult human arm pushing a door applies maybe 30 to 50 foot-pounds. A gate that closes on a child, a pet, or your own shoulder doesn’t stop because you want it to. It stops when the safety sensor tells it to or when the mechanical limit is reached. If you’re working near the gate’s travel path and the operator activates unexpectedly, you won’t win that fight.
Third, spring tension on swing gates. Many Los Angeles homes have ornamental steel gates mounted on posts with tension springs that help the gate close smoothly. Those springs store mechanical energy, and if you unbolt the wrong bracket without releasing the tension first, that spring releases all of it at once. The result is a fast-moving piece of steel aimed at your hands or face.
Quick Answer: The safe-vs-dangerous line is simple. If the repair keeps you outside the operator housing, away from the gate’s swing path, and off any spring-loaded bracket, it’s likely safe for a careful homeowner. If the repair asks you to open the control box, touch internal wiring, remove a spring, or work near the gate’s travel arc with power connected, it isn’t.
What’s Genuinely Safe to Do Yourself
Here’s the list of electric gate maintenance tasks we tell Los Angeles homeowners they can absolutely handle. Each one keeps you on the outside of the system and requires nothing more than attention and basic tools. Do these before you call anyone, because about a third of the “gate is broken” calls we receive in Los Angeles turn out to be one of these simple fixes. Check our more guides & resources for additional maintenance tips.
1. Cleaning the photo eyes
Photo eyes are the small sensors mounted near the ground on either side of the gate opening. When they get dusty, cobwebbed, or splattered with irrigation overspray, the gate thinks something is in the way and refuses to close. Take a soft cloth, wipe both lenses, and test the gate again. This fixes more call-outs than any other single task. In neighborhoods like Sherman Oaks where sprinkler overspray hits gates daily, we recommend wiping photo eyes once a month.
2. Testing and replacing remote batteries
Somewhere in the Los Angeles area, a homeowner is right now convinced their gate opener is dead when the only problem is a remote battery that costs $3. Open the remote, note the battery number (CR2032, A23, or 9-volt depending on the brand), and replace it. If you have a Ghost Controls or Mighty Mule system, the remotes use common batteries you’ll find at any hardware store.
3. Lubricating external hinges
Swing gates need hinge lubrication every six months in Los Angeles because the combination of summer sun and coastal moisture dries out factory grease. Use a white lithium grease or a silicone spray on the hinge pins and the operator’s external arm joints, but stay away from the internal gearbox. On a 300-pound steel gate, well-lubricated hinges extend the operator’s life by years.
- Wipe the hinge pins clean with a rag so you’re not spraying grease on top of grit.
- Apply a short burst of white lithium grease directly to each hinge pin.
- Open and close the gate manually two or three times to work the grease in.
- Wipe off excess with the same rag. Excess grease collects dust and turns into grinding paste.
- Repeat every six months, or quarterly if you live within a mile of the coast.
4. Checking battery voltage with a multimeter
Many gate operators, especially swing gate models from DoorKing and Elite, use a 12-volt battery backup that keeps the gate working during power outages. If your gate runs slowly or beeps but doesn’t move, the battery may be low. Set a multimeter to DC voltage, touch the red probe to the positive terminal and the black to the negative. A healthy 12-volt battery reads between 12.6 and 13.2 volts. If it reads below 12.0, the battery needs replacement. If you’re comfortable doing so, you can swap a gate battery yourself because it’s outside the operator’s main control housing and the terminals are clearly marked.
5. Tightening visible hardware
Gate brackets, hinge bolts, and the nuts on the operator’s external mounting plate vibrate loose over months of daily use. Once every few months, walk around the gate with a socket set and snug anything that’s visible and accessible from the outside. In Los Angeles, the expansion and contraction from hot days and cool nights loosens hardware on steel gates faster than people expect. Tightening a bracket takes five minutes and costs nothing.
What Requires a Technician, Every Time
These are the tasks where we’ve seen good, careful Los Angeles homeowners hurt themselves or turn a $150 job into a $600 job. The boundary isn’t about skill. It’s about what’s behind the panel and under the gate.
Replacing the control board
Control boards sit inside the operator housing, connected to the capacitor, the transformer, the limit switches, and usually two or three wiring harnesses. Even with the breaker off, the capacitor holds charge. A wrong connection during a board swap can fry the new board on first power-up. We’ve seen a homeowner replace a DoorKing board three times before calling us, because each new install was wired slightly wrong and the board blew within a week. That’s $300 to $600 wasted before the correct repair even started.
Adjusting limit switches inside the operator
Limit switches tell the gate where to stop opening and closing. Adjusting them means opening the operator, moving switches or rotating cams, and testing while the gate is live. This puts you inside the housing next to the capacitor and requires cycling the gate repeatedly while your hands are near moving parts. It’s the single most common injury scenario in gate work, not because the shock gets you but because the gate does.
Replacing a loop detector wire under concrete
Underground loop detectors, the wires embedded in the driveway that tell the gate a car is present, fail after years of heat expansion and concrete settling. Replacing one means saw-cutting a channel in the driveway, laying new wire in a specific pattern, sealing it with epoxy, and connecting it to a loop detector that requires tuning. This isn’t a weekend project. It’s a construction job with electrical calibration on top.
Replacing springs or releasing spring tension
Swing gate springs live under tension, and the tension is what keeps the gate upright and closing smoothly. Removing the wrong bolt releases that energy into the gate leaf, which can swing hard enough to break fingers or throw a person off balance. This is exactly the kind of job where the YouTube video makes it look easy because the person filming has done it several hundred times.
Electrical wiring from the panel to the operator
Running new wire from your home’s electrical panel to the gate operator involves working inside a live panel, trenching or running conduit, and matching gauge to load. In Los Angeles, this work requires a permit in many circumstances. A mistake here isn’t just a broken gate. It’s a fire hazard.
Documenting Before You Touch Anything
Here’s a practice that changes the economics of DIY repair, and it costs nothing. Before you unscrew a single bracket or unplug a single wire, document what the system looks like when it’s working, or at least when it’s assembled correctly. The idea is simple: if your DIY attempt stalls, the technician who rescues you isn’t starting from zero. They’re starting from a clear record of what was there.
- Take photos of every wire connection before you disconnect anything. Get close enough that the terminal labels are readable.
- Photograph the control board from three angles: wide, medium, and close-up on each wiring block.
- Take a photo of the operator’s model number and serial number plate. This tells a technician exactly which manual applies.
- Label each wire with masking tape and a marker before unplugging it. “Red to COM,” “Blue to NC,” and so on.
- Photograph the gate’s closed-and-open positions so the technician knows where the limits were set.
- Write down what you attempted, in order, with the outcomes. “Replaced battery, gate still won’t open. Cleaned photo eyes, no change.”
Ten minutes of documentation routinely saves $100 to $200 on a professional rescue call in Los Angeles, because the technician doesn’t have to reverse-engineer the wiring to figure out what you moved. If you’re working with a Ghost Controls or Elite unit, take special care with the photo eyes because those brands use different sensing logic and a miswired eye can throw a fault code that’s hard to trace without a diagram.
The Real Cost Comparison: DIY vs Professional
Let’s talk numbers. Los Angeles gate repair pricing varies by brand, gate size, and access, but here’s the honest comparison for the most common jobs.
- Photo-eye cleaning: DIY is free and takes 15 minutes. Professional cleaning is $75 to $120, which is why we tell homeowners to do this themselves first.
- Photo-eye replacement: DIY is $20 to $45 in parts and about 45 minutes if the mounting is accessible. Professional replacement runs $95 to $150, which covers the part, the alignment, and a warranty that the gate will actually start working.
- Remote battery replacement: DIY is $3 to $8 and takes five minutes. Professional is $30 to $50 including the battery, which is mostly a service-call fee.
- Battery backup replacement: DIY is $40 to $90 for a 12-volt battery and a half hour. Professional replacement runs $120 to $180 and includes properly disposing of the old battery.
- Control board repair or replacement: DIY is $150 to $400 in parts, and the risk is significant. A wrong connection can fry the new board, and now you’re out the part cost plus the professional repair. Professional replacement runs $350 to $700 depending on brand, and it comes with a warranty.
- Limit switch adjustment: DIY is not a parts cost, it’s a hospital bill or a gate repair. Professional adjustment runs $100 to $180.
- Spring replacement on a swing gate: DIY is dangerous to the point that we won’t list it as a real option. Professional spring replacement runs $200 to $400.
The economics are straightforward. The cheap tasks, the ones under $50 in parts, are genuinely DIY-appropriate. The expensive tasks are expensive because they carry risk and require training. If you’re considering a larger project, read our guide on DIY vs Professional Gate Installation: What’s Safe to Do Yourself. A DIY control board swap gone wrong costs $300 to $600 to undo, which is often more than the professional replacement would have cost in the first place. In Los Angeles, where labor rates for gate work run higher than the national average, the professional premium has to be weighed against the cost of a failed DIY attempt, which gets priced as a diagnostic plus repair rather than a repair alone.
Los Angeles-Specific Factors That Change the Math
This guide is written from Los Angeles, and some local factors genuinely change how you should think about electric gate maintenance and repair.
Sun and heat. Los Angeles summer temperatures routinely hit the high 90s inland, and that heat ages capacitors and control boards faster than the national average. A control board that lasts 12 years in San Diego might last 8 in the San Fernando Valley. If your gate is south-facing with no shade cover, expect electronic components to need replacement sooner.
Irrigation overspray. Across Pasadena, Glendale, and the Westside, sprinkler systems frequently spray gate photo eyes and operator housings. Water and electronics don’t mix, and we see more corrosion-related failures in neighborhoods with heavy landscaping than in drier areas. If your photo eyes sit near sprinkler heads, consider adjusting the heads or installing small shields.
Seismic requirements. Los Angeles building codes require gate posts to be set with specific depth and reinforcement to handle seismic events. Some of the repair work we see involves gates that were installed years ago without current code compliance. If you’re considering any work that involves the posts or the foundation of the gate, a professional needs to check code requirements.
Coastal moisture. Homes within a few miles of the coast deal with salt air that corrodes gate hardware quickly. We tell homeowners in Santa Monica and Pacific Palisades to lubricate hinges quarterly instead of twice a year, and to expect some electrical connectors to need cleaning or replacement more often than inland.
These factors mean that a Los Angeles gate system works harder than the national average, and DIY maintenance needs to happen more frequently. The good news is that the safe tasks - cleaning photo eyes, lubricating hinges, tightening hardware - are exactly the tasks that prevent most breakdowns.
What Happens When You’ve Already Tried the Repair Yourself
No judgment here. We see it every week in Los Angeles. A homeowner replaces a part, the gate still doesn’t work, or worse, it works but it makes a new noise. Or the gate starts moving erratically, or the remote no longer pairs, or a breaker trips every time the operator kicks on.
Here’s how a properly trained technician handles a rescue call. The technician does not assume the original problem is still the only problem. They start with a system diagnostic that checks every component on the gate, not just the one the homeowner was working on. That’s because a DIY attempt often introduces a second problem alongside the original one. A photo eye gets knocked out of alignment during a battery swap. A wire gets reconnected in the wrong terminal during a board attempt. A limit switch gets bumped and now the gate overshoots the close position.
At Latch & Post Gate Repair, when a homeowner has already attempted the fix, our technician runs the full diagnostic first and then provides a written assessment of everything found before quoting any work. You’ll know what the original problem was, what the current state of the system is, and what the repair cost will be, all in writing before we touch anything. That’s the right way to rescue a DIY attempt. Not to sell you parts you don’t need, but to show you exactly what’s broken and what it takes to fix it.
If you’ve started a repair and it’s gone sideways, don’t keep going. Take your documentation photos, step away from the gate, and call us. The diagnostic is part of the service call, and you’ll get the written assessment before work begins.
Common Mistakes to Avoid
- Opening the operator housing with the power connected. Even if you’re just “looking,” there’s a charged capacitor inside. If you must open the housing, kill the breaker first and wait a full minute. Better yet, don’t open it at all unless you’re trained.
- Assuming the remote is the problem when the gate won’t move. In Los Angeles, we see more dead batteries and dirty photo eyes than failed remotes. Test the remote’s battery first, then the photo eyes, before assuming a bigger repair.
- Lubricating the wrong parts. Spraying WD-40 into the operator’s motor housing or gearbox adds a solvent to components that don’t want solvent. Lubricate only external hinges and the operator’s external pivot points.
- Replacing parts without labeling the wires. This is the most expensive mistake. A $40 part becomes a $400 rescue call because the technician has to spend an hour unwinding what you connected where. Label before you unplug, every single time.
- Working near the gate’s travel path. The gate can move without warning when a sensor trips, a timer fires, or a neighbor’s remote on the same frequency activates the operator. Never put yourself between a moving gate and a fixed object.
- Ignoring the gate’s safety edges. Safety edges are the strips on the leading edge of the gate that stop and reverse motion when they press against something. If they’re worn or damaged, the gate becomes a crush hazard. Replacement is a professional job, and it’s one of the highest-value safety repairs you can make in a home with kids or pets.
- Using a generic replacement part to save money. Gate operators from DoorKing, Elite, Ghost Controls, and Mighty Mule use brand-specific control boards, sensors, and remotes. A generic part that “looks the same” often fails within months or prevents the safety features from working correctly.
When to Call a Professional
Call a professional when the task involves opening the operator housing, touching internal wiring, adjusting limit switches, replacing springs, working on underground loop detectors, or making electrical connections from your panel. Call a professional when the gate has become a crush risk, when safety edges are worn, or when a child or pet has had a close call with the moving gate. Call a professional when you’ve attempted a DIY fix and the result is worse than the original problem. In each of these cases, the cost of a trained repair is less than the cost of getting it wrong. Latch & Post Gate Repair offers free estimates in Los Angeles, and every estimate is written before any work starts. Call (626) 649-4572 to schedule a diagnostic, or check our Electric Gate Repair in Los Angeles page for details on how we handle operator, sensor, and board work.
Frequently Asked Questions
Yes, photo-eye replacement is a DIY-appropriate task if the mounting brackets are accessible and you’re comfortable with simple low-voltage wiring. Expect to spend $20 to $45 on parts and about 45 minutes of work. The new eyes must be aligned so the beam connects properly, and both eyes need to be wired to the correct terminals. If your gate’s control board uses a specific brand protocol, such as Ghost Controls or Elite, make sure the replacement eyes are compatible with that brand. If the gate still won’t close after a photo-eye replacement, call (626) 649-4572 and we’ll run a full diagnostic.
Most Los Angeles electric gate repairs run between $95 and $700 depending on the component. Simple fixes like photo-eye replacement or battery swaps land between $95 and $180. Control board replacement runs $350 to $700 depending on brand. Spring replacement on a swing gate runs $200 to $400. The exact number depends on your gate’s brand, size, and location, and we always provide a written price before any work begins.
No. Even with the operator switched off, the capacitor inside the housing can hold a lethal charge for up to 60 seconds after power is disconnected. Any work that involves opening the operator housing should be done only after the breaker is off and the capacitor has had time to discharge. For work inside the housing, we recommend a trained technician, because that capacitor is exactly the component that makes DIY repairs dangerous.
The most common DIY mistake is replacing a part without labeling the wire connections first. It turns a $40 part swap into a $400 diagnostic-and-repair because the technician has to reverse-engineer what was connected where. If you try a DIY repair and it doesn’t work, stop, document everything with photos, and call us before touching anything else.
Yes, and we do it without judgment. Our technician starts with a full system diagnostic rather than assuming the original problem is the only problem. You get a written assessment of everything found before we quote any work, so you understand exactly what went wrong and what it takes to fix it. Call (626) 649-4572 and we’ll schedule the diagnostic.
Photoelectric eyes should be wiped monthly if they’re near sprinklers, and hinges should be lubricated every six months, or quarterly if you live within a mile of the coast. Hardware should be tightened every few months because Los Angeles temperature swings loosen bolts over time. Regular maintenance of the safe DIY tasks prevents most breakdowns and extends the life of your operator.
The Bottom Line
The boundary between safe DIY and dangerous DIY on an electric gate is clear. Tasks outside the operator housing, away from the gate’s travel path, and off any spring-loaded bracket are safe for a careful homeowner. Tasks that open the control box, touch internal wiring, release spring tension, or require working near a moving gate are not. Document before you touch anything, and if the repair stalls, step away and call a professional who starts with a diagnostic and provides a written assessment before quoting work. That’s the difference between a $40 fix and a $600 rescue.
Written by Cody Beckman, Owner at Latch & Post Gate Repair, serving Los Angeles since 2009.
For gate repair, electric gate repair, or a new installation in Los Angeles, call (626) 649-4572 for a free estimate. We answer every call with a live person, 24/7. We’re the Gate Repair in Los Angeles team that lays drop cloths and wears shoe covers inside your home, provides a written price before any work begins, and backs every job with the 365-Day Done Right Promise. Need a new gate installed? See our Gate Installation in Los Angeles page. Or start at the Latch & Post Gate Repair home page to learn how the Cedarwell Care Promise works on every visit.