
Last updated October 8, 2026
Free on-site gate assessment - hinges, posts, and your LiftMaster or Nice gate operator checked before anything is quoted
The assessment is free and the quote is the invoice.

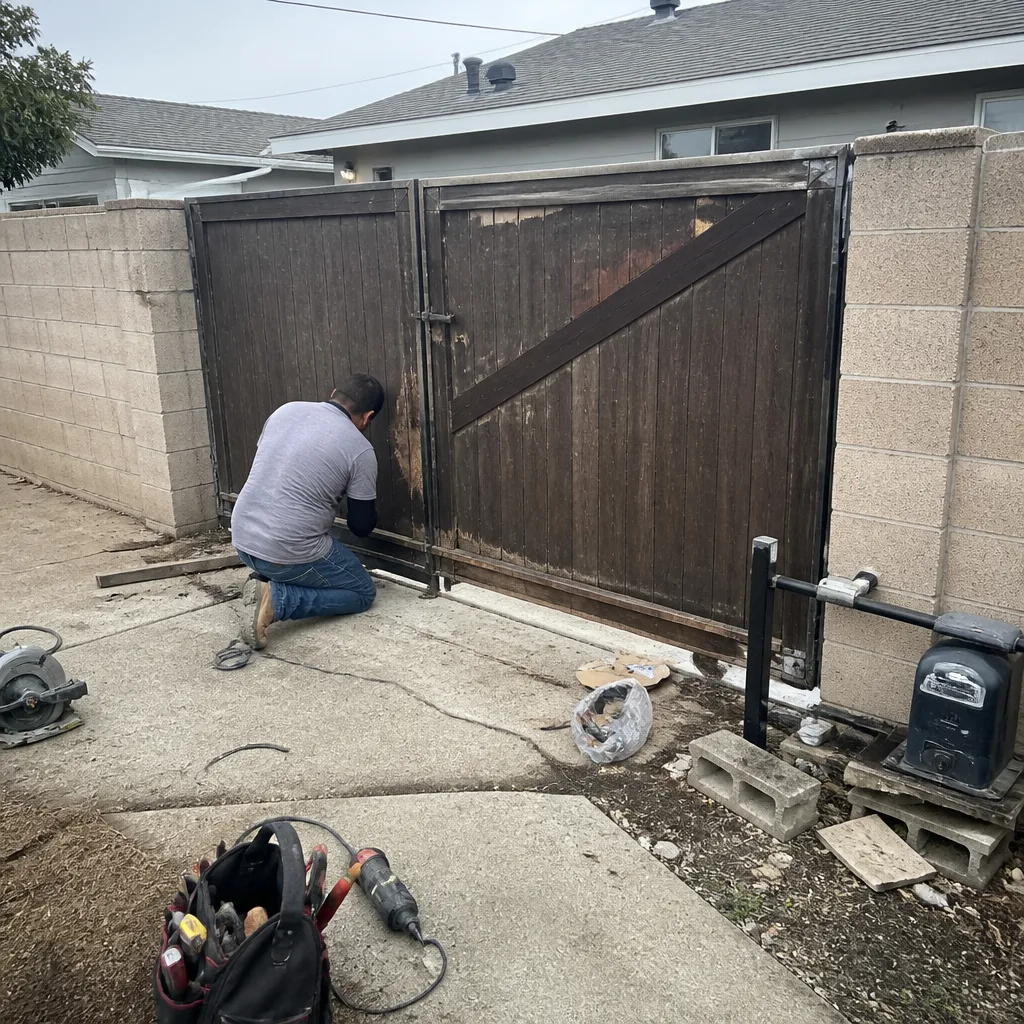 Before
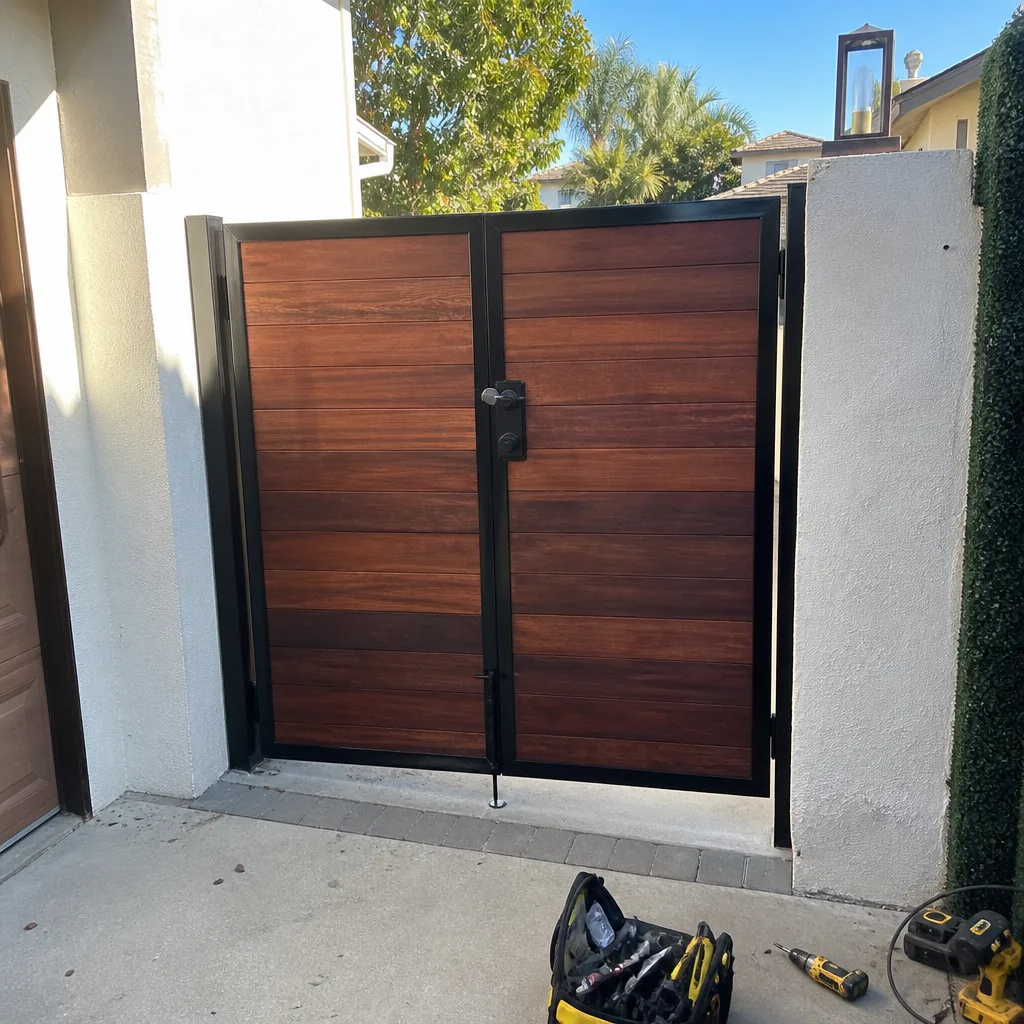 After
After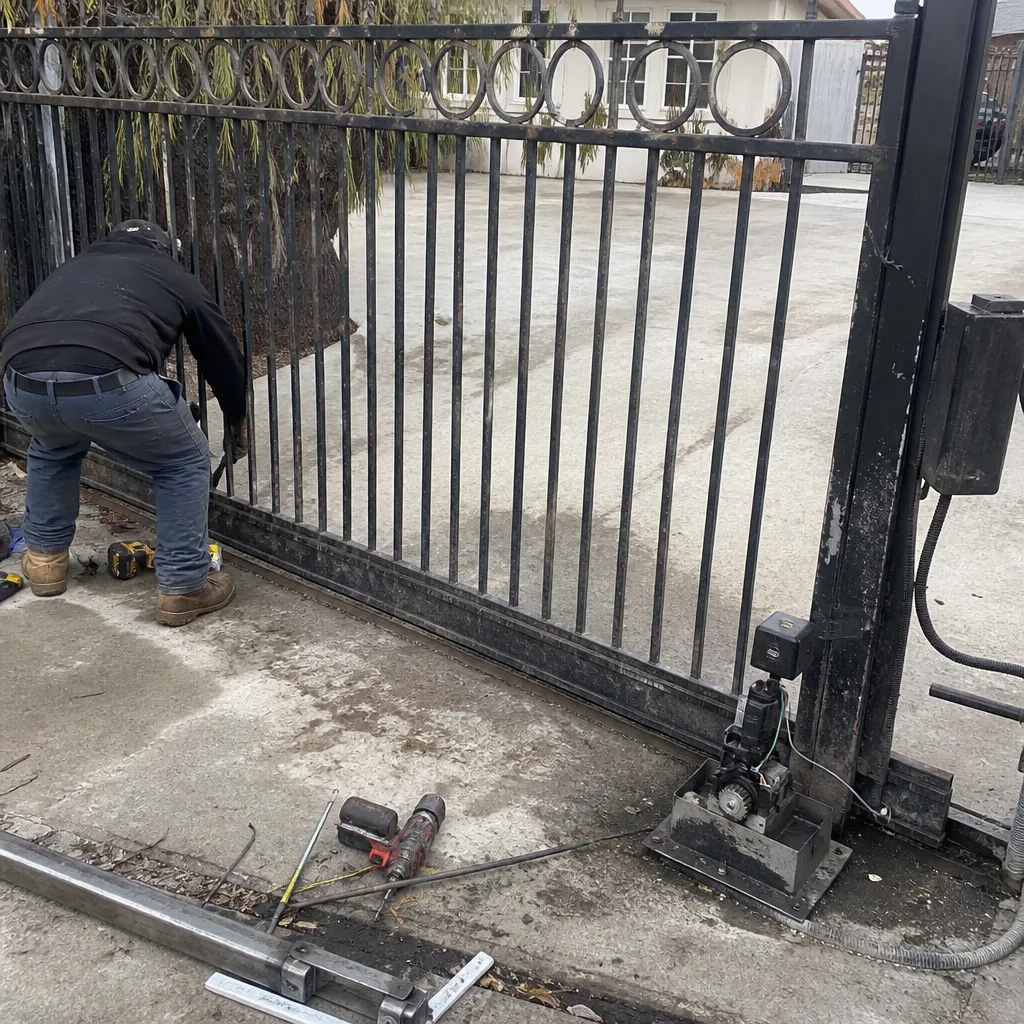 Before
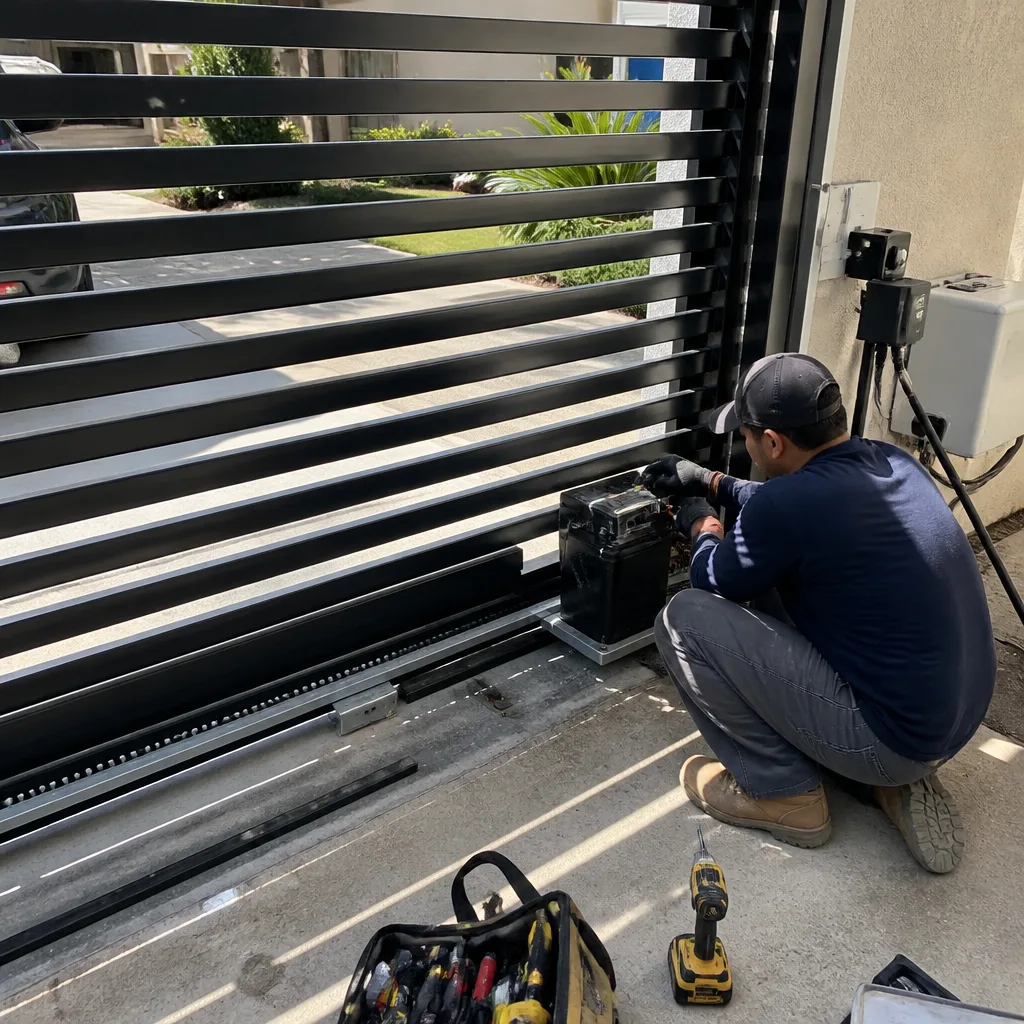 After
After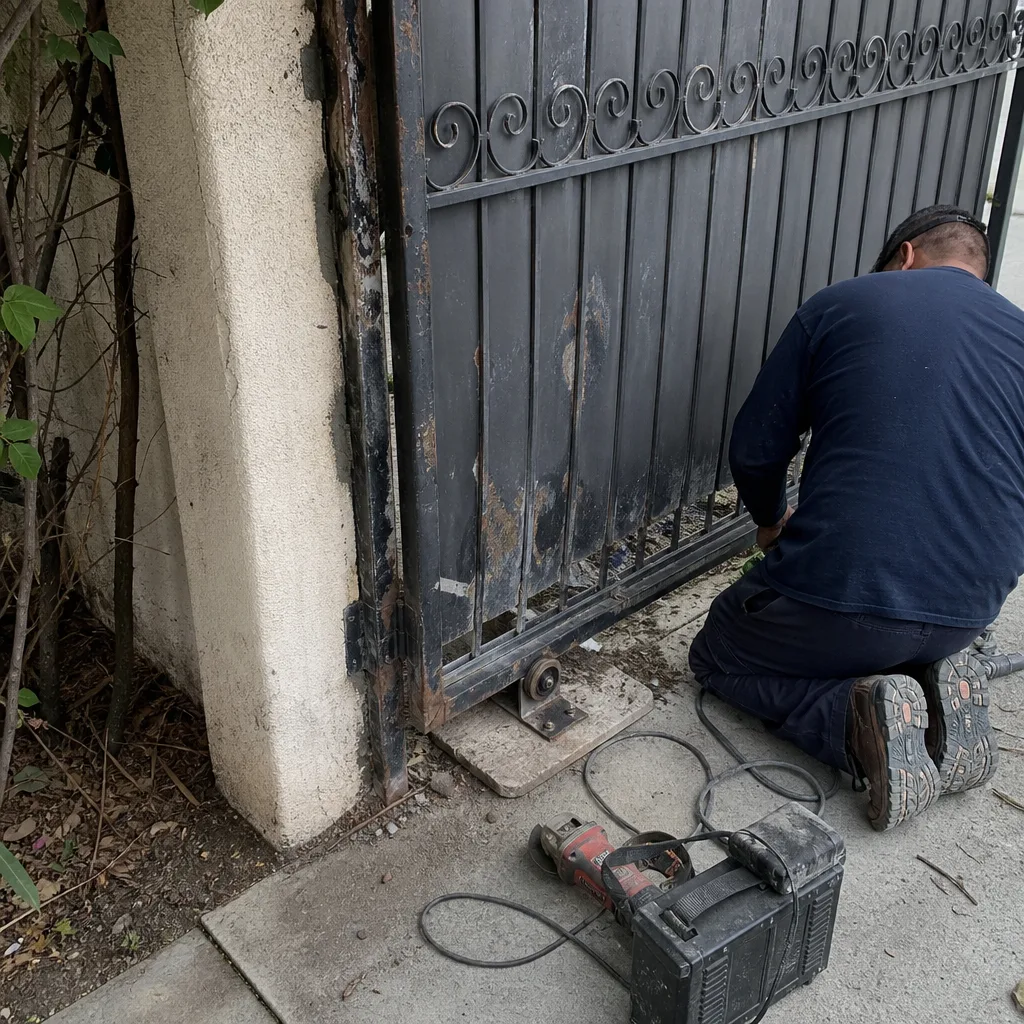 Before
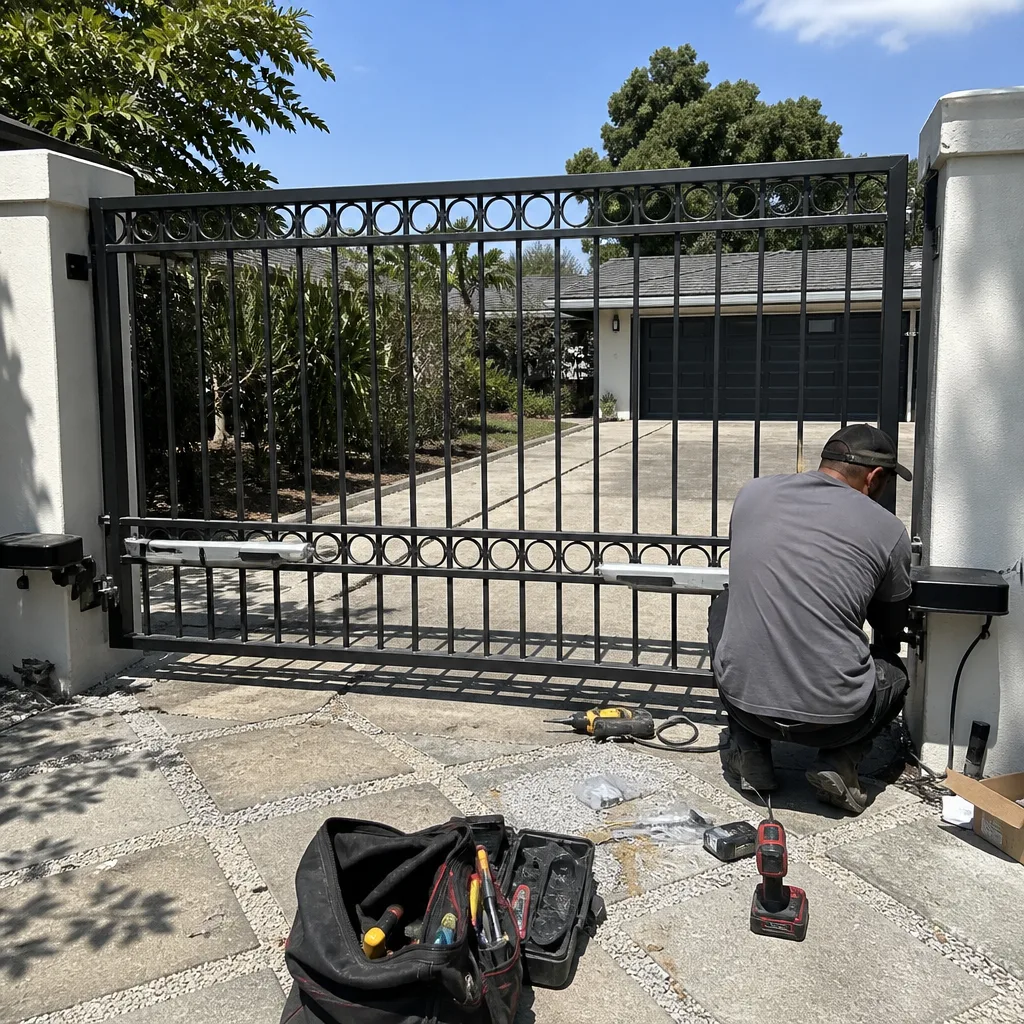 After
AfterDIY vs Professional Gate Installation: What’s Safe to Do Yourself
A post set one inch too close to its partner will hang a gate that closes fine on day one and drags noticeably by year two. Not because anything broke. Because the hinge geometry was working against the gate’s weight from the first afternoon. And that specific problem, the one nobody sees coming, typically costs $400 to $600 to correct by resetting the post in fresh concrete. This guide walks through which parts of gate installation a careful homeowner in Los Angeles can handle well, and which phase demands a level of precision most people don’t own the tools to achieve.
Quick Answer
Most homeowners can safely handle surface preparation, hardware mounting, and finish work on a gate installation. What most cannot do reliably is set posts in concrete within the two-degree plumb tolerance and one-inch spacing accuracy that determine whether the gate still swings true five years later. That phase, plus any powered opener with high-tension components, is where professional installation earns its cost-something we explore in our DIY vs Professional Gate Repair: What’s Safe to Do Yourself guide.
Table of Contents
- The Two Phases of Gate Installation
- What a Skilled DIYer Can Handle Well
- The Post Phase: Why Two Degrees Matters
- The Permit Reality for Los Angeles DIY Installation
- Why Manufacturer Weight Ratings Live Off the Hardware
- Professional Installation vs Professional Correction: The Cost Reality
- Safety First: Springs, Cables, and Powered Openers
- Common Mistakes to Avoid
- When to Call a Professional
- Frequently Asked Questions
- The Bottom Line
The Two Phases of Gate Installation
Every gate installation, whether it’s a 40-pound pedestrian gate in Pasadena or a 300-pound driveway slide in Woodland Hills, breaks down into the same sequence of phases. Some reward patience and careful measurement. Others punish even small errors in ways that compound over time.
We think of it as two distinct skill sets. The first is what we call the finishing phase: mounting hinges, hanging the gate, adjusting the latch, setting the hardware. This work rewards someone who reads instructions, owns a decent level and drill, and has an afternoon to spend. The second is the foundation phase: digging the footing, setting the post, pouring concrete, and waiting for it to cure before anything gets hung on it. This is the phase where an error of two degrees in plumb or one inch in spacing locks in a hinge stress pattern that no amount of adjustment later can fully correct.
Here’s the sequence every gate follows:
- Layout and excavation: marking post locations and digging footings to code depth. In Los Angeles, that typically means 30 to 36 inches depending on the post height and gate weight.
- Post setting: placing posts in the footing, checking plumb in two planes, bracing them, and pouring concrete.
- Curing wait: concrete needs 24 to 48 hours minimum before any gate weight goes on the posts. This is the step most DIY installs rush.
- Gate hanging: attaching hinges, lifting the gate into place, checking reveal gaps top and bottom.
- Hardware finishing: latch, handle, keeper, drop rod, and any closer or opener.
- Adjustment and walk-test: swinging the gate through its full arc, listening for drag, checking that the latch catches without slamming.
Phases 1 and 2 are where DIY installations in Los Angeles tend to fail. Phases 4 through 6 are where they tend to succeed. The difference is not tool access. It’s tolerance for precision that isn’t visible to the naked eye.
What a Skilled DIYer Can Handle Well
Let’s be direct about what’s genuinely reasonable to do yourself. A careful homeowner with a drill, a level, and patience can accomplish more than most gate companies would like to admit-see our more guides & resources for additional help.
Surface preparation is straightforward. Clearing the gate path, leveling the ground where the gate will swing, and removing old hardware or rotted wood post remnants are all within reach. If your old gate was mounted to a redwood post that’s now soft at the base, pulling the old post and cleaning the hole is physical work but not technical work. Anyone can do it.
Hardware mounting is also doable. Drilling pilot holes for hinges, mounting a latch assembly to a metal frame, and installing a drop rod all follow manufacturer instructions. Gate hardware ships with templates and clear mounting patterns. A homeowner who measures twice and drills once will get good results here. We’ve seen DIY latch replacements in Los Angeles that were perfectly square and functioned for years.
Finish work is the third DIY-friendly zone. Applying sealant or paint, adjusting the closer speed on an existing hydraulic arm, and tightening screws that have worked loose over time all fall into what we’d call maintenance-level skill. None of this requires special tools or training.
So the honest answer is: surface prep, hardware finishing, and adjustments are safe DIY territory. The danger zone starts when the post itself needs to move, or when power enters the picture.
One more point worth making. The skills above assume you’re replacing an existing gate and the posts are sound. If the posts are original to a 1980s Los Angeles home and have been carrying gate weight for 40 years, they’re at end of life. Trying to hang a new, heavier gate on old posts is the single most common way a “simple” DIY project turns into a $1,500 correction.
The Post Phase: Why Two Degrees Matters
Here’s the number nobody tells you when you watch a gate installation video. A gate post set two degrees out of plumb will function for a while. The gate will open, close, and latch. Most homeowners will not notice anything wrong for the first 12 to 18 months.
Then the drag starts.
A post leaning two degrees changes the load path through every hinge. Instead of carrying the gate’s weight straight down into the footing, the hinge pins now bear a lateral component of that load. A properly plumb post distributes the gate’s weight evenly across the hinge barrel. A two-degree lean concentrates it on one edge of each pin and one face of each hinge leaf.
What does that actually cost? A quality hinge set installed on a plumb post in Los Angeles has an expected service life of 12 to 15 years. That same hinge set on a post out by two degrees will wear to the point of replacement in 5 to 7 years. The hinge replacement itself is around $180 for quality hardware, plus labor. But that’s not the real cost. The real cost is that hinge wear is the symptom, not the problem. Replacing hinges on a leaning post just means you’ll replace them again in another 5 to 7 years. The actual fix is resetting the post, which means cutting it out of the footing, re-digging, re-bracing, and re-pouring. That’s a $400 to $600 job on top of whatever the original installation cost.
Spacing errors work the same way but show up faster. Set two gate posts one inch too close together and the gate will close on day one because hinges have adjustment slots. What those slots won’t compensate for is the pinch at the latch side. As the wood or metal expands in Los Angeles summer heat (and it will, with 90-degree days common from June through October), that one missing inch becomes a binding point. The gate begins to rub. You’ll see scuff marks. You’ll hear it. And you’ll eventually stop using that gate entirely because it takes two hands to close.
Plumb and spacing are checked with a laser level and matched measurements, not a carpenter’s bubble level. Bubble levels read to about half a degree at best on a 6-foot post. Laser levels and proper bracing jigs read to within a tenth of a degree. That’s the gap between DIY and professional in this phase. Not skill. Instrumentation and repetition.
The Permit Reality for Los Angeles DIY Installation
Los Angeles allows property owners to pull their own permits for gate installation. That part is legal and straightforward. What’s less understood is what the inspection actually checks.
An L.A. building inspector looking at a new gate footing will verify three things: post depth, footing diameter, and clearance from the property line or public right-of-way. Post depth for a 6-foot gate post in this area typically needs to be 30 inches minimum, with 36 inches required for taller or heavier gates. Footing diameter is commonly 12 inches for a pedestrian gate post and 18 inches or more for a heavy driveway gate post.
Here’s what we see in practice. DIY footings in Los Angeles run shallow. The soil in much of the San Fernando Valley is hard-packed clay that fights a post-hole digger all the way down. A homeowner digging by hand hits compacted clay at 18 to 20 inches and decides that’s deep enough, because digging the next 10 inches is brutal. That post passes visual inspection after the concrete cures because you can’t see depth from the surface. It fails a code inspection because the inspector tapes the hole before the pour, or pulls the permit records and checks the documented depth.
A failed inspection means you remove the post, dig deeper, and pour again. Sometimes twice. The time cost alone is typically two full weekends. The material cost is another batch of concrete and another set of bracing lumber. All of that is avoidable by either renting the right equipment (a two-person auger handles L.A. clay better than a manual digger) or having the post set by a company that does it weekly.
There’s also the question of gates that swing over a public sidewalk. Los Angeles code is specific about swing direction and clearance for gates that project into the right-of-way. An incorrectly hung gate that swings over a city sidewalk can result in a code violation notice, which is a whole separate round of corrections.
None of this makes DIY permitting impossible. The gate installation process in Los Angeles is navigable for a determined homeowner. But it does make it slower and less forgiving than most people budget for.
Why Manufacturer Weight Ratings Live Off the Hardware
Every gate hinge, latch, and opener has a manufacturer weight rating. This rating is printed in the spec sheet and technical documentation. It is not printed on the hardware itself.
That’s a meaningful gap.
A homeowner buying hinges at a Los Angeles hardware store sees a size option: small, medium, large. The package might say “heavy duty.” What it doesn’t say is whether “heavy duty” means 50 pounds or 150 pounds. Gate weight depends on material, frame thickness, infill type, and square footage. A solid wood gate measuring 4 feet by 6 feet can easily weigh 80 to 120 pounds. A welded steel driveway gate of 12 feet by 6 feet can weigh 300 to 400. These require very different hardware classes.
Specialists know these specifications from documented experience. We know, for example, that a LiftMaster gate opener rated for 850 pounds does not mean it should handle an 800-pound gate, because the rating assumes ideal hinge geometry and a perfectly balanced gate. A slightly unbalance gate at 800 pounds can overwhelm a motor rated for 850. Professionals size openers with headroom. Homeowners size them with assumptions.
The same logic applies to gate closers, drop rods, and even the concrete mix used in the footing. Every component has a spec that lives in a document you have to go looking for. Part of what you’re buying with professional installation is documented experience with the brands families actually own: LiftMaster, FAAC, BFT, and Linear openers have different mounting patterns, different torque settings, and different requirements for how the gate must be mounted before the opener gets powered on.
We’re factory-trained on those systems, as part of the Cedarwell family of gate specialists. When a LiftMaster opener mounts to a post, there’s a specific height requirement relative to the hinge line, and a specific sequence for setting the force limits during programming. Skip the sequence and the opener either stalls mid-cycle or slams the gate at the end of travel. The manual tells you the sequence. Most people don’t read the manual until after the first problem.
Professional Installation vs Professional Correction: The Cost Reality
Let’s talk actual numbers for Los Angeles.
A straightforward professional gate installation in this area runs $800 to $1,800 depending on gate size, material, and whether power is involved. That’s the full job: footing, post set, concrete cure wait, gate hang, hardware, adjustment, and cleanup. It includes a written price before any work begins.
Correcting a flawed DIY post set adds $400 to $700 to whatever the original job would have cost. That correction means cutting the post free from its concrete, removing it, cleaning the footing, digging deeper if necessary, re-bracing the post, and pouring new concrete. Then you still need the gate hung, because the correction only fixes the foundation.
Here’s the honest breakdown:
- DIY materials cost for a pedestrian gate install: $250 to $600 for gate, hardware, concrete, bracing, and tools you may not already own.
- DIY time cost: two to three full weekends, including the concrete cure wait and the permit inspection scheduling.
- Professional installation cost: $800 to $1,800 all-in, done in one to two days plus cure time on the concrete.
- Correction of a DIY error: $400 to $700 added to the professional installation cost, meaning the total often exceeds $1,500 for a job that would have been $1,200 done right the first time.
The financial math favors DIY only if the post set is perfect on the first attempt and the homeowner’s time is valued at zero. In our experience across Los Angeles, maybe one in four DIY post sets is acceptably close to plumb and spaced correctly. The other three fail slowly and expensively.
That’s not a criticism of homeowner skill. It’s a commentary on how small the tolerance actually is, and how poor the feedback is until the gate has been swinging for a year or more.
Safety First: Springs, Cables, and Powered Openers
Some parts of gate work are genuinely dangerous. We want to be direct about this because a DIY guide that doesn’t flag danger is not a responsible guide.
Powered gate openers use high-tension springs and cables. A LiftMaster or FAAC opener mounted to a driveway gate stores substantial energy in its spring assembly. That spring can release suddenly during disassembly or adjustment. The same is true for gate closers that rely on spring tension rather than hydraulic damping. If you’re removing a spring-loaded closer from a gate post, the release of that tension can cause hand or facial injury.
Electric gate work also involves line voltage and low-voltage control wiring. The low-voltage side is generally safe to handle. The line-voltage side, where the opener plugs into the building power supply, is not a place for a homeowner without electrical experience. A licensed electrician or a gate specialist who’s trained on the opener’s power requirements should handle that connection.
Our advice: if the job involves springs, cables under tension, or any connection to line voltage, call someone who does this work regularly. The electric gate repair specialists in Los Angeles see the aftermath of DIY electrical work more often than they should. If you’re set on doing the mechanical work yourself, leave the powered components to a pro and focus your effort on the gate hang and hardware.
This is the reason Latch & Post technicians are factory-trained on LiftMaster, FAAC, BFT, and Linear systems. The training isn’t a credential to hang on the wall. It’s the difference between knowing which wire is safe to touch and guessing.
Common Mistakes to Avoid
Here are the specific errors we see most often when homeowners attempt gate installation in Los Angeles, and what each one actually costs.
- Setting posts without bracing before the concrete pour: concrete is heavy. It pushes against the post as it’s poured, shifting it out of plumb by a degree or two. The shift locks in during cure, and no adjustment fixes it later. Always brace posts in two planes before the pour.
- Hanging the gate too early: concrete needs 24 to 48 hours to reach initial cure strength. Hanging a gate on posts that haven’t cured causes the post to lean under load, which cures the lean into place permanently. Wait the full cure window.
- Undersizing the footing: an 18-inch-deep footing for a 6-foot gate post in L.A. clay will shift over the first wet winter. Code minimums exist because the soil here expands and contracts with seasonal moisture. Dig to code depth, not to the depth your shovel wants to stop at.
- Buying hardware by appearance rather than rating: a pretty hinge that’s rated for 60 pounds will fail on an 80-pound gate within two years. Look up the weight rating before you buy.
- Mounting an opener to a post that isn’t ready for it: an opener adds constant vibration and force cycling to whatever it’s mounted on. If the post isn’t properly set, the opener accelerates the post’s failure timeline from years to months.
- Ignoring the swing clearance: a gate that swings into a slope, a planter, or a walkway will eventually be left open because it’s annoying to use. An open gate is not a gate. Plan the swing arc before setting the posts.
- Attempting spring or cable work without understanding stored energy: powered openers and spring-loaded closers contain tension that releases unpredictably when disassembled. This is the one mistake that can put someone in an emergency room.
When to Call a Professional
Call a professional when the posts need to be set or reset. That’s the line. If your existing posts are sound and you’re replacing hardware, go ahead and DIY with a good level and patience. If the post is rotten, leaning, or needs to move for a wider gate, that’s foundation work. Foundation work requires a laser level, proper bracing, and the repetition of having done a few hundred of them.
Call a professional when power is involved. Any opener installation, any spring-tension adjustment, any electrical work. The safety margin is too thin for guesswork.
And call a professional when the gate will be heavy. A driveway gate over 150 pounds is not a two-person lift; it’s a geometry and counterweight problem that needs rigging knowledge and the right lifting setup.
Latch & Post Gate Repair offers free estimates in Los Angeles. Call (626) 649-4572. We’ll give you a written price before any work starts, and you’ll know exactly what the job costs before you decide anything.
Frequently Asked Questions
A professional gate installation in Los Angeles typically runs $800 to $1,800 depending on gate size, material, and whether you need a powered opener. The price includes footing, post set, concrete, gate hang, hardware, and adjustment. Latch & Post Gate Repair provides a written price before any work begins, so there’s no surprise on the invoice. Call (626) 649-4572 for a free estimate.
A standard gate that replaces an existing gate on your own property line often falls under minor repair and may not require a permit. A new gate with new footings, or a gate that swings over a public right-of-way, typically requires a permit in Los Angeles. The permit process is legal for homeowners to navigate yourself, but inspections will check post depth and footing diameter against code. If those are undersized, you’ll be redoing the work.
Concrete needs 24 to 48 hours of initial cure before any gate weight should rest on the posts. Full cure continues for weeks, but the post can carry load after the first 48 hours if the footing was properly sized and the post was braced during the pour. Hanging a gate before 24 hours will shift the post and permanently cure the lean into the concrete.
The most common DIY mistake we see in Los Angeles is setting posts slightly out of plumb or slightly too close together and not discovering the error until the gate starts dragging a year or two later. A two-degree lean cuts hinge life from 12 to 15 years down to 5 to 7 years, and fixing it means resetting the post at a cost of $400 to $600.
Yes. Openers from LiftMaster, FAAC, BFT, and Linear have specific mounting requirements and programming sequences, and they involve high-tension springs plus line-voltage connections. A gate specialist trained on your specific opener brand will complete the job safely and set the force limits correctly. Latch & Post Gate Repair is factory-trained on all four brands. Call (626) 649-4572 for an exact quote.
Yes, this is one of the most DIY-friendly gate projects. Mounting new hinges, latch, and handle to sound posts is careful measurement work, not specialized engineering. We recommend checking the weight rating on the new hardware before installation, and using pilot holes for everything. If the posts are original to an older Los Angeles home and showing any rot or rust, have them inspected before mounting new hardware. Call (626) 649-4572 and we’ll tell you honestly whether the posts have life left in them.
The Bottom Line
DIY gate installation is safe and sensible for surface prep, hardware finishing, and adjustments on sound posts. It stops being sensible at the concrete. Post setting demands tolerances of two degrees and one inch that most homeowners can’t reliably achieve, and the cost of being wrong is a $400 to $700 correction that wipes out any savings. In Los Angeles, where clay soil and seasonal moisture put real stress on footings, those tolerances matter more than in drier climates. If you’re confident and your posts are sound, do the hardware yourself. If concrete is involved, get a written price from a specialist before you start digging. Latch & Post Gate Repair offers free estimates at (626) 649-4572, with a written price before any work begins and the backing of the Cedarwell family’s 365-Day Done Right Promise.
Written by Cody Beckman, Owner at Latch & Post Gate Repair, serving Los Angeles since 2009.