
Last updated October 8, 2026
Free on-site gate assessment - hinges, posts, and your LiftMaster or Nice gate operator checked before anything is quoted
The assessment is free and the quote is the invoice.

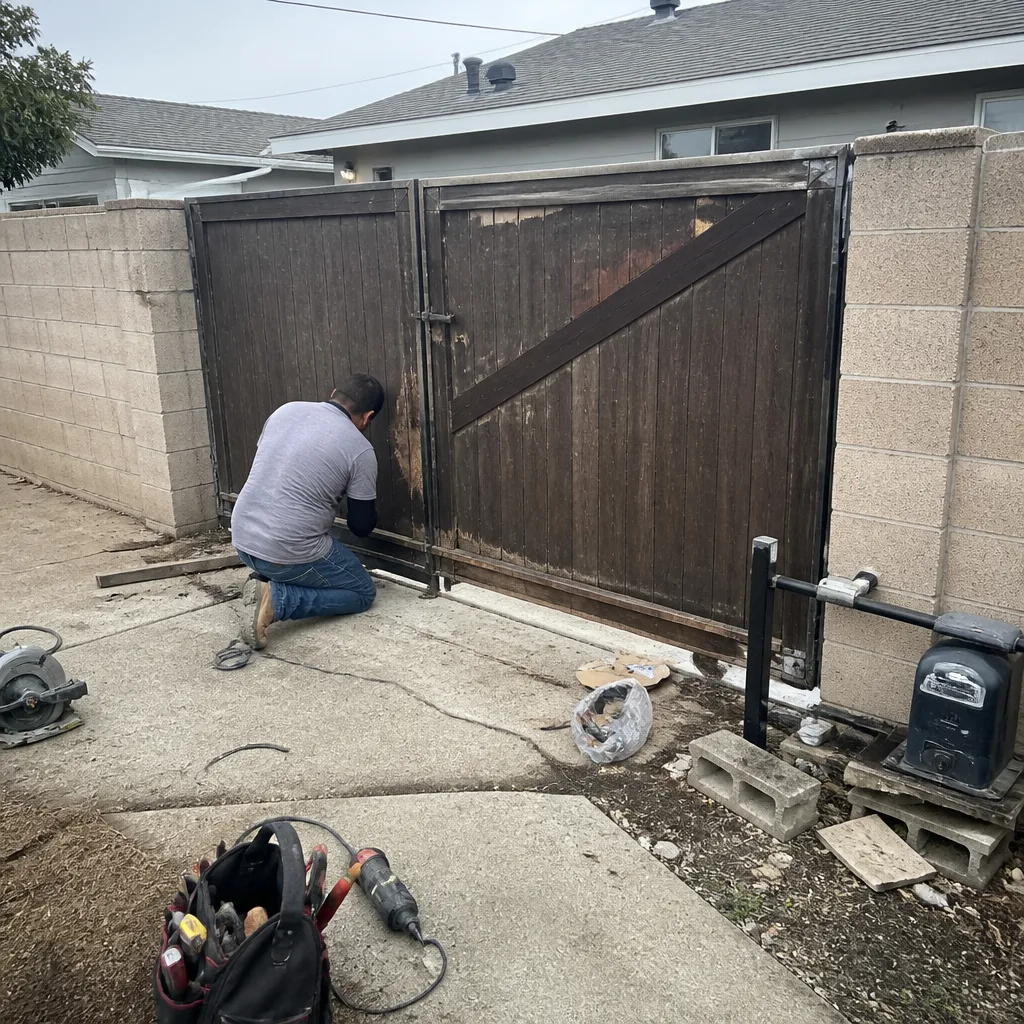 Before
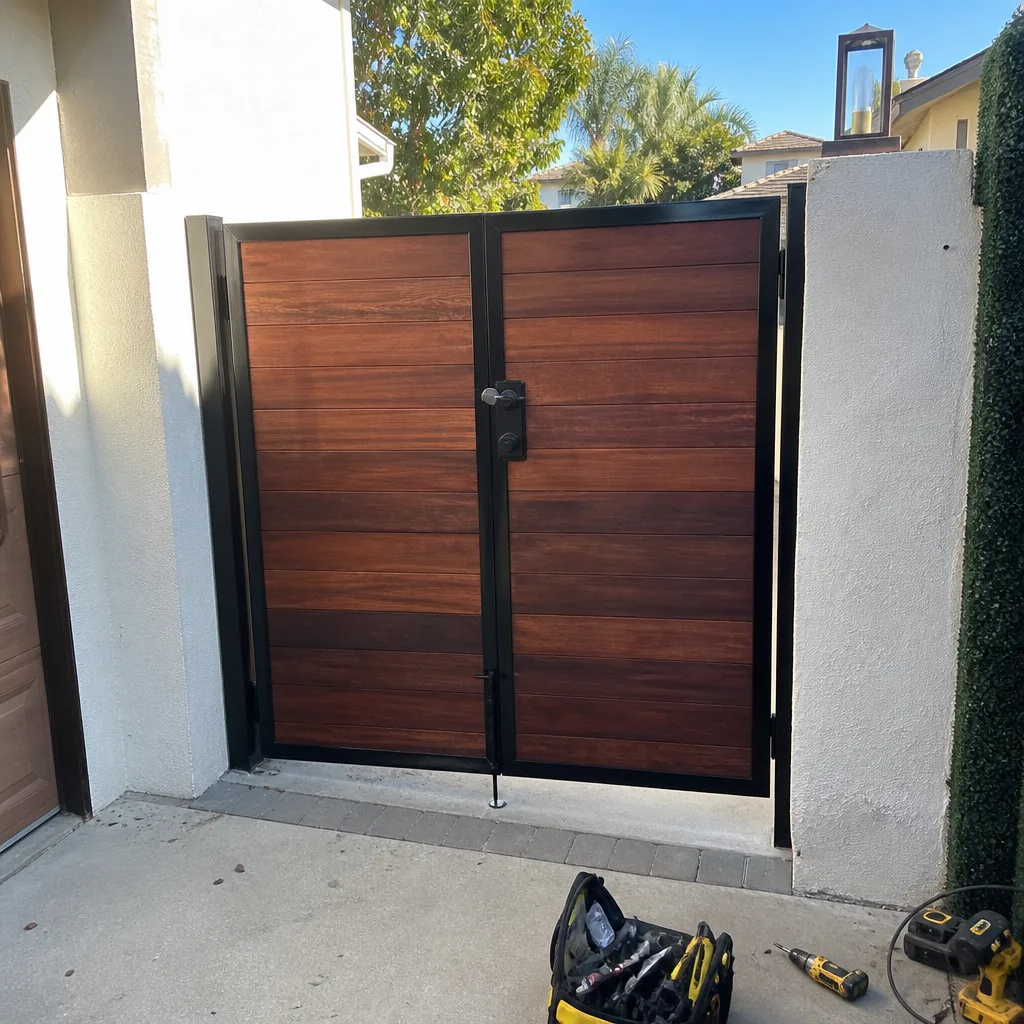 After
After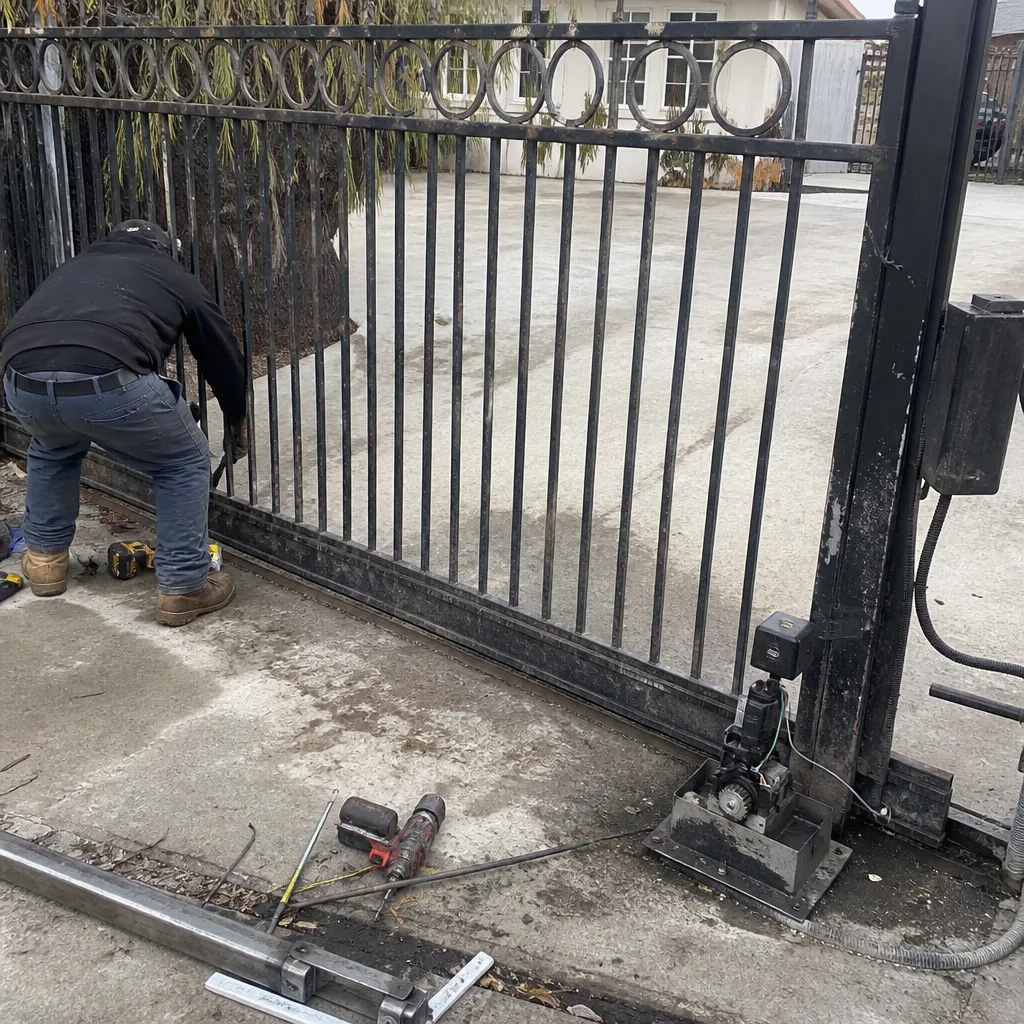 Before
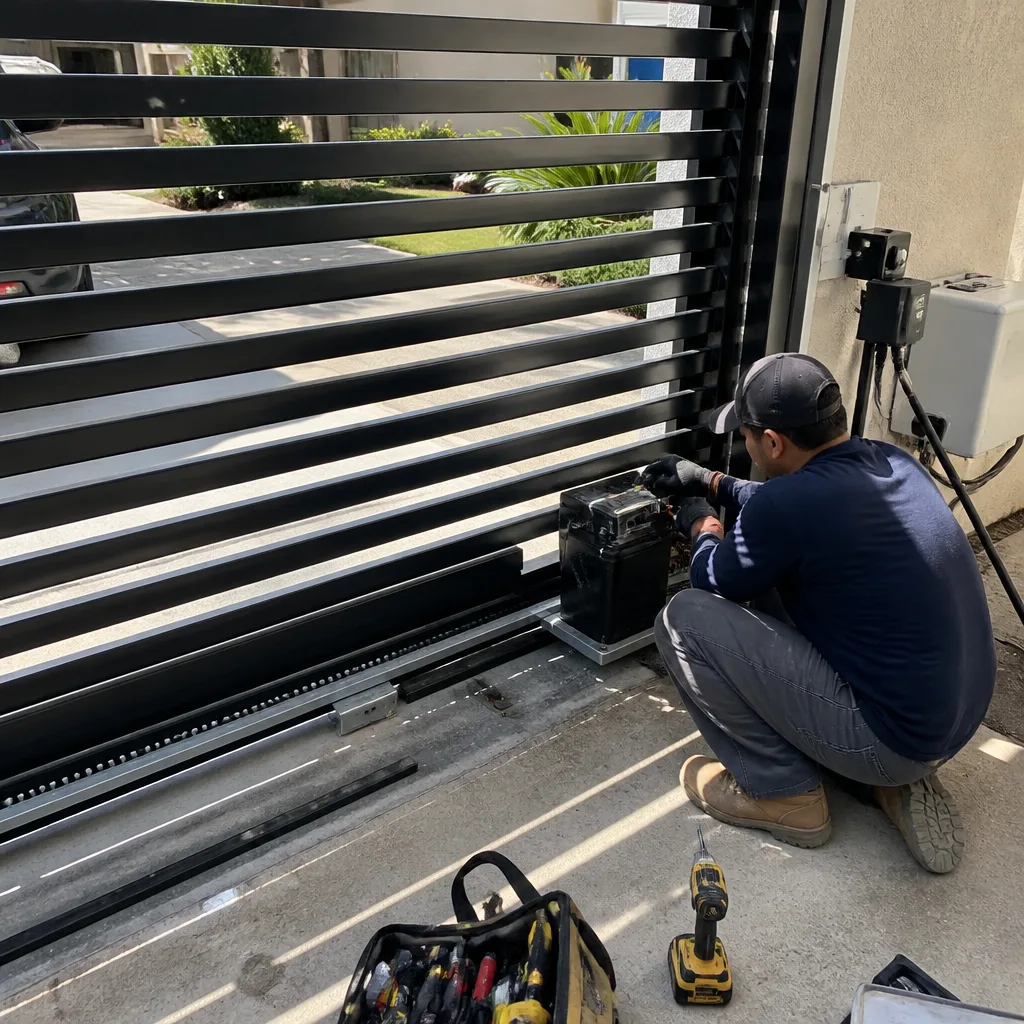 After
After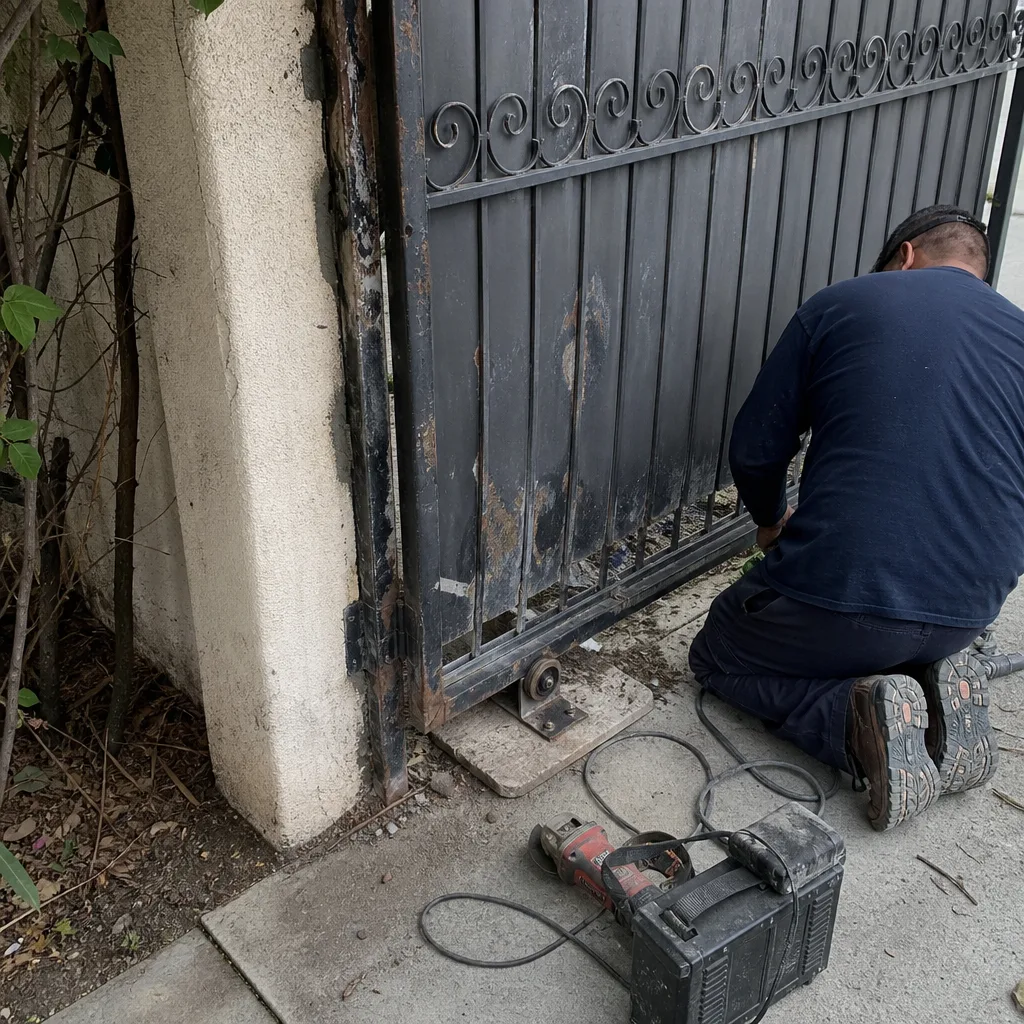 Before
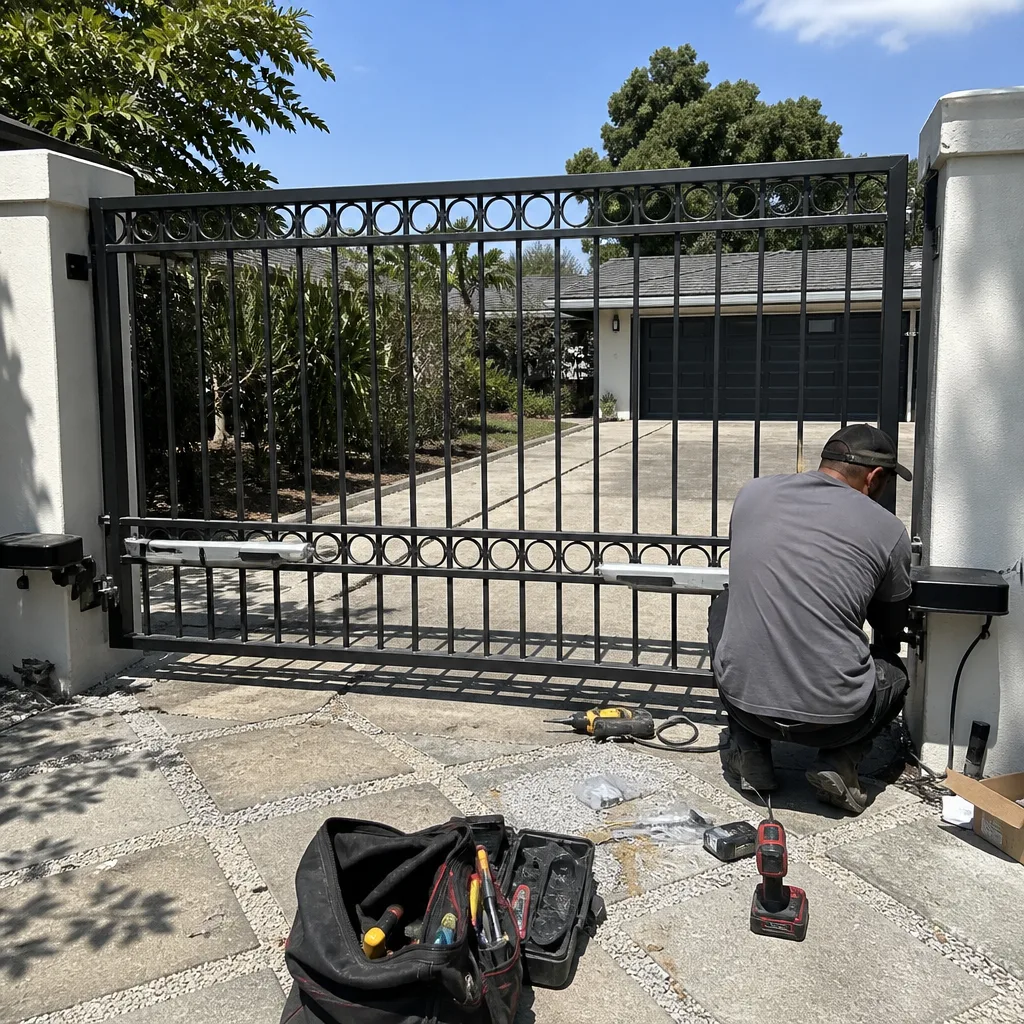 After
AfterGate Installation Troubleshooting: Common Problems and How to Fix Them
A new gate that binds at the latch after thirty days has not failed. In almost every case, the posts have finished their initial concrete cure settling, the gate hang angle has shifted a fraction of a degree, and the whole thing needs about ten minutes of adjustment. This guide draws the line between that kind of normal settling and the real installation defects that need professional Gate Installation services. We’ll cover what to check at 30, 60, and 90 days after install, which problems you can adjust yourself, and which ones signal that something was never set right from day one. This is written from years of gate work across Los Angeles, where hillside lots, retaining walls, and expansive soil make post settling more common than in flatter cities.
Quick Answer
Most gate installation problems in the first 90 days are normal settling behaviors: the latch gets stiff, the gate leans slightly toward the latch side, or a hinge creaks. These are almost always corrected with minor adjustments to the hinges, latch plate, or strike. The problems that actually need a professional are a post that was never plumb at the pour, a gate that was never hung level from the start, or hardware that was never torqued to spec at final hang.
Table of Contents
- Settling vs. Defect: How to Tell the Difference
- The 30-60-90 Day Check Sequence
- The Three Installation Defects That Require Professional Correction
- The Latch Break-In Period: Why It Feels Stiff for Two to Three Weeks
- How Los Angeles Soil and Climate Affect a New Gate
- How to Document a Problem Before You Call
- What the 365-Day Done Right Promise Covers on a New Installation
- Common Mistakes to Avoid
- When to Call a Professional
- Frequently Asked Questions
- The Bottom Line
Settling vs. Defect: How to Tell the Difference
Every new gate moves during its first season in the ground. The concrete that anchors the posts keeps curing and shrinking at a microscopic level for weeks after the pour, and the soil around the footing adjusts to the new void. In Los Angeles, this is more pronounced than in most places because the region’s clay-heavy soils expand when wet and contract when dry. A gate that was hung square on install day may be off by an eighth of an inch at the latch thirty days later, and that is not a defect. It is the gate finding its final position.
Here is the simplest way to tell the difference. Settling moves the gate slowly, in one consistent direction, and stops within the first two to three months. A defect shows up immediately or gets progressively worse. A post that was never plumb at the pour will let the gate drift further and further toward the latch side every week until the latch no longer catches. A gate that was not hung level from the start will wear the lower hinge faster than the upper, and the hinges will start to show bronze-colored dust at the pivot point within a few months. Hardware that was never torqued to spec will rattle from day one.
If the gate got better after the first adjustment and stayed better, you had settling. If it needs the same adjustment every two weeks, you have a defect. That distinction matters because one is a ten-minute fix and the other is a re-set.
The 30-60-90 Day Check Sequence
Most gate companies hand you the owner’s manual and drive away. We run a simple check sequence at 30, 60, and 90 days after a Los Angeles installation, and we teach it to every homeowner because it catches settling early enough to prevent latch damage. Here is the sequence, and what each checkpoint is actually telling you.
- Day 30: Gate corner height at ground level. Measure from the bottom corner of the gate (the latch side) down to the ground. Write the number down. If it has dropped more than a quarter inch since install day, that is normal settling on most Los Angeles soils. If it has dropped more than half an inch, call us.
- Day 30: Gap at latch side. Look at the gap between the gate edge and the latch post. On a new install, this should be uniform from top to bottom. If it is wider at the top than the bottom by more than an eighth of an inch, the post has tilted slightly. That is often settling, but it should be measured and recorded.
- Day 60: Hinge bolt exposure. Check each hinge bolt where it meets the post. On a properly set post, the bolt heads stay flush and do not rotate. If a bolt head is starting to back out or shows a gap, the hinge plate was either not torqued to spec or the post has shifted enough to put the plate under load.
- Day 60: Latch feel. Work the latch by hand slowly. A healthy latch after the break-in period should close with one smooth push. If it needs to be lifted or shouldered closed, the gate has drifted.
- Day 90: Soil line and post base. Walk around both posts and look at the soil where each goes into the ground. In Los Angeles, winter rain can create small gaps between soil and concrete footing. A hairline gap is fine. A gap you can fit a finger into means the soil has pulled away from the footing, which can let the post move laterally over time.
Here is the part most homeowners miss: each of these changes is answerable with a measurement, not an opinion. You do not have to guess whether the gate “feels” lower. You measure it. And when you call a technician with the numbers in hand, the conversation takes two minutes instead of twenty.
The Three Installation Defects That Require Professional Correction
Some problems are not settling. They were built into the job from the first day, and no amount of hinge adjustment will fix them. These are the three we see most often in Los Angeles, usually on gates installed by general contractors or handyman crews who do not specialize in gate work-unlike the issues covered in our Gate Installation Warning Signs Every Homeowner Should Know.
1. Post Not Plumb at the Pour
A gate post must be set within a fraction of a degree of vertical before the concrete cures. If it was set even a little off, the gate hangs at an angle from the moment it goes on. Gravity then works on that angle every single day. The gate drifts toward the low side, the latch strikes off-center, and the hinge on the high side carries more weight than it was built to carry. The fix is not to shim the hinges. The fix is to remove the gate, cut out or adjust the post, and re-set it plumb. That is a re-installation of the post, not a tune-up.
2. Gate Not Hung Level from the Start
This one looks like a small problem on day one and turns into a big one by month six. If the gate was hung a quarter inch lower on the latch side, the hinge nearest that side is now holding more than its share of the weight. The pivot pin wears unevenly. The gate begins to sag further, which compounds the load on the same hinge. You will see metallic dust at the hinge pivot, a clicking sound on opening, and eventually stress cracks at the hinge plate. The correction is to re-hang the gate level, but by the time the symptoms are visible, the hinges themselves usually need replacement too.
3. Hardware Not Torqued to Spec at Final Hang
Every hinge bolt, latch bolt, and operator mount on a new gate has a recommended torque spec, and the right spec depends on the gate material, the hinge type, and the post depth. A crew that tightens everything by feel will under-torque some bolts and over-torque others. Under-torqued bolts back out under vibration. Over-torqued bolts strip threads or crack the hinge plate. Either way, the hardware fails early. This is especially common on electric gates, where the opener’s vibration works through every connection point. A properly torqued hinge will stay put for years without attention. A poorly torqued hinge announces itself within weeks.
All three defects share one quality: they get worse over time instead of better. If your new gate needs the same correction twice, the problem is not the gate. It is the way the gate was put in.
The Latch Break-In Period: Why It Feels Stiff for Two to Three Weeks
New latch mechanisms are tight by design. The internal spring, the bolt, and the strike plate all leave the factory slightly oversized so they wear into a precise fit over the first two to three weeks of use. During that break-in period, the latch can feel stiff. It may take a firmer push than you expected. The bolt may hesitate before it seats. None of that is a defect.
What you should not do during the break-in period is lubricate the latch with whatever is on the garage shelf. Most household sprays, including WD-40, are solvents first and lubricants second. They wash out the light factory grease and leave the mechanism drier than before. On an electric gate, the wrong lubricant also picks up dust and pollen, which Los Angeles produces in large supply year-round, and turns the inside of the latch into a paste. The right approach is to use the latch normally for two to three weeks and let it wear in. If it still feels stiff after that, the strike plate probably needs a small reposition, which is a five-minute adjustment and exactly the kind of thing our technicians handle on a standard visit.
We use pet-safe lubricants where there is a choice, because we know the gate is at the same height as a curious dog’s nose. If quiet matters in your house, we can also schedule the work around nap time, so a latch adjustment never wakes a sleeping kid.
How Los Angeles Soil and Climate Affect a New Gate
Los Angeles has two unappreciated effects on gate installations. The first is expansive clay soil. Much of the city, from the hillside neighborhoods of Mount Washington and Echo Park to the flats of the San Fernando Valley, sits on soil that swells when the winter rains arrive and shrinks during the long dry months. That cycle pushes and pulls on every footing in the ground. A post set correctly with a deep enough footing will ride out those cycles. A post set in a shallow hole or without proper gravel base will start to lean within the first winter.
The second effect is slope. A significant share of Los Angeles homes sit on hillside lots or behind retaining walls, where a gate post is often installed into a slope. Water moves downhill, and without proper drainage at the footing, that water pools at the base of the post and accelerates soil movement. Our technicians see more post lean in hillside Los Angeles neighborhoods in one wet winter than in three years on flat ground.
The practical takeaway: if your gate was installed during the dry season, expect a small shift when the rains come. That shift is normal and should be measured, not panicked over. If it is more than half an inch at the top of a six-foot post, call us. That is the point where the movement stops being settling and starts becoming a footing problem.
We mention all this because Los Angeles gate work is not a flat, uniform job. It is hundreds of small soil conditions, each one affecting how a gate settles. A technician who works gate repair in Los Angeles sees that variety every week, and that local experience translates to fewer wrong guesses when something shifts. Our Gate Installation in Los Angeles work is built around those local soil realities, not a one-size-fits-all national playbook.
How to Document a Problem Before You Call
The single most useful thing you can do before calling a gate technician is gather three numbers and two photos. It takes five minutes and it changes the entire conversation, because instead of telling us “the gate feels wrong,” you are telling us “the gate has dropped 3/8 inch at the latch corner in 45 days and the gap at the strike plate has opened by an eighth of an inch.” That is a description a technician can diagnose over the phone, and it is the difference between a first visit that is prepared and a first visit that is a guessing game.
Here is exactly what we ask for when you call Latch & Post Gate Repair about a new installation that does not feel right:
- Gate corner height at ground level. Measure from the bottom of the gate at the latch side down to the ground, and from the hinge side down to the ground. Write both numbers down. The difference between them tells us if the gate has sagged or the post has leaned.
- Gap at latch side. Measure the gap between the gate edge and the latch post at the top, middle, and bottom. Write all three down. A consistent gap means the gate is square. A wedge-shaped gap tells us which way the structure has moved.
- Hinge bolt exposure. Look at each hinge bolt. Is the bolt head flush against the plate? Is there a gap? Has it rotated? Note which hinge and which bolt. A backed-out bolt at a specific hinge is a precise clue about where the load has concentrated.
- Two photographs. Take one photo straight-on at gate level showing the whole gate and its posts. Take a second close-up of the latch engagement area and the hinges. Do this during daylight. The straight-on photo lets our technician see the geometry before arrival; the close-up shows hardware wear patterns.
When you call, the live person who answers will ask a short set of questions: when was the gate installed, has the latch gotten stiffer or looser, does it move on its own or only when you push it, and have you adjusted anything yourself. The answers to those questions, plus your measurements, tell us whether to schedule a standard tune-up or a re-set visit. Every call to Latch & Post Gate Repair is answered by a live person, 24 hours a day, 7 days a week, so the documentation you gather at 7 p.m. can be reported at 7:05 p.m. to someone who knows what to do with it.
What the 365-Day Done Right Promise Covers on a New Installation
Every gate installation we complete in Los Angeles is backed by our 365-Day Done Right Promise. The name says what it means: if the installation is not right, we make it right, no argument and no fine print. That promise has a specific shape in the context of a new installation, and it is worth understanding clearly so you know what to expect.
During the 365 days after install, the adjustments that fall under normal settling are included at no charge. If your gate needs a hinge tweak at 45 days because the post settled, that is covered. If the latch needs a strike plate reposition after the break-in period, that is covered. If the gate drops slightly after the first winter rain and needs a small level adjustment, that is covered. These are the adjustments a gate needs as it finds its final position, and they are part of the installation we promised you.
What triggers a separate service call is something separate: physical damage, a change you requested (like a different latch style), or a fault in a component outside the installation itself. A bent gate from a car bump is not an installation issue. Neither is a latch that was broken by force. Those are repairs, and they are quoted the same way everything we do is quoted-see our Gate Repair Cost Breakdown: The Los Angeles Homeowner’s Reference for 2026 for typical pricing-always a written price before any work starts, every single visit.
The practical effect of the Promise is that you never have to hesitate to call about a new gate that feels off. If it is settling, we will adjust it under the Promise. If it is a defect, we will correct it under the Promise. Either way, the right outcome is the same: a gate that hangs true, latches cleanly, and does what it was installed to do. We have been doing this since 2009 as part of the Cedarwell family of independently owned and operated gate specialists, and the Promise has been the backbone of our Gate Repair in Los Angeles work the whole time.
Common Mistakes to Avoid
- Lubricating a new latch during the break-in period. The latch is stiff because it is meant to wear in, not because it is dry. Adding spray lubricant during the first two to three weeks washes out the factory grease and collects Los Angeles dust. Let it wear in first.
- Shimming the hinges to correct a leaning gate. A shim changes the angle of the gate without fixing the post. The post continues to lean, and the shim simply moves the wear to a new spot. The gate will sag again within weeks.
- Ignoring a small sag because the gate still latches. A gate that sags a quarter inch this month will sag a half inch next month if the post is moving. The earlier you catch post movement, the cheaper and simpler the correction.
- Adjusting the latch plate instead of the hinge. If the gate has sagged, moving the strike plate masks the symptom without addressing the hinge load. The gate still sags, and now the latch geometry is wrong in a new way.
- Overtightening a loose hinge bolt with a drill. A hinge bolt that has backed out may have done so because the hinge plate is under stress. Cranking it back in with a drill risks stripping the threads or cracking the plate. Torque it to spec, or have it torqued to spec.
- Waiting until the latch completely fails before calling. By the time a latch stops catching entirely, the post or gate has moved far enough to put real stress on multiple components. The repair is now bigger than the adjustment would have been.
- Assuming every post shift is a warranty claim. Some movement in the first 90 days on Los Angeles clay soil is normal and correctable with adjustment. Jumping to a warranty claim before measuring the movement wastes your time and complicates a simple fix.
When to Call a Professional
Call a professional when the gate has dropped more than half an inch at the latch corner, when a hinge bolt keeps backing out after being re-tightened, when you see metallic dust at the hinge pivot, when the gap at the latch is wedge-shaped and getting more so every month, or when the gate needs the same adjustment twice in a row. Those are the signs of a structural or hardware problem that will get worse, not better. A gate specialist can tell within minutes whether the post needs re-setting or the hinges need re-hanging. Latch & Post Gate Repair offers free estimates in Los Angeles and covers post-installation settling adjustments under the 365-Day Done Right Promise. Call (626) 649-4572 and a live person will answer.
Frequently Asked Questions
Most post-installation latch adjustments in Los Angeles run between $85 and $185, depending on whether the fix is a simple strike plate reposition or a hinge-level adjustment. If the issue falls under normal settling during the first year, it is covered under the 365-Day Done Right Promise at no charge. You will always see the written price before any work starts. Call (626) 649-4572 for an exact quote, and the estimate is free.
A new gate typically completes its primary settling within 30 to 90 days in Los Angeles, with most movement happening after the first significant rain or the first dry heat stretch. During that window, small adjustments are normal and expected. If the gate keeps moving after 90 days, the post or footing needs professional attention.
Yes, it is normal for a brand new latch to feel stiff for the first two to three weeks while the mechanism wears in. Do not lubricate it during this period. If it is still stiff after three weeks, the strike plate likely needs a small reposition, which is a quick adjustment. Call (626) 649-4572 and we can do it under the Promise if the gate is within its first year.
Gate sag on one side comes from one of two causes: the post has settled slightly (normal in the first 90 days) or the gate was never hung level from the start (a defect). Measure the drop at the latch corner. Under half an inch is usually settling. Over half an inch, or a sag that keeps growing, means the post or hinge needs professional correction.
The 365-Day Done Right Promise covers normal settling adjustments on a new installation at no charge for the full year after install, including hinge tweaks, strike plate adjustments, and small level corrections. Physical damage or a component change you request is quoted separately, always with a written price before any work begins.
Call us at (626) 649-4572 and a live person will answer around the clock. In many cases across Los Angeles we can have a technician to you the same day, especially for a gate that will not latch or that has dropped enough to drag. We will tell you honestly what the next available time slot is and what the repair will cost before we send anyone out.
Our technicians are factory-trained on Ghost Controls, Viking, Linear, and BFT gate openers and their full range of accompanying hardware, so the right fix happens on the first visit. Whether your gate is swinging from a Ghost Controls arm or sliding on a Linear track, the troubleshooting, the wiring diagnostics, and the component replacement are all done by someone who knows that specific brand’s quirks. Our Electric Gate Repair in Los Angeles work is built on that brand-level training, and the 365-Day Done Right Promise covers every repair we make.
The Bottom Line
Most gate installation problems in the first three months are not failures. They are the gate finding its final position, and they are correctable with simple adjustments. The small number of real defects share a pattern: they get worse over time, they need the same fix repeatedly, or they show visible hardware wear within weeks. Measure first. Document what you find. Call a specialist when the numbers say the post is moving or the hinges are loaded. That is the entire workflow for a new gate in Los Angeles. If you are anywhere in the city and your new gate does not feel right, call (626) 649-4572 for a free estimate. A live person will answer, and you will get a straight answer on whether it is settling or something real.
If you are planning a new gate, our Latch & Post Gate Repair home page has the full picture of how we work. Every gate comes down to two parts, the latch that holds it and the post that carries it. That is the job we focus on.
Written by Cody Beckman, Owner at Latch & Post Gate Repair, serving Los Angeles since 2009.